 English
 русский
Oct 05,2026
Content
Spray painting plastic models comes down to one decision you make before you ever open a paint jar: airbrush or rattle can. For anything involving masking, soft camouflage edges, pre-shading or a multi-colour livery, the airbrush wins. A 0.3 mm gravity-feed brush running at 15–20 PSI lays down a coat thin enough to keep panel lines and rivets sharp, and you can adjust it mid-session without stopping. A spray can is a fixed system: whatever nozzle and propellant you get is what you spray.
That is not a knock on spray cans. For a single flat colour over a large area, such as a car body shell, a tank hull or a drop tank, one can of grey primer and one can of colour will finish the job in ten minutes with almost no cleanup, and it remains the cheapest way to learn how paint behaves on polystyrene.
The rule most experienced builders follow is simple: prime and base-coat with whatever you have, then switch to an airbrush for shading, panel-line work, weathering and clear coats. The sections below cover the parts that actually decide whether your finish looks smooth or looks like textured plastic.
Preparation: Where Rough Finishes Usually Start
A dusty, rough or peeling finish is almost never the airbrush's fault. It usually traces back to three things: mould release agent still sitting on the plastic, a greasy fingerprint, or primer sprayed from too far away so it dries in the air before it lands.
- Wash the parts. Warm water with two or three drops of mild dish soap, wiped over with a soft brush, then rinsed and left to air-dry. Skip the towel; fibres end up in the paint.
- Clean up the seams. Sand sprue nubs and mould lines with 600 to 1000 grit. Fill gaps before priming, because primer will not hide a step in the plastic.
- Prime in thin passes. Two or three light coats at roughly 15 cm, allowing 10 to 15 minutes between them, gives a grip surface without burying detail.
Primer colour matters more than most people expect. White primer makes yellow, red and skin tones glow, grey is the neutral all-rounder, and black should be reserved for metallic finishes and silvers because it darkens everything sprayed over it.
If you would rather prime with an airbrush as well, look for a gravity-feed body with a 0.3 mm to 0.5 mm nozzle, like the BT180 set built for model and hobby work.
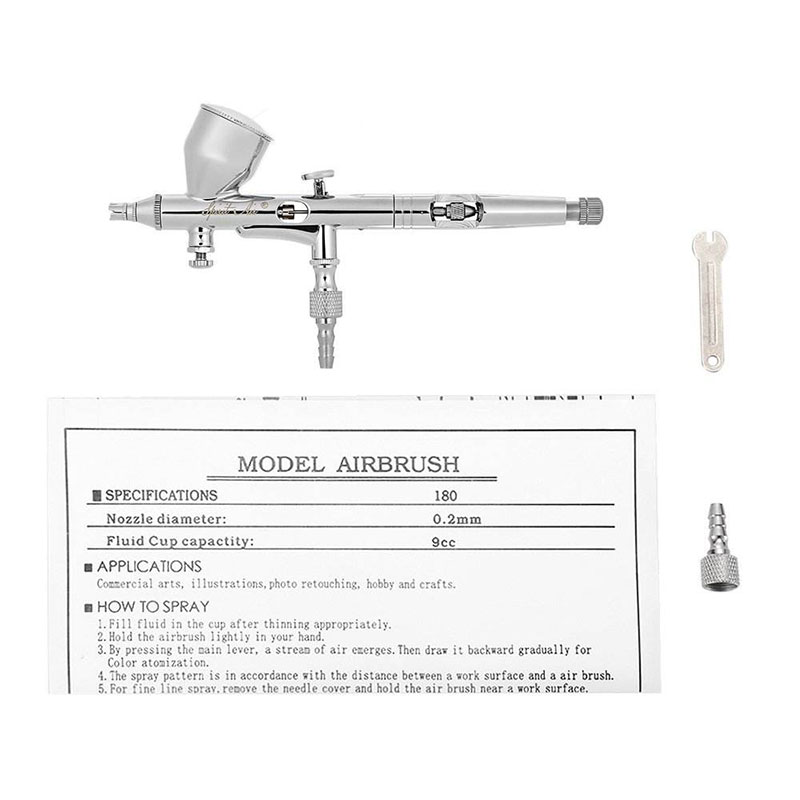 Airbrush Painting Gun BT-180 Spray Gun for Body Painting on Models, Hobbycor Airbrush KitAirbrush Painting Gun BT-180 Spray Gun for Body Painting on Models, Hobbycor Airbrush Kit is a BT-180 spray gun specially designed for model painting and body painting...View Product →
For a longer walkthrough of the same process from primer to clear coat, our step-by-step plastic model finishing guide covers the sequence in full.
Acrylic, Enamel or Lacquer: What Each One Does on Styrene
There are three paint families and they behave in three different ways. Choosing the wrong one for your subject makes even good airbrush technique feel like a struggle.
| Paint Type | Thinner | Dry Time | Durability | Best For |
|---|---|---|---|---|
| Water-based acrylic | Water or isopropyl | 30–60 min touch dry | Moderate, needs primer | Figure painting, detail, indoor work |
| Enamel | Dedicated solvent | Several hours | Strong, grips plastic | Metal effects, washes, long-life finishes |
| Lacquer | Lacquer thinner | A few minutes | Excellent, mildly bites in | Car bodies, high-gloss finishes |
Dry times assume thin coats at 20–25 °C; humidity, thinner ratio and pigment loading all shift the real numbers.
One caution worth repeating: lacquer thinner can attack bare styrene. Always lay a primer barrier first, and test on a spare part from the same kit before committing to a whole hull or body shell.
Spray Painting Plastic Models: Six Steps That Work
- Thin to a milk-like consistency. Start at roughly 1:1 by volume for water-based acrylics, using water or isopropyl. A dropper beats eyeballing it. If the paint strings or breaks apart mid-pull instead of flowing, it is still too thick.
- Test on scrap first. Never start on the model. Spray a few seconds onto a spare plastic card, set pressure near 15 PSI, and hold 10–15 cm from the surface.
- Lay a tack coat. A faint, almost transparent mist, nothing more. Wait one to two minutes so the solvent flashes off.
- Build the wet coat in crossing passes. Come back over the surface left to right, then top to bottom, overlapping each pass by about half. Aim for an even, glossy-wet look, never for a visible puddle.
- Stop and let it cure. Give acrylics 30 to 60 minutes and lacquers about 15 minutes before handling the part or masking over it.
- Seal with a clear coat. Gloss, satin or matte, applied in thin passes from a slightly longer distance to avoid a cloudy blushed film.
If you are buying once rather than upgrading in stages, a needle-and-nozzle set covering 3 mm, 5 mm and 8 mm gives you enough range for base coats, shading and broader coverage from one tool.
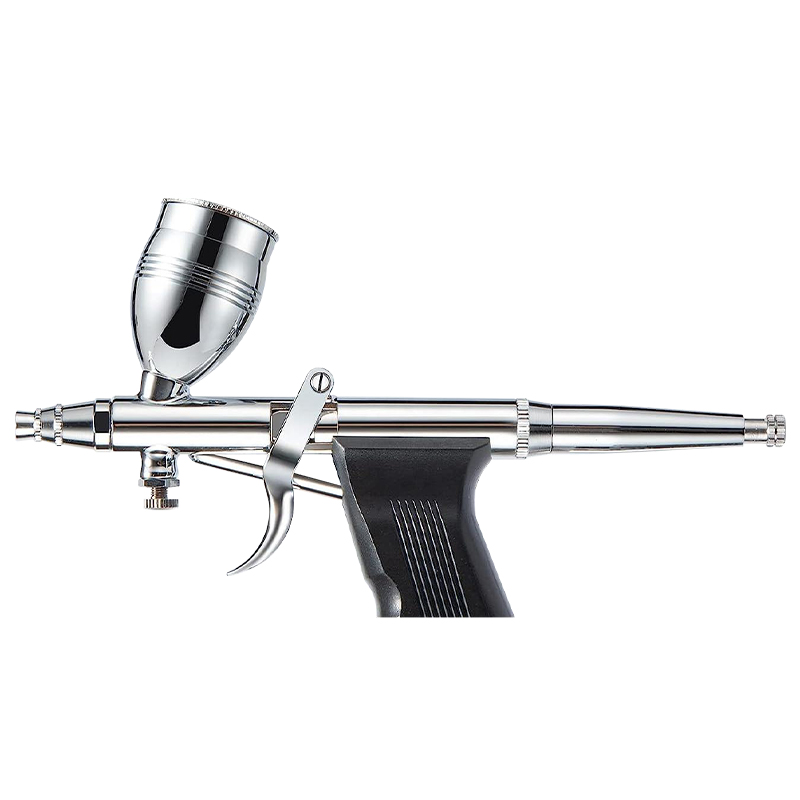 Professional Modeling Airbrush Kit Airbrush Gun Pen with 0.3mm/0.5mm/0.8mm Needles NozzlesThe core of the set is a high-grade airbrush gun with exquisite design and smooth operation, which can easily cope with complex painting challenges. We specially equip...View Product →
The Numbers That Decide Whether Paint Atomises
15–20 PSI · 0.3 mm nozzle · 10–15 cm spraying distance
Three settings control whether paint reaches the model as fine mist or as spatter. Get any one of them wrong and you get orange peel, sandpaper texture or runs.
Pressure. Above about 25 PSI, acrylic dries before it lands and you are effectively spraying dust. Below 10 PSI, droplets clump on the surface instead of levelling out.
Distance. Sit at 10 to 15 cm. Rattle cans can be held at roughly 25 cm because of their higher output, but an airbrush held beyond 20 cm is mostly spraying dry pigment.
Nozzle size. A 0.2–0.3 mm nozzle suits detail, pre-shading and fine lines. A 0.3–0.5 mm is the all-purpose size for primer and base coats. Anything above 0.5 mm belongs on metallic, clear coats and large area coverage.
Pressure stability matters as much as the setting itself. A tank-equipped compressor holds the needle steady far better than a pulsing single-cylinder unit, which is why consistent atomisation usually starts with the air supply rather than the brush.
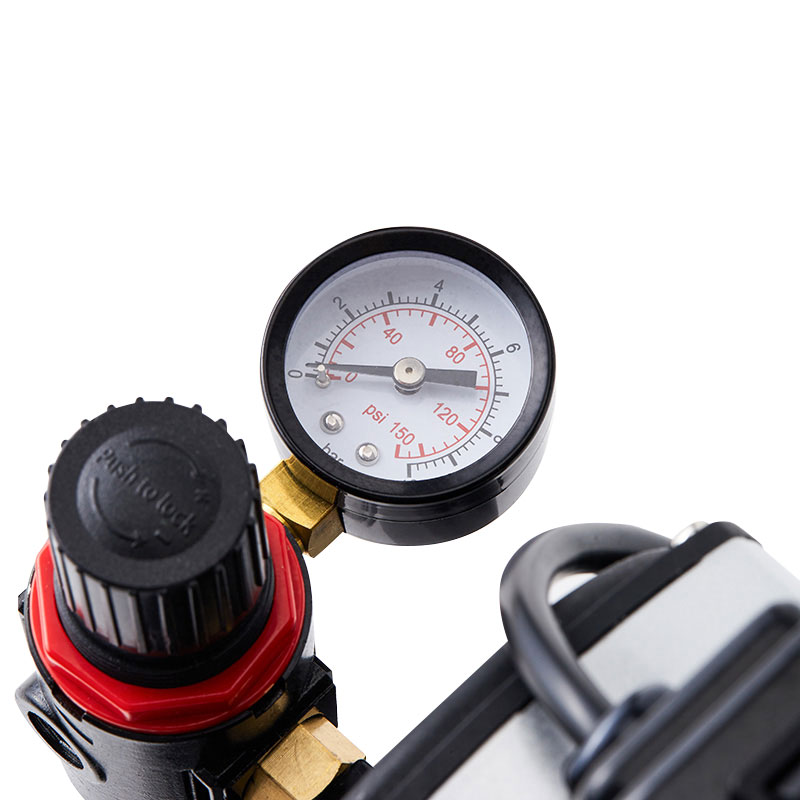 BT-186 Single Cylinder Piston Compressor with Air TankSingle Cylinder Piston Compressor with Air Tank is a high-efficiency air compression device. It provides smooth airflow through the built-in air tank, eliminates the p...View Product →
Common Problems and What Actually Fixes Them
Most plastic model paint defects are diagnosable in under a minute once you know what each one points to. Work through the table below before you change your technique.
| Problem | Likely Cause | Fix |
|---|---|---|
| Orange peel texture | Distance too far, pressure too high, paint too thick | Move in to 10–15 cm, drop to 15–20 PSI, thin 1:1 |
| Sagging or runs | One heavy pass, trigger held too long | Sand back once dry, then rebuild in thin layers with 50% overlap |
| Paint peeling | Mould release or oil still on the plastic | Wash with mild soap, rinse, dry, then re-prime before recoating |
| Blushing or milky haze | High humidity or a fast-drying thinner | Work below 60% humidity and switch to a slower thinner |
| Clogged nozzle | Dried paint or insufficient thinning | Strip the nozzle and needle, soak in cleaner, clear the tip with a fine needle |
Diagnosis table for the five defects most often reported on airbrushed polystyrene kits.
Keep a spare nozzle and needle on the bench and you will never lose a working session to a blockage. A 10-piece replacement kit with 2 mm, 3 mm and 5 mm nozzles, needle caps and a mini wrench covers the parts that wear out fastest.
Safety and Cleanup Habits Worth Keeping
Solvent-based lacquers and enamels release vapour that you should not breathe in a closed room. Thin them near an open window or under extraction, and wear a cartridge respirator rather than a dust mask. A simple cardboard box behind the model catches overspray and keeps the bench usable.
Clean the brush while the paint is still wet. Flush the cup with the matching thinner, spray it through until the output runs clear, then wipe the needle with a soft cloth and finish with a cleaning brush around the nozzle seat. Water-based acrylic left to dry overnight turns into a plug that takes an hour to remove.
Never rinse acrylic paint down a household sink. Wipe the residue into a paper towel and bin it, because acrylic solids settle and harden inside pipes. Finally, store thinners and cleaners in labelled containers away from sunlight, and keep a lid on the paint jar between passes so it does not skin over while you work.