 English
 русский
Oct 12,2026
Content
- 1 The Four Numbers That Decide the Finish
- 2 Nozzle, Pressure and Thinning Reference
- 3 The Order to Spray a Model
- 4 Air Supply: Pressure Stability and Moisture
- 5 Common Problems and Their Real Causes
- 6 Habits That Keep a Model Looking Clean
- 7 Ventilation, Solvents and Cleaning Without Damaging the Brush
- 8 What to Buy First, and What to Do With It
Airbrush a 1/48 scale fighter at 30 psi with unthinned acrylic and the outcome is predictable: orange peel across the wings, spider legs at the panel lines, and a nozzle that clogs before the second colour goes on. The brush is almost never the reason. On models, the finish is decided by atomization control - needle and nozzle size, working pressure, thinner ratio, and how clean the tip stays between passes. Get those four right and a mid-priced kit will out-paint an expensive one whose owner never learned to thin paint.
What follows gives you the numbers to start from, the order to spray in, the causes behind the usual defects, and the maintenance habits that decide whether the same airbrush still sprays cleanly a year from now.
The Four Numbers That Decide the Finish
0.3 mm nozzle, 18-22 psi working pressure, 1:1 thinner to paint, 5-15 cm spray distance
Those four settings cover most plastic model work, and each one has a specific reason behind it. Set the regulator with air flowing through the brush, not with the trigger closed. A gauge reading 20 psi statically often drops to 17 or 18 psi the moment paint starts moving, and that drop is what turns a crisp camouflage edge into a spattery one.
Thinner ratio follows the paint, not the brush. Pre-thinned bottled hobby colours often need nothing added. Thicker water-based acrylics usually want about 1:1 with the matching thinner, while lacquers behave best around 1:1.5 to 1:2 and dry fast enough that tip dry becomes the bigger enemy. Mix small batches and mix fresh rather than topping up a cup that has been sitting for an hour.
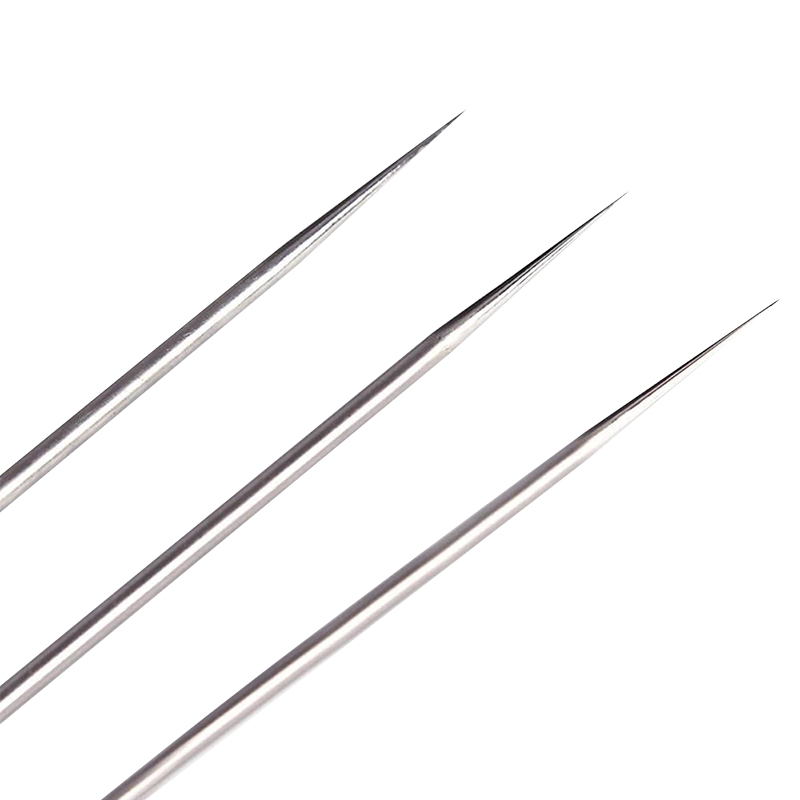
Nozzle size sets both the ceiling and the floor of what you can do. A 0.2 mm setup paints panel-line shading beautifully and covers a 1/24 car body painfully slowly. For larger jobs such as automotive bodies, RC shells and diorama terrain, a 3 mm, 5 mm and 8 mm needle and nozzle set covers ground that a 0.3 mm brush would take an afternoon to finish.
The Order to Spray a Model
1Test on scrap first. Use the same plastic and the same mix. Spray a stripe at three distances and look for grain or spatter before the paint ever touches the kit.
2Primer. A 0.4-0.5 mm nozzle at 22-25 psi, two thin passes, ten to fifteen minutes between them. Primer gives the colour coat something to grip and shows seams before they are buried.
3Base colour. 0.3 mm nozzle, 18-22 psi, three to four light passes from 8-10 cm, letting each pass flash for a minute. Stop while the surface still looks slightly dry; the coat levels out as it sets.
4Shading and weathering. Drop to a 0.2 mm setup, 12-15 psi, heavily thinned paint. Build tone in layers instead of laying down one dark line that has to be corrected later.
5Masking and second colours. De-tack the tape on your palm, spray perpendicular to the tape edge, and never lay a wet coat against it. Lifted paint almost always comes from that one habit.
6Clear coat. One mist pass to seal decals, then a slightly wetter pass. Gloss for decal work, flat or satin for the final finish.
Air Supply: Pressure Stability and Moisture
Pulsing is the practical difference between a compressor with an air tank and one without. A 0.3 mm nozzle needs steady air; a piston that cycles every second shows up as a faintly mottled surface at low pressure. A small tank or a longer hose damps most of it, and a regulator close to the brush makes the working pressure something you can actually read and repeat.
Moisture is the second problem. Compressed air heats at the pump, cools in the hose and condenses, and a water droplet arrives as a spatter in the middle of a colour coat. Drain the tank after every session and keep a moisture trap between hose and brush.
Watch for pressure drop across a long coiled hose as well. A gauge on the compressor can read 20 psi while the brush only sees 15. If the spray feels weak at the settings listed above, raise pressure 2-3 psi at a time and re-test on scrap rather than reaching for more paint.
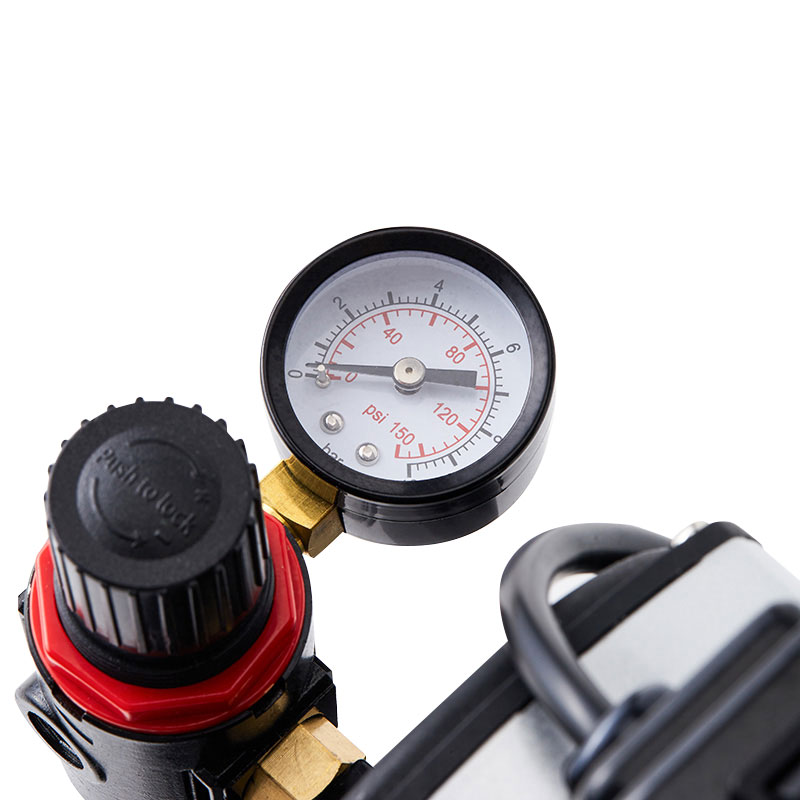 BT-186 Single Cylinder Piston Compressor with Air TankSingle Cylinder Piston Compressor with Air Tank is a high-efficiency air compression device. It provides smooth airflow through the built-in air tank, eliminates the p...View Product →
Common Problems and Their Real Causes
| What you see | What causes it | How to fix it |
|---|---|---|
| Rough, orange-peel surface | Paint too thick, pressure too low, brush held too far away | Thin closer to 1:1, raise to 20 psi, move in to 8-10 cm |
| Spider legs at the edges | Too much paint in a single pass, or spraying too close | Reduce trigger travel, back off to 12-15 cm, add passes not volume |
| Tip dry and spitting | Fast-drying acrylic setting on the needle, often above 25 psi | Wipe the tip every few passes, add flow improver, lower pressure |
| Soft, fuzzy camouflage edges | Too much pressure for the mix, or an unthinned batch | Drop to 12-15 psi, thin further, use a 0.2 mm setup |
| Paint lifting under tape | A wet coat laid directly against the tape edge | Mist the edge, de-tack the tape, pull it back at a 45 degree angle |
Most defects trace back to one of three settings, so change one variable at a time and keep the scrap plastic nearby.
Habits That Keep a Model Looking Clean
- Wipe the tip with a damp cotton bud or soft brush every few passes. Two seconds now prevents a spatter later.
- Flush with the same thinner family you are spraying before switching colours. Water-based and solvent-based residues do not mix well inside a nozzle.
- Keep a spare needle and nozzle set. A needle with a tiny hook still sprays, but the fan turns uneven and every edge goes fuzzy.
- Store the airbrush upright with an empty cup so residue cannot run back into the body.
- Note the thinner ratio and pressure that worked for each paint you use. That turns guesswork into a repeatable setting.
- Check the moisture trap and drain the tank after every session, not once a month.
What to Buy First, and What to Do With It
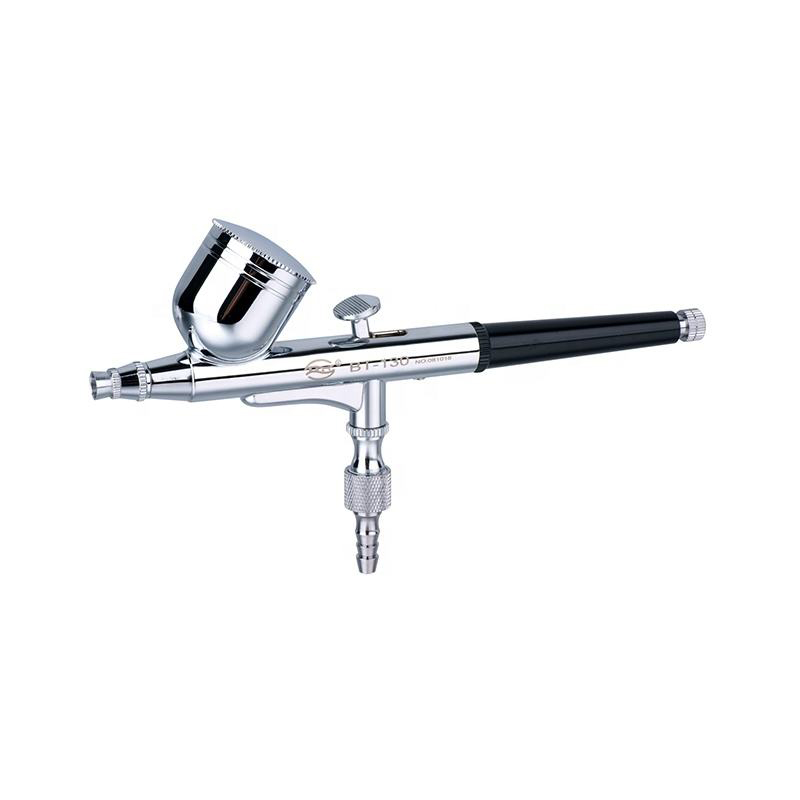
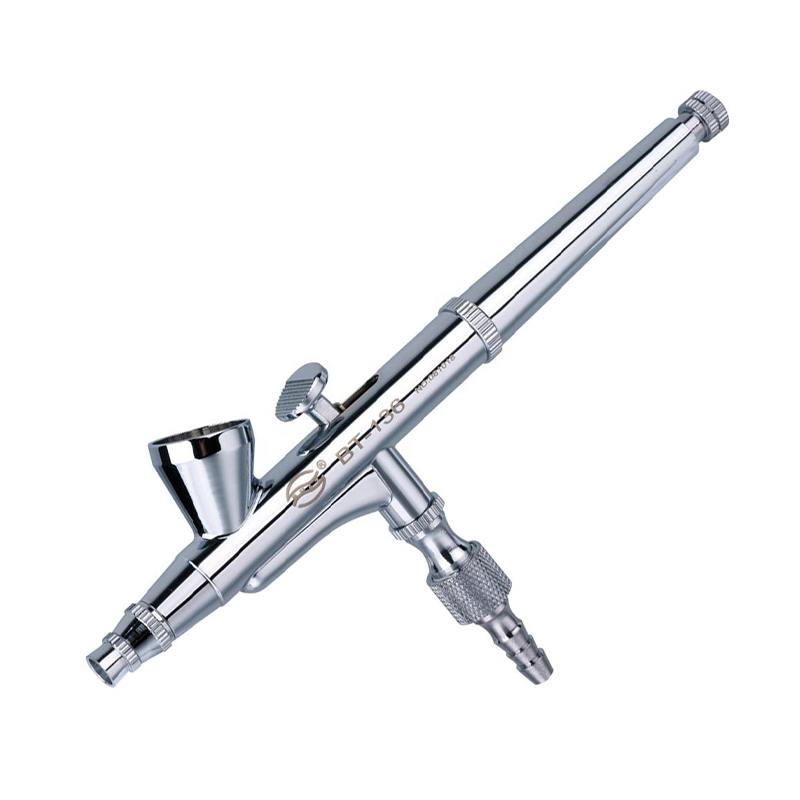
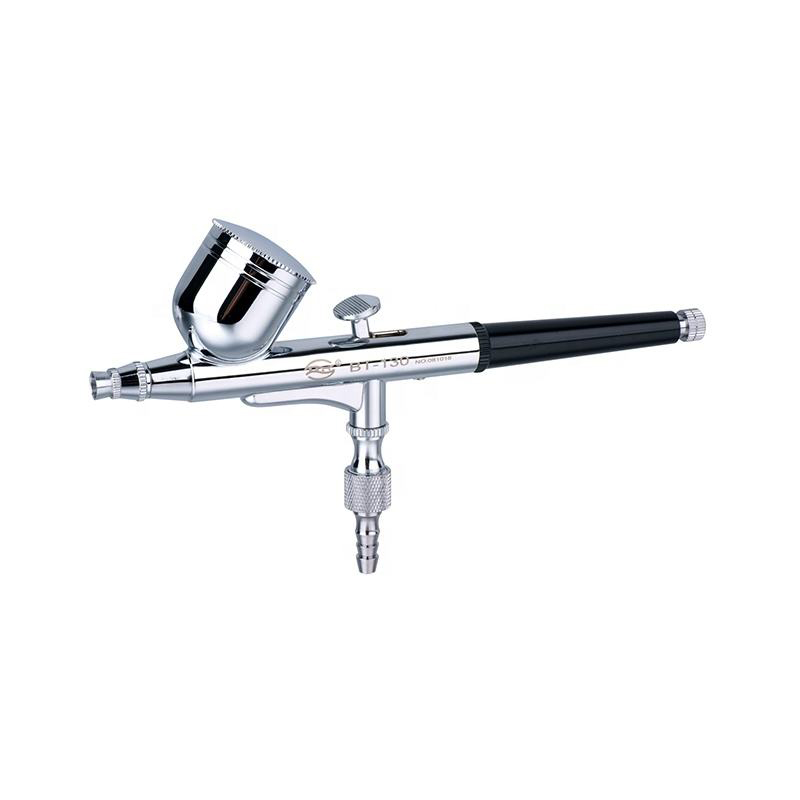
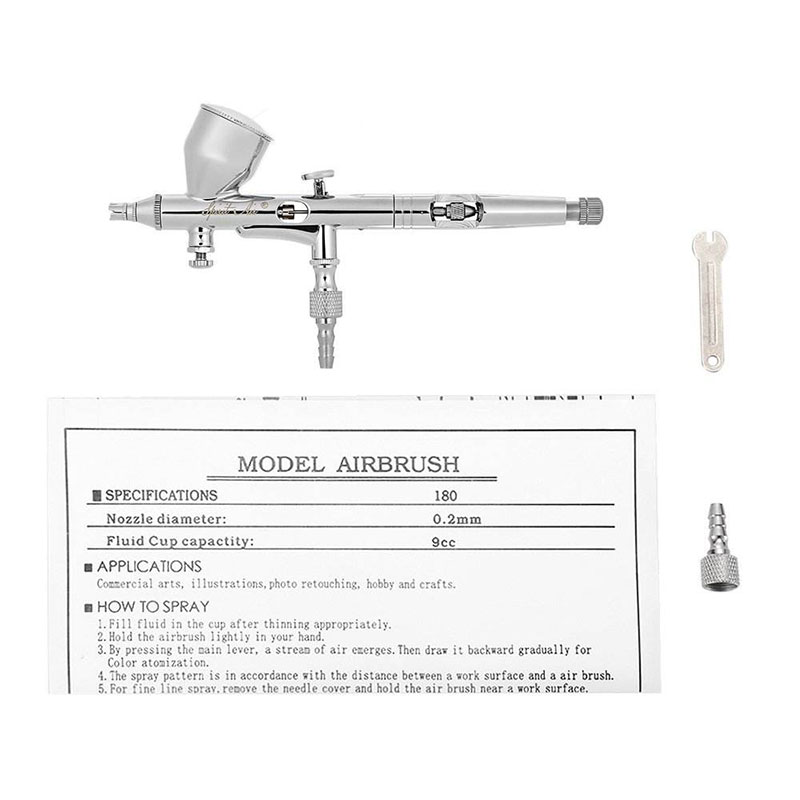
For 1/72 and 1/48 plastic models, the practical first purchase is a gravity-feed, double-action brush with a 0.3 mm nozzle, a compressor with a regulator and a moisture trap, and one spare needle set. That covers primer, base coats and most weathering; a 0.2 mm conversion comes later, once panel-line shading becomes a routine rather than a challenge.
If you want to see how the tools fit together before ordering anything, the site's model kit painting guide walks through setups, thinning and technique in more depth.
Then set 20 psi, thin 1:1, keep the tip wet, and spray three light passes where instinct says one wet one. The first model will still have flaws, which is exactly what the scrap plastic in front of you is for.