 English
 русский
Sep 28,2026
Content
- 1 Airbrushing Model Cars: What Really Creates a Smooth Finish
- 2 Choose the Right Nozzle and Feed System
- 3 Set Up Your Air Supply Before You Squeeze the Trigger
- 4 Thin the Paint Until It Flows Like Milk
- 5 Four Mistakes That Ruin a Model Car Paint Job
- 6 Keep a Two-Minute Cleaning Habit
- 7 Buy for Consistency, Not for a Logo
Airbrushing Model Cars: What Really Creates a Smooth Finish
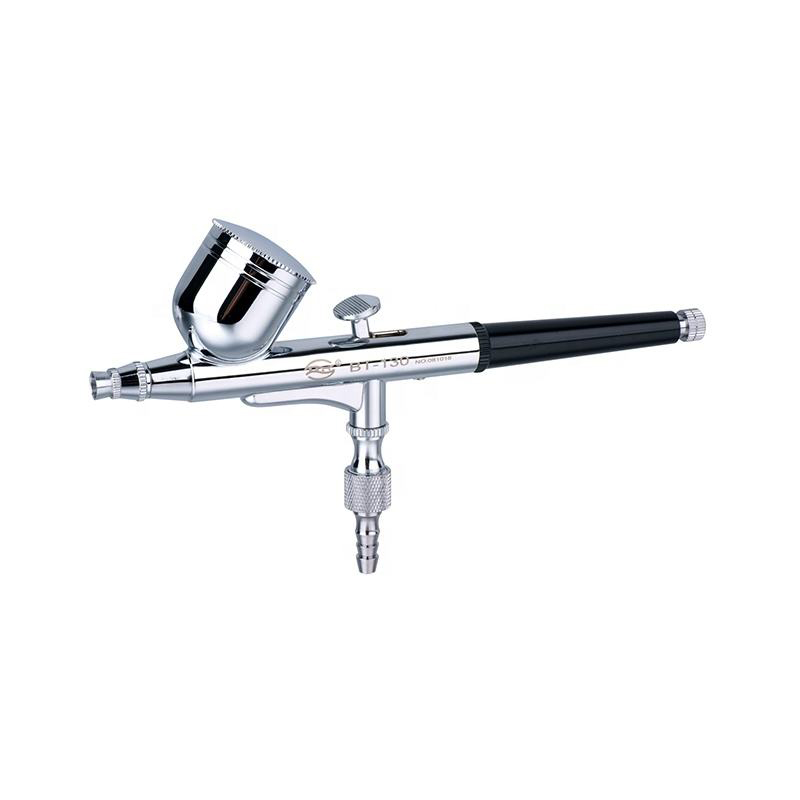
The finish on a model car body is decided before paint touches plastic — not by the price of the airbrush, but by three variables: paint consistency, air pressure, and coat weight. Get those right with a double-action, gravity-feed brush fitted with a 0.3mm nozzle, run 15–20 PSI, and thin the paint to a skimmed-milk flow, and you will produce a gloss that looks baked on. Get them wrong and no premium brush will save you.
Is airbrushing worth the hassle for model cars? In a word, yes. A sprayed body has no brush strokes, a thinner paint film, and a far more uniform colour. The learning curve is short once you understand the three variables above. This guide covers equipment choice, PSI settings, thinning ratios, and cleaning habits for 1:24 and 1:25 car kits, with the same principles applying to motorbikes, aircraft, and re-sprayed die-cast bodies.
Choose the Right Nozzle and Feed System
Most modellers overbuy on nozzles. A 0.3mm nozzle handles roughly 90% of a car build, from primer to base coats to clear. Step down to 0.2mm when you need fine trim, badges, and panel lines; step up to 0.5mm when you want to cover a large surface quickly without fatigue. If you prefer one gun for everything, a modeling airbrush kit with 3mm, 5mm, and 8mm needles gives the widest range in a single body.
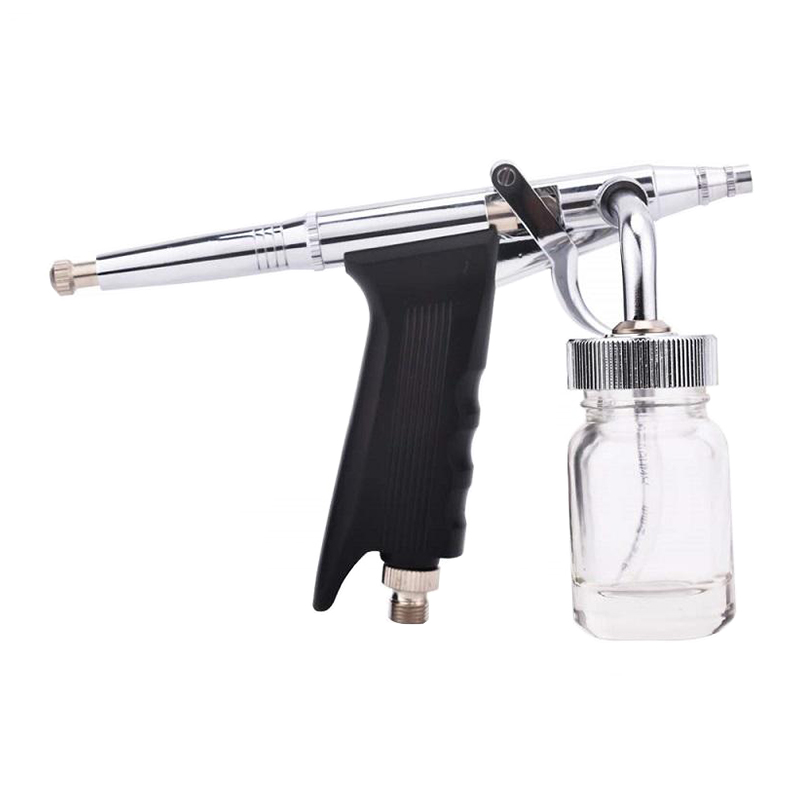
Gravity feed is the right choice for model cars. The paint cup sits on top, so gravity keeps paint flowing at low pressure, and the small 2cc–7cc cups hold exactly the amount you need for a body. Siphon-feed bottles that hang underneath are better for high-volume work, not for detailed 1:24 painting.
01| Nozzle | Best for | PSI range | Watch out |
|---|---|---|---|
| 0.2 mm | Panel lines, badges, fine trim | 12–15 PSI | Clogs easily with metallic paints |
| 0.3 mm | Body colour, most base coats | 15–20 PSI | Best all-rounder for 1:24 bodies |
| 0.5 mm | Primer, clear coats, pearl | 20–30 PSI | Overspray risk on small parts |
Nozzle sizes and typical pressure settings for model-car painting with acrylic or lacquer paints.
Set Up Your Air Supply Before You Squeeze the Trigger
An unstable air supply causes more sputtering and uneven paint than any airbrush defect. The solution is a compressor with a regulator that holds pressure steady while you spray. Working pressure for model cars is far lower than for full-size bodywork; plan for 15–20 PSI, not 40–60 PSI.
- Drain the tank and mount the compressor. Moisture in a compressor tank is the number one cause of water craters in fresh paint. Drain the valve before each session, especially in humid weather.
- Set the regulator and test-spray. Start at 18 PSI with the airbrush trigger fully open. Adjust until the paint lands as a fine, wet mist. If the spray spits, raise pressure slightly; if it looks dry and grainy, lower it. For smaller scales, the relationship between pressure and detail is covered in our guide on PSI for airbrushing miniatures; the same logic applies to 1:43 and 1:64 bodies.
- Fit a moisture trap at the gun end. Humidity condenses inside the hose even when the tank is dry. A small inline filter between hose and airbrush is cheap insurance against a ruined clear coat.
- Keep the hose short and steady. A 6-foot braided hose is enough for a workbench; longer hoses increase pressure drop and give moisture more space to condense. Coil the hose loosely so you never pull on the airbrush mid-spray.
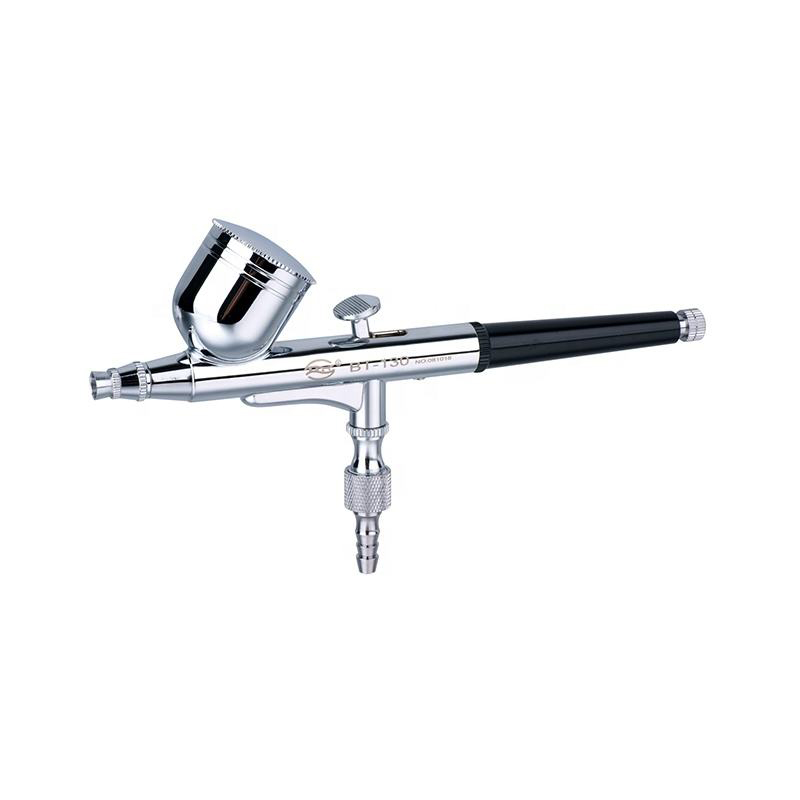
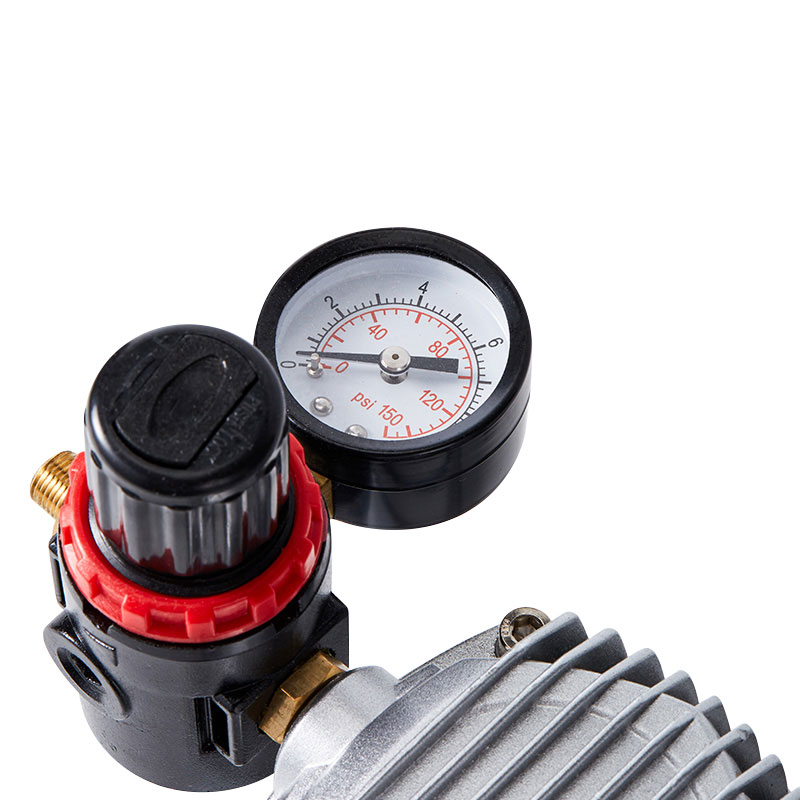 BT-18 Airbrush Compressor And AirbrushBT-18 Airbrush Compressor and Airbrush is a professional-grade tool designed for precision airbrushing tasks. It features an oil-free piston mechanism that ensures pow...View Product →
Thin the Paint Until It Flows Like Milk
Most model-car paint failures come from paint that is too thick, not too thin. Solvent-based lacquers typically need 1 part paint to 1.5 parts thinner; acrylics are usually ready at 1:1 or a little thinner. Mix in the cup, never in the bottle, and stir until the mixture has no streaks.
If you hesitate about whether the paint is thin enough, thin it again.
Then adjust for the job. Metallic paints need a slightly higher pressure and a drier first coat so the flakes lie flat, not swirl. Primers can stay a little thicker because they level on their own. Clear coats spray best at 20–25 PSI and in the thinnest passes you can manage.
How to Build a Body Coat Without Runs
Hold the airbrush 10–15 cm from the body, keep it moving, and always pull the trigger before moving and release after stopping. Build colour in two or three light passes with 5–10 minutes of flash-off between them. When the panel looks wet and glossy, you have already sprayed too much; the finish you want looks softly damp, not shiny.
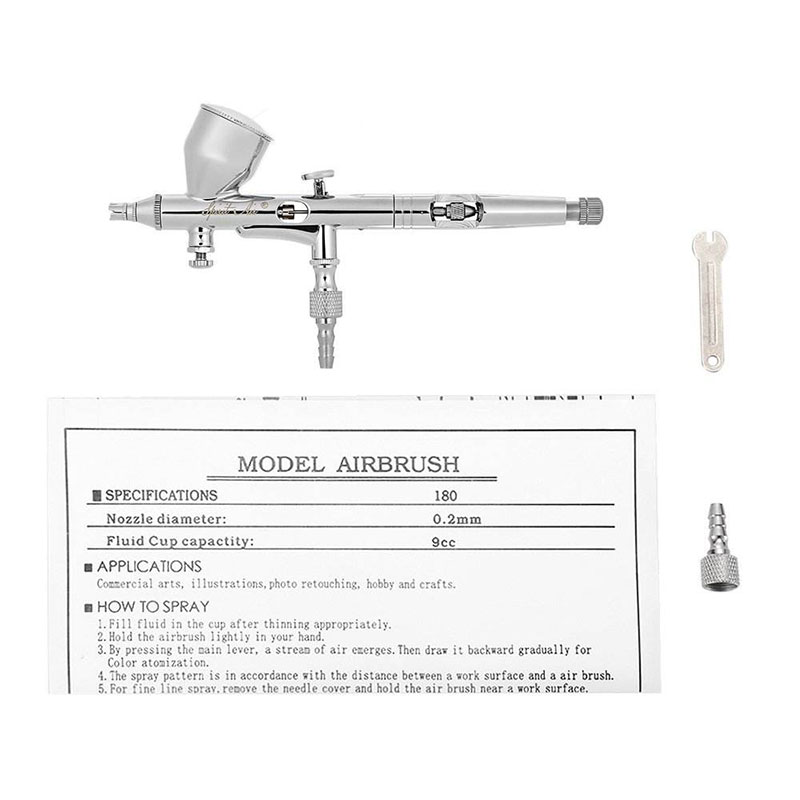 Airbrush Painting Gun BT-180 Spray Gun for Body Painting on Models, Hobbycor Airbrush KitAirbrush Painting Gun BT-180 Spray Gun for Body Painting on Models, Hobbycor Airbrush Kit is a BT-180 spray gun specially designed for model painting and body painting...View Product →
Four Mistakes That Ruin a Model Car Paint Job
When a body comes out rough, the cause is almost always one of these four. Diagnose the symptom, fix the setting, and re-spray.
| Symptom | Fix |
|---|---|
| Orange-peel texture | Thin the paint more and drop to 15 PSI; spray with a lighter, more distant pass. |
| Runs and sags | You laid the coat too wet. Build two or three light passes with flash-off time. |
| Grainy, dusty surface | Pressure too high or gun too far. Verify PSI and stay within 15 cm of the panel. |
| Fisheye dimples | Contamination on the body. Degrease the plastic and use a tack cloth before every primer coat. |
Common airbrush defects and the adjustments that correct them before you strip and repaint.
Keep a Two-Minute Cleaning Habit
An airbrush that clogs halfway through a clear coat was usually cleaned poorly after the last session. This routine takes two minutes and eliminates most spitting, tip-dry, and nozzle blockages.
- Flush after every colour change. Run airbrush cleaner through the cup until it exits completely clear before switching from silver to red or from primer to base coat.
- Back-flush once per session. Seal the nozzle cap with your finger, pull the trigger, and let the cleaner bubble back into the cup. This dislodges paint trapped behind the needle that a normal flush misses.
- Strip the needle and nozzle weekly. Remove the needle, nozzle, and cap, soak them in cleaner, and wipe the needle from back to front with a soft cloth. Never pull the needle forward through the nozzle.
- Oil the needle before reassembly. A single drop of airbrush oil keeps the trigger action smooth and prevents paint from sticking to the needle.
- Soak only the metal parts. Cleaning solvents attack internal seals and o-rings. Soak removable metal components only; keep solvent away from the body of the airbrush.
Buy for Consistency, Not for a Logo
The most expensive airbrush in the shop will not fix a shaky compressor or a build schedule that rushes paint. A reliable double-action gravity-feed brush, a steady 15–20 PSI air supply, and replaceable nozzles, needles, and seals matter more than the brand on the box.
That is why many modellers buy from a manufacturer that builds the gun, the compressor, and the spare parts on the same production line. Consistent QC, matched accessories, and readily available replacement parts keep a hobbyist airbrush working for years — and that is what turns a first build into a permanent habit.
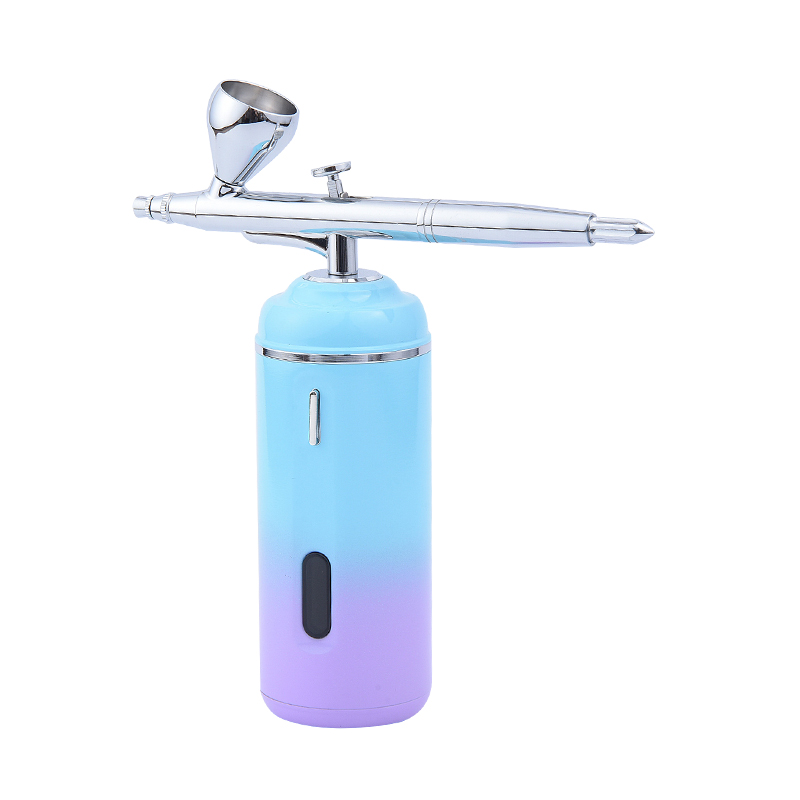
 Hobbyist Airbrush Kit Mini Airbrush PenHobbyist Airbrush Kit Mini Airbrush Pen is a mini airbrush set for hobbyists. The mini airbrush in this set is small and easy to carry, making it very suitable for beg...View Product →