 English
 русский
Nov 09,2026
Content
- 1 The Short Answer: Acrylics First, Lacquer When the Finish Matters
- 2 Acrylic, Lacquer and Enamel Side by Side
- 3 What the Paint Choice Changes Inside the Airbrush
- 4 A Four-Step Routine That Prevents Most Paint Failures
- 5 Pressure, Viscosity and Film Thickness in Numbers
- 6 When It Goes Wrong: Symptoms and Fixes
- 7 What to Put on the Bench Before the First Kit
- 8 Ventilation, Gloves and Cleanup
The Short Answer: Acrylics First, Lacquer When the Finish Matters
If you buy only one type of paint for plastic models, buy a water-based acrylic. It sprays at low pressure, cleans up with water, and it will not damage the polystyrene that most kits are moulded from. Move to a lacquer-based paint when you need a hard, glossy film, strong adhesion along panel edges, or fast recoat times. Keep enamel for what brushes well: figures, small details and slow-levelling washes.
That order matters because the plastic decides half the answer. Polystyrene softens and crazes when a hot solvent sits on it wet and heavy. Acrylics sit on the surface; lacquers bite into it. A lacquer sprayed in two thin, quick passes gives excellent adhesion. The same lacquer sprayed wet on bare plastic can leave a wrinkled, frosted patch that no amount of sanding will fully hide inside a recess. Acrylic sprayed too dry gives a grainy coat that lifts under masking tape.
So the best paint is not a single bottle. It is the one that matches your plastic, your nozzle size and your workspace. The rest of this guide works through those three constraints, then the numbers and the failure modes that matter once you are actually spraying.
Acrylic, Lacquer and Enamel Side by Side
These are the practical differences that change how you work, not marketing claims. All four families are formulated for model plastics; what separates them is solvent strength, film hardness and drying behaviour.
| Paint family | Thinner | Touch dry | Film and durability | Best used for |
|---|---|---|---|---|
| Water-based acrylic | Water or acrylic thinner | 15–30 min | Soft, chips on edges | Base coats, interiors, indoor work |
| Alcohol/lacquer-type acrylic | Dedicated acrylic thinner | 5–10 min | Harder film, good bite | Fast builds, metallics, multi-colour work |
| Lacquer | Lacquer thinner | 5–10 min | Hardest, excellent adhesion | Gloss bodies, clear coats, seams |
| Enamel | Mineral spirits | 6–24 h | Good, yellows with age | Hand-brushed detail, washes, figures |
Figures assume 20 °C, thin coats and a 0.3 mm nozzle; heavy coats and high humidity can double every number.
Choose by room as well as by kit. If you spray in a spare bedroom, stay with water-based acrylics and a spray-out pot; the odour is mild and the overspray wipes off. If you have extraction and a cartridge respirator, lacquer gives you a tougher film and lets you mask after half an hour instead of a full day.
What the Paint Choice Changes Inside the Airbrush
The same bottle that brushes beautifully can fight an airbrush, and the cause is almost always viscosity and solvent speed. Water-based acrylics want thinning to roughly the consistency of skim milk, around 3 parts paint to 1 part thinner depending on the range, and they spray cleanest between 12 and 18 psi through a 0.2–0.3 mm nozzle. Push the pressure to 30 psi and the paint arrives half dry, which is where the sandy texture that shows through a gloss coat comes from.
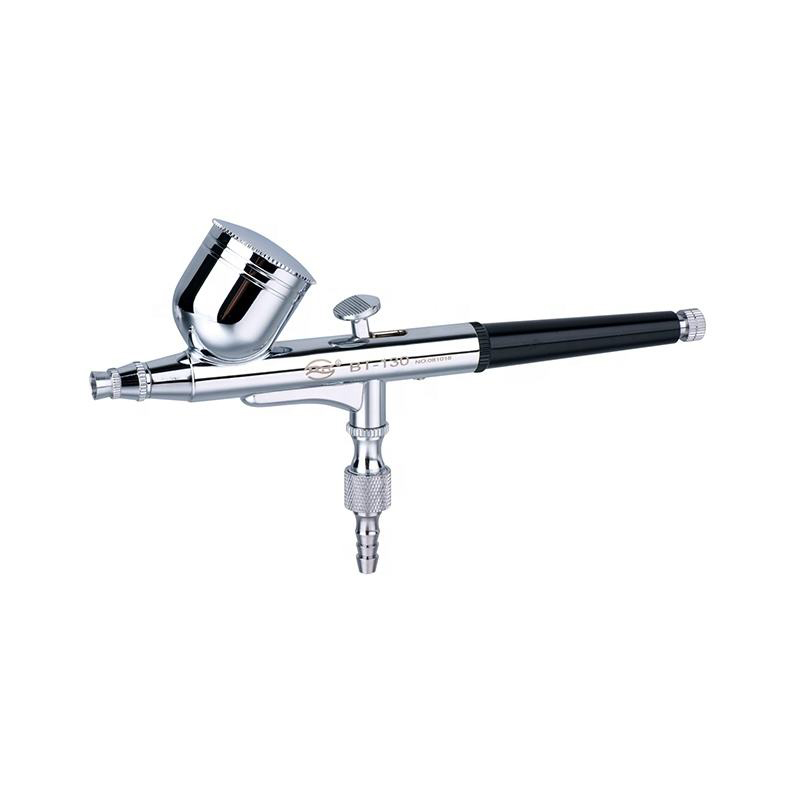
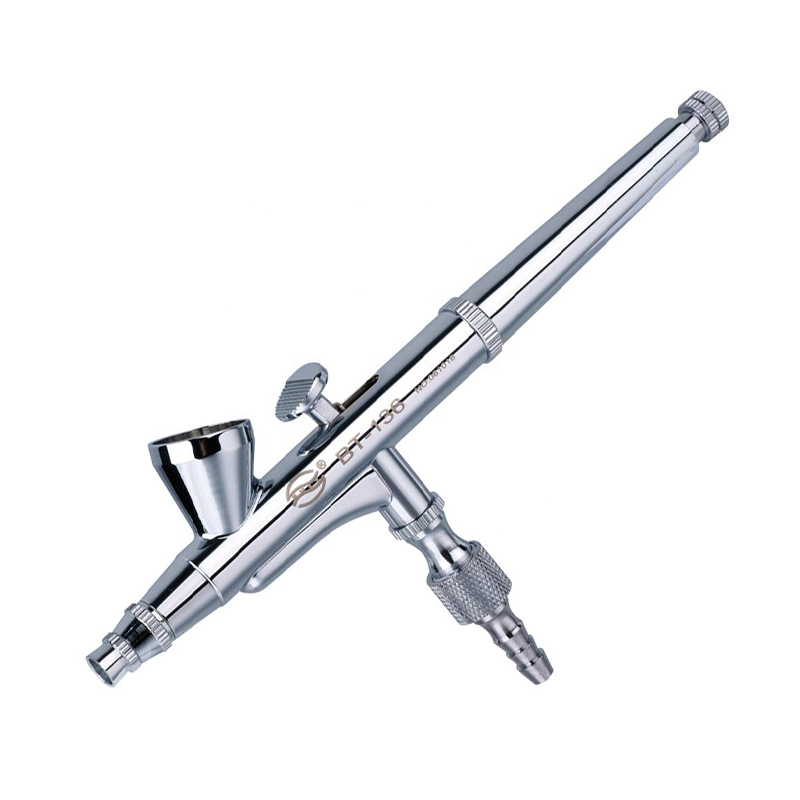
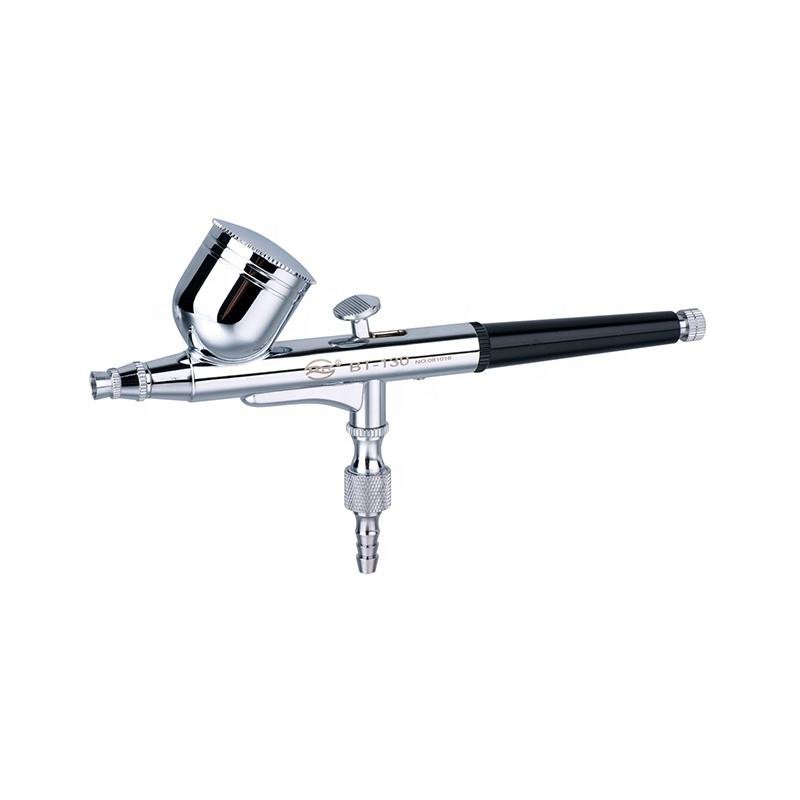
 Precision Dual-Action Airbrush Kit with 3-Tip SetGravity-feed body with interchangeable needle and nozzle sizes, so thinned acrylics and primers can share one handle.View Product →
Lacquers behave the other way around: they tolerate higher pressure, level out on the surface, and dry before dust settles, but they attack rubber seals and some needle packings. If the majority of your work is acrylics on 1/24 and 1/35 subjects, a 0.3 mm needle with a 2–7 cc gravity cup covers most of it; step up to 0.5 mm only for primer and large flat areas. A modeling airbrush kit with 3 mm, 5 mm and 8 mm needle options is the practical compromise when one bench has to handle bodies, bases and primer.
A Four-Step Routine That Prevents Most Paint Failures
Most faults are decided before the first coat, not during it. This sequence is short enough to run on every build and removes the usual causes of a finish that looks worse than the bare plastic.
- Degrease and dull the surface. Wash the parts in warm water with a drop of dish soap, rinse and let them dry fully. A 1000–2000 grit pass or a grey scuff pad gives the primer something to grip; skip it and masking tape may lift the paint months later.
- Prime thin. Two light passes of grey primer from 20–25 cm, then 30 minutes to dry. Grey shows seam lines and sanding scratches better than white, and a thin layer keeps panel lines and rivets readable.
- Build colour in passes, not coats. Three light passes with 10–15 minutes between them beat one wet coat every time. Keep the brush moving, overlap by about a third, and stop while the surface still looks slightly wet.
- Let it cure before you touch it. Acrylic films feel dry within half an hour and are still soft at 24 hours; masking too early leaves marks that no clear coat will hide. Give it a day, then gloss or flat clear, then decals.
Pressure, Viscosity and Film Thickness in Numbers
Two settings explain most airbrush paint problems: pressure at the nozzle and the thickness of the wet film.
0.3 mm nozzle · 15–18 psi · 2–3 thin passes · 24 hours to cureAt 15–18 psi a properly thinned acrylic lands wet enough to level but not so wet that it pools in panel lines. A cured colour coat on a 1/35 figure or a 1/24 body is typically 10–20 µm thick; anything approaching 50 µm starts to fill detail and reads as a dipped toy under light.
If your compressor has no regulator, the pressure drifts as the motor cycles and your coats vary from panel to panel. A small air tank plus a gauge makes the numbers repeatable, which is worth more on a model bench than a larger brush.
When It Goes Wrong: Symptoms and Fixes
Nearly every complaint below traces back to one of four settings: too much thinner, too much pressure, too much distance or too much paint.
| What you see | What to change |
|---|---|
| Dry, sandy texture | Drop to 15 psi, move to 15–20 cm, add thinner in small steps. |
| Cobweb strands from the nozzle | Too thin or too much pressure; cut both and open the needle a quarter turn. |
| Wrinkled or frosted plastic | Hot solvent on bare polystyrene; strip, seal, and use thin lacquer passes or acrylic. |
| Milky haze in the clear coat | Moisture in the air line; fit a trap and drain the tank before the next session. |
| Craters or fish eyes | Silicone, oil or mould release on the surface; rewash the part and the brush. |
| Coverage stalls after two passes | Paint too thin or pressure too low; add pigment rather than air. |
Fix one variable at a time and spray a test card; changing two settings at once tells you nothing.
What to Put on the Bench Before the First Kit
Check what a paint needs before you buy it: a matched thinner, a compatible primer and a steady air supply. The list below is what actually gets used on a first build; everything else can wait.
 BT-18 Airbrush Compressor And AirbrushA compact compressor and airbrush pairing for steady, repeatable air supply on small model builds.View Product →
For model work, a regulator and a moisture trap matter more than tank size, because a repeatable 15 psi is what keeps coats consistent across a whole build.
- One water-based acrylic range with its matched thinner, plus a retarder for warm, dry rooms.
- Grey primer from the same family as the colour coat; mixing families is where adhesion complaints start.
- A 0.3 mm needle and nozzle plus a spare set, since bent tips are the most common accident on a bench.
- Cleaning fluid, cotton buds and a spray-out pot; acrylic left in the nozzle overnight sets like putty.
- Nitrile gloves and a respirator rated for the solvent you are actually using.
Ventilation, Gloves and Cleanup
Water-based does not mean risk-free. Atomised paint is still a respiratory irritant, and alcohol or ammonia-based thinners in a closed room will give you a headache long before the paint dries.
Spray with cross-ventilation or extraction, keep your head out of the overspray path, and wear a cartridge respirator whenever lacquer or enamel thinner is open; a dust mask does nothing for solvent vapour. Gloves solve the more everyday problem of handling parts with tacky fingers.
Clean the brush within minutes of finishing. Flush with the matching thinner, back-flush with a finger over the cap, then wipe the needle. Solvent left in the body attacks seals, and acrylic left in the nozzle sets hard enough to need a soak rather than a scrub.
The best paint for plastic models ends up being the one you can control. For most people that means a water-based acrylic for colour, a lacquer for the final gloss, and a thinner, pressure and nozzle combination already tested on scrap plastic.
Spend one evening spraying test cards at three pressures and two thinning ratios. Those six squares will tell you more about your paint than any label on the bottle, and a deeper walkthrough of passes, masking and clear coats is in our guide to painting plastic models with an airbrush.