 English
 русский
Nov 16,2026
Content
Three Paint Families and What They Ask of You
Hobby paints are not interchangeable. Each family carries its own thinner, drying time and solvent strength, and those three properties drive the rest of your setup — how fine a nozzle you can get away with, how much pressure you need, and whether a respirator is optional or mandatory. The comparison below reflects how the three groups behave on a plastic kit.
01| Paint family | Thinner | Best for | Watch out for |
|---|---|---|---|
| Water-based acrylic | Water or brand thinner plus flow improver | Base coats, camouflage, figures, mixed brush and airbrush work | Tip dry on the needle; weak adhesion until fully cured |
| Enamel | White spirit or mineral spirits | Pin washes, some metallics, hard-wearing finishes | Slow drying, strong odour, long cure before the next layer |
| Lacquer | Lacquer thinner | Primers, metallic finishes, maximum bite on plastic | Aggressive solvents can craze bare polystyrene; extraction and respirator required |
Cure times assume roughly 20–25 °C and moderate humidity; a cold workshop stretches them considerably.
One rule is worth memorising before you open a second jar: acrylic can go over fully cured enamel, but fresh enamel over uncured acrylic will often wrinkle it. Lacquer thinner on bare plastic needs mist coats only — a single wet pass can etch the surface in seconds, and no amount of clear coat hides it afterwards.
Thinning, Nozzle Size and Pressure: The Numbers
Most spraying faults blamed on the airbrush are really mismatch faults — paint too thick for the nozzle, or pressure too low to atomise the mix properly. Three figures cover the majority of scale modelling work.
0.3 mm nozzle, 15 psi, paint thinned roughly 1:1 with thinner — that one combination handles primer, base coats, camouflage and clear coats on most 1/35 and 1/48 kits.
Fine work tightens everything: a 0.2–0.25 mm setup at 10–15 psi for pre-shading, mottling and figure faces, with the mix pushed closer to 2:1 thinner-to-paint. Large 1/24 surfaces and thick primers want a 0.5 mm nozzle at 20–25 psi, because heavy primer through a small nozzle is the fastest route to a clog halfway across a wing. Keep the brush 10–15 cm from the surface and keep it moving — a stationary pass lays down far more paint than most people expect.
Regulated, steady pressure matters as much as the number on the dial. A compressor with a small air tank holds output through a whole coat instead of pulsing on each piston stroke, which is why tank-equipped units feel calmer than tankless models of the same rating.
 BT186 Single-Cylinder Piston Compressor with Air TankTank-equipped piston compressor that keeps air output steady through long priming and base-coat sessions.View Product →
Whichever compressor you run, fit a moisture trap and drain it. Water carried down the line lands on the model as tiny craters that only become obvious after the clear coat has cured.
A Spray Sequence That Avoids Rework
Order of operations saves more paint and sanding time than any individual setting. The sequence below is what most experienced builders follow, and each step exists to prevent a specific failure at the next one.
- Wash and degrease. A drop of mild dish soap in warm water, a soft brush over the assembled model, then 24 hours to dry. Mould release agent and fingerprint oils are the usual reason paint pulls back from edges.
- Prime in two mist passes. Grey or black primer at around 20 psi, 15–20 cm away, ten minutes apart. Primer reveals seam lines and sink marks before you commit colour to them.
- Build the base colour in light coats. Three thin passes beat one wet coat every time; each should still look slightly translucent before the next goes on.
- Mask, then spray away from the tape edge. Drop to 10–12 psi for the second colour so paint cannot creep under the mask line.
- Seal before decals. A gloss clear coat gives decals a smooth bed and prevents silvering; a flat coat afterwards locks the whole finish.
Switching between a detail needle and a wider one mid-project throws off your thinning ratios and trigger feel. A single gravity-feed brush you know well is easier to learn on than three specialised ones, and it is what most first-time model painters actually need.
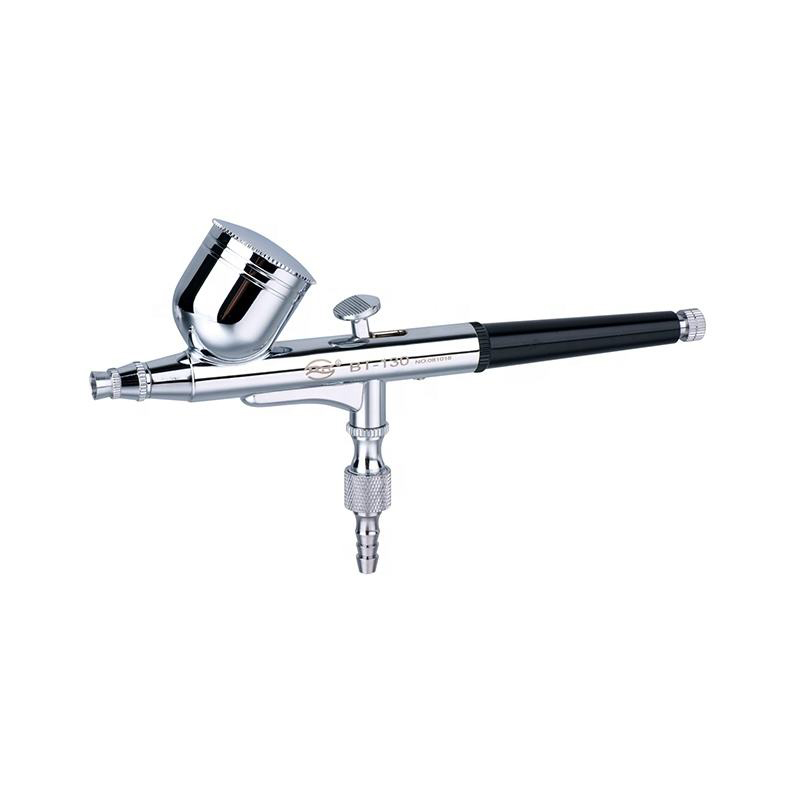
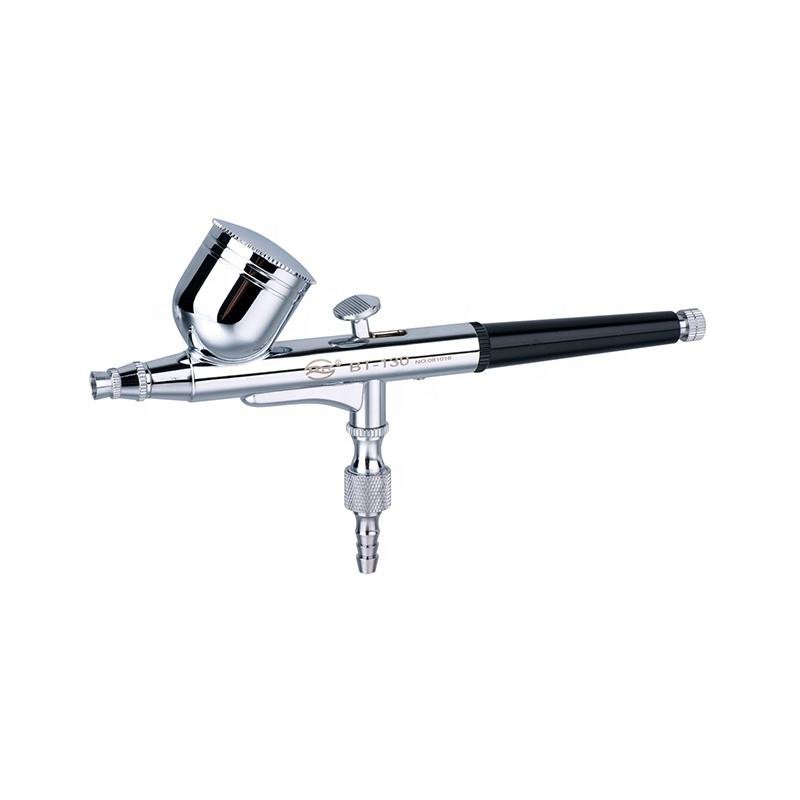
 BT180 Airbrush Painting Gun for Models and Hobby KitsGravity-feed hobby airbrush kit intended for model painting, body art and fine-detail spraying.View Product →
Add extra needle sizes later, once your thinning habit is stable. Buying three brushes before you can thin acrylic consistently usually costs more than it saves in clogged nozzles and stripped threads.
Where the Airbrush Earns Its Keep
Soft-edge camouflage, post-shading, panel fading and even clear coats are airbrush work. A brush still wins for detail painting, deliberate chipping and dry-brushing, and no amount of spraying rescues a build with visible seams.
Where the airbrush pays back its setup time is repetition. A four-colour soft-demarcation scheme on a twin-engine kit is a fifteen-minute job once the mixes are prepared, and the edges stay identical across fuselage, wings and stores — something hand-brushing rarely achieves twice in a row.
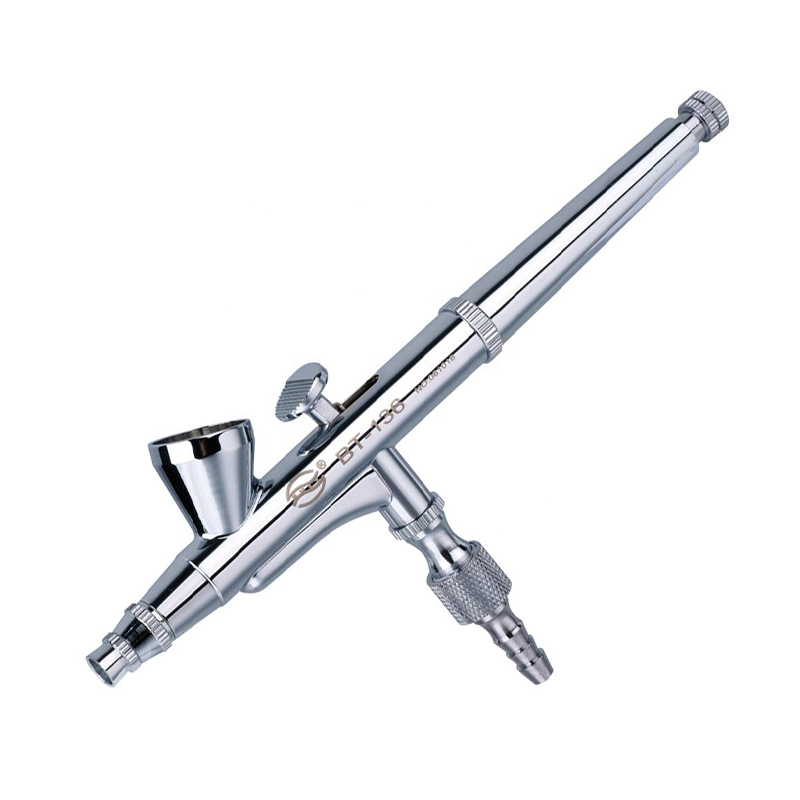
The tool matters less than having the right needle for the task. A professional modeling airbrush kit that includes interchangeable needle and nozzle sets lets one body handle detail work and broader coverage, so your ratios and trigger feel stay familiar from job to job.
If you want the full technique order — tool choice, layering, masking and the final flat coat — the modelling painting techniques guide walks through it stage by stage.
Reading the Symptom Instead of the Setting
When a coat goes wrong, the visible defect usually names its own cause. Work backwards from what you see before touching a dial, because adjusting three variables at once makes the problem harder to identify, not easier.
| What you see | What it usually means and what to change |
|---|---|
| Grainy, speckled finish | Paint too thick or pressure too low; add thinner in small increments and retest on a plastic spoon |
| Spider-webbing at the edges | Too much paint, too close, or pressure too high; shorten trigger travel and move faster |
| Paint pulls back from edges | Grease or mould release still on the plastic; wash again and re-prime the area |
| Tip dry within a minute | Acrylic curing on the needle; add a drop of retarder and keep a damp brush beside you |
| Etched or crazed plastic | Lacquer thinner laid on too wet; switch to mist coats over bare polystyrene |
These readings assume a clean nozzle and a well-mixed cup; a partly blocked tip will imitate several of them at once.
Start with the cheapest variable. Cleaning the nozzle and retesting a mix on scrap plastic solves more cases than buying a new needle, and it keeps your baseline settings honest for the next project.
Habits That Keep Coats Consistent
Consistency comes from small routines rather than expensive equipment. These are the ones that make the biggest difference over a dozen builds.
- Mix in a separate cup and write the ratio on the lid, so a colour you liked can be repeated months later.
- Test on a plastic spoon or a spare sprue before every session — ten seconds that regularly saves a whole model.
- Flush the brush within five minutes of finishing; dried acrylic inside a nozzle costs far more time than the rinse does.
- Keep a short log of pressure and thinner per paint line, and update it whenever a mix changes.
- Stop spraying while the coat still looks slightly thin; the next pass is easy, sanding back a run is not.
Safety and Workspace Basics
Lacquer and enamel thinners are the part of this hobby that carries genuine risk. Organic solvent vapour needs a respirator with the correct cartridges, gloves, and either extraction or a window with a fan pulling air away from you. Never spray near food, and store thinners in labelled, sealed containers away from heat.
Acrylics are lower risk but not risk-free: airborne pigment is still a respiratory irritant, and overspray settles on everything within a couple of metres. A simple spray booth or a cardboard backdrop behind the model keeps the bench — and the rest of the room — considerably cleaner.