 English
 русский
Sep 14,2026
Content
- 1 What Primer Paint for Plastic Models Actually Does
- 2 Grey, Black, or White: Color Affects Value, Not Adhesion
- 3 How to Apply Primer Paint for Plastic Models, Step by Step
- 4 The Most Common Mistake: Using Primer as a Filler
- 5 Practical Tips That Make Priming Easier
- 6 Ventilation, Respirators, and Cleaning After Priming
You have finished assembling a plastic model kit—say, a 1/35 armor project or a 1/48 aircraft—and then comes the real test. You spray the first color coat over bare styrene and watch the paint bead, pool in panel lines, and scratch off when you touch it. The culprit is not the paint. It is the missing primer paint for plastic models. Priming creates a mechanical and chemical bond between a smooth, glossy plastic surface and the paint layers above it, and skipping it is the single most common reason a model finish fails.
The conclusion up front: a primer coat also evens out the surface tone, makes scratches and seams visible while they are still easy to fix, and protects the plastic from aggressive solvents in later paint layers. Getting priming right takes four decisions—how you prepare the surface, which primer type you choose, what color you use, and how you apply it. Work through those four points and the rest of the painting process becomes far more predictable.
What Primer Paint for Plastic Models Actually Does
Primer performs three jobs, and it helps to keep them separate when you are diagnosing a problem. First, it gives the paint something to grip. Water-based acrylic primer forms a flexible film that locks onto the plastic microscopically; a lacquer-based primer goes further by letting its solvent subtly soften the outer skin of styrene, creating a chemical key. Second, it flattens the micro-texture of the surface so the final color dries evenly instead of reflecting every mold line or polished patch. Third, it turns the bare gray, white, or colored plastic into one uniform base value, which is what the color coat will be judged against.
This is also why primer is a tool for inspecting a kit. A single even coat exposes sink marks, faint seams, and finger oil that were invisible on bare plastic. Fix those defects before laying down expensive color paint.
| Primer type | Best match for | How it behaves | Practical notes |
|---|---|---|---|
| Water-based acrylic | Indoor hobby rooms, brush-and-airbrush work, small scales | Flexible film, low odor, cleans with water; slower to dry in humid weather | Thin about 1:1; wait 24 hours before sanding |
| Lacquer-based | Most kits on bare plastic; strongest adhesion | Solvent bites the plastic, dries fast, shrinks less; can craze soft polystyrene | Test on the sprue first; use 15–20 psi |
| Spray can (rattle can) | Quick one-model jobs, large areas, no airbrush | Lacquer-like film, convenient, hard to control on small details | Keep passes light; sand with 1000-grit afterwards |
Drying times assume 20–22 °C and about 50% relative humidity.
Grey, Black, or White: Color Affects Value, Not Adhesion
Many modelers assume that primer color is about adhesion. It is not. All primers bond to the plastic the same way regardless of pigment; the color choice is about the perceived lightness—the value—of everything you spray on top. Once that is clear, the practical rules become memorable.
The grey default
Grey sits in the middle of the value scale, so it changes any paint on top by only about one step: light colors read slightly darker, dark colors read slightly lighter. That is why grey is the safest starting point for camouflage, armor, and aircraft finishes where you want the paint to match the reference photo rather than an imagined brightness.
When white works better
White primer is the correct base for yellows, off-whites, and translucent colors. Yellow paint in particular is naturally low in opacity, and over a grey base it turns greenish and dull. White also helps historical figures and clean builds where the final effect depends on the lightest possible under-layer.
When black is the right base
Black primer supports pre-shading and metallic candy work. Spray black, then white from above at a 45-degree angle—the technique called zenithal priming—and the panel centers stay dark while the tops catch white. Over that, thin paint builds shadows and highlights automatically. Black is also the standard under glossy metallic colors.
One grey coat shifts paint about one value step; white and black primer exist to control brightness and shadow, not grip.
How to Apply Primer Paint for Plastic Models, Step by Step
The sequence below works for both water-based acrylic and lacquer-based primers. The only changes are thinning ratios, drying times, and how aggressively you sand afterwards.
- Wash the parts. Warm water, a drop of dish soap, a soft old toothbrush, then a thorough rinse. Mold release agent and finger oil are the main reasons paint lifts later, and no primer fixes that afterwards.
- Scuff glossy surfaces. Run 600-grit paper or a fine sanding sponge over large flat panels and curved areas that will receive the full color coat. You are looking for a uniform matte key, not deep scratches.
- Mask what must stay bare. Transparent windows, joint surfaces that will be glued after painting, and anything chrome. Masking tape is cheap; stripped or re-sprayed parts are not.
- Thin to a comfortable spraying consistency. Water-based acrylics typically work at 1:1 with water or flow improver. Lacquer-based primers spray well from the can; if you thin them, use the solvent made for that product.
- Spray at 15–20 psi with a 0.3 mm needle, 10–15 cm from the surface. Two or three light passes give a better result than one wet coat. A well-tuned airbrush produces smoother and more uniform spraying, so test the pattern on paper before touching the kit.
- Let it cure in order. Lacquer-based primer can be handled in 15–30 minutes; water-based acrylic needs about 60 minutes to touch-dry and a full 24 hours before aggressive sanding or masking tape.
- Inspect under raking light. Tilt the part so light rakes across the surface: runs and dust will show as streaks. Knock them down with 1000-grit paper, wipe with a tack cloth, and re-prime only the corrected spots.
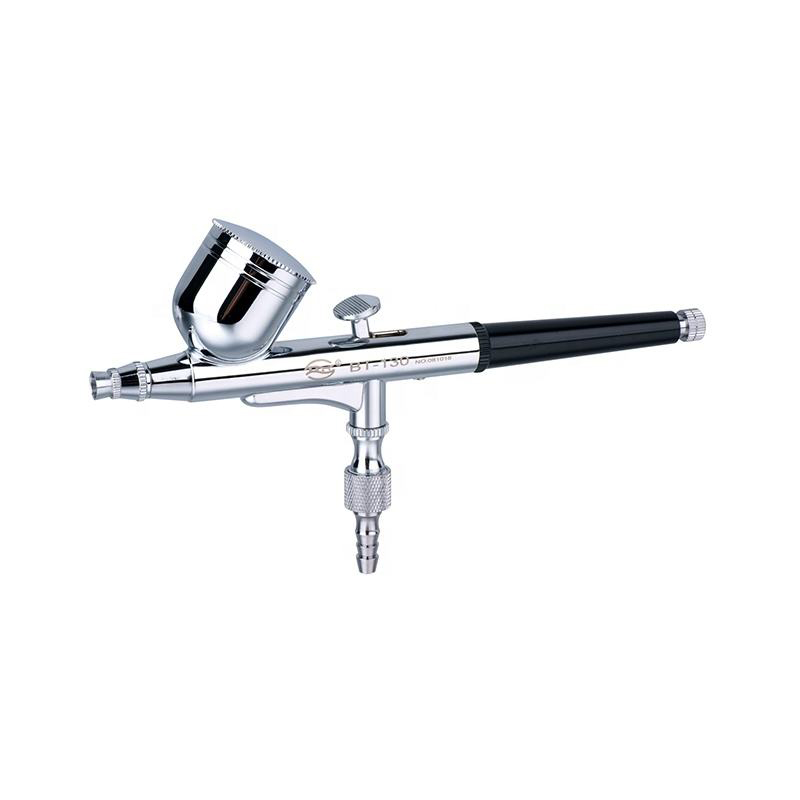
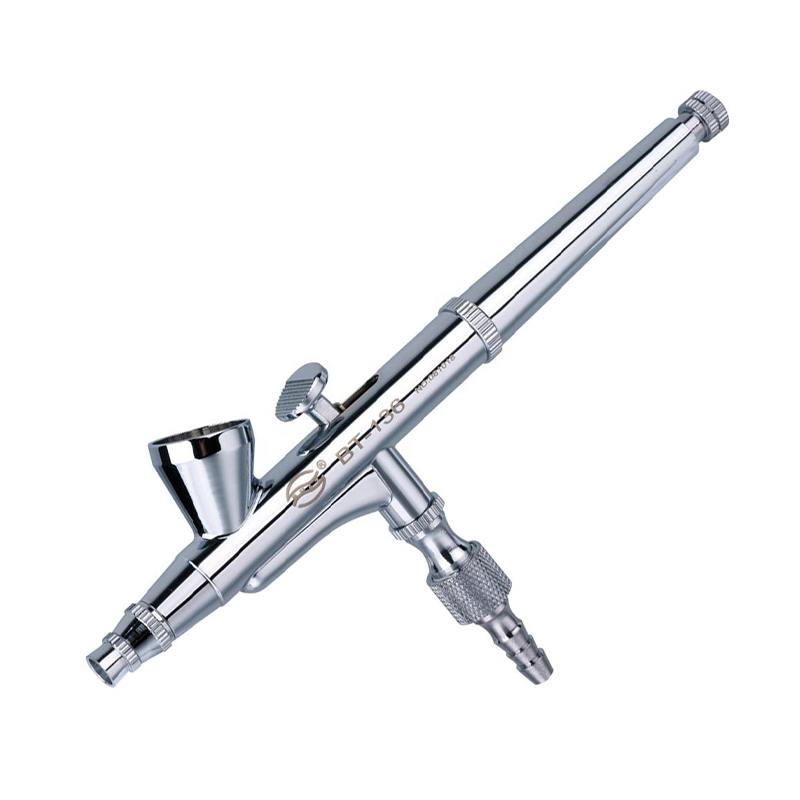
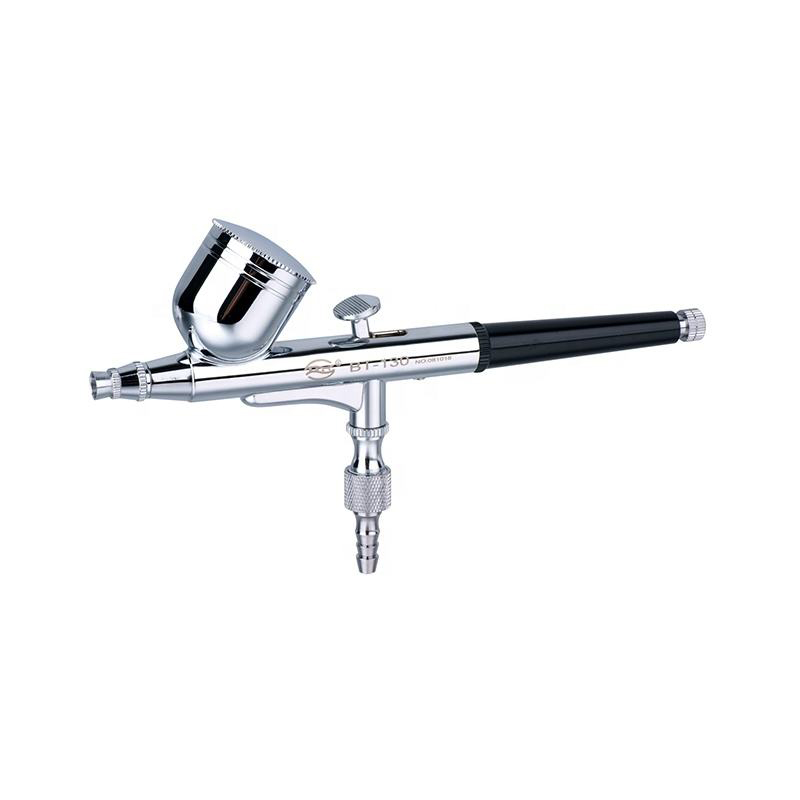
For larger models—tanks, ship hulls, and aircraft with broad panels—a dual-action airbrush with interchangeable needle and nozzle sizes lets you switch between broad priming passes and fine detail re-spotting without changing brushes.
The Most Common Mistake: Using Primer as a Filler
Automotive filler primer redirects many modelers toward thick, heavy coats in the hope of hiding a seam or a sink mark. On plastic models that approach backfires. A thick primer coat fills panel lines, rounds off sharp edges, and shrinks as it cures, so the crack you tried to hide comes back within a week. Primer is for bonding and for revealing defects—putty and sanding are for filling them.
| Common mistake | What to do instead |
|---|---|
| Spraying thick primer to fill a seam | Fill with putty, sand flush, then let primer skim the repair area only. |
| Skipping the soapy-water wash | Wash every part before assembly; release agent causes fish-eyes and flaking. |
| Sanding primer before full cure | Wait 24 hours for acrylic systems; sand lightly with 1000-grit only. |
| Spraying one wet coat instead of light passes | Two or three thin coats at steady pressure; let each flash off. |
| Ignoring the airbrush after priming | Flush and clean the tip immediately; dried primer is much harder to remove. |
If a primed finish fails, the cause is almost always on this list.
Practical Tips That Make Priming Easier
These habits come from production work and long painting sessions, where the difference between a smooth session and a frustrating one is usually preparation, not talent.
- Use a workhorse airbrush for primer. Primer is more abrasive than color paint and will wear a fine 0.2 mm needle seal faster. Keep a 0.3 mm or 0.5 mm setup dedicated to priming and clear coats, and save the fine needle for detail color work.
- Stabilize your air supply. Long passes drain a small tankless compressor quickly and the pressure drifts; a compressor with a tank holds the pressure where you set it for the whole coat, so the atomization stays consistent from the first pass to the last.
- Write the ratio on the bottle. "1:1 thinner, 18 psi, 0.3 mm tip" costs five seconds and saves a ruined session months later when the label has worn off. Too many modelers waste primer bottles relearning the same settings.
- Test on a plastic spoon first. One spoonful of primer tells you the mix ratio, the working distance, and the drying time of that particular batch before you commit a painted kit to it.
- Keep spare parts within reach. A blocked nozzle mid-session is the most common interruption in airbrushing. Having a compact set of airbrush accessories—needles, nozzles, caps, a quick-release coupler—means you fix the problem in two minutes instead of abandoning the project until next week.
Ventilation, Respirators, and Cleaning After Priming
A primer coat is not a one-way street: the same solvents that give lacquer-based primer its strong bite are also the ones you should not breathe all day. Treat this as a basic safety habit rather than an optional extra.
Ventilation and respiration
Spray inside a booth that exhausts outdoors, or at minimum in a room with cross-flow ventilation and an open window. For lacquer-based and solvent-thinned acrylic primers, wear a respirator with organic vapor cartridges; dust masks are not enough. Water-based acrylics are lower in odor, but the atomized particles can still irritate the lungs, so ventilate those sessions too.
Cleaning the airbrush after primer
Primer dries fast, and the dried flakes are harder to remove than ordinary paint. At the end of a priming session, back-flush the cup with the appropriate cleaner (water for acrylic, dedicated solvent for lacquer-based), remove the needle, wipe it, and reinsert. Use a cleaning pot to catch the flush instead of spraying solvent around the workspace. For a blocked nozzle, a stainless-steel needle brush clears the inner cone without scratching the bore—do not use metal wire or a raw toothpick, which will deform the tip.