 English
 русский
Oct 26,2026
Content
- 1 Single-Action vs. Double-Action Airbrush for Models
- 2 Five Steps to a Consistent Model Paint Job
- 3 Key Specs That Decide How Well an Airbrush Works
- 4 Practical Tips for Smooth Coats on Plastic Models
- 5 Common Mistakes and the Simple Fix
- 6 A Starter Checklist for Your First Model Making Airbrush
- 7 Safety Notes Before You Start Spraying
You’ve just finished assembling your first plastic kit, and the test spray on the sprue looks uneven. The paint has pooled around the panel lines, and the next project is a 1/48 aircraft with complicated camouflage. The fix is not another brand of paint; it is a model making airbrush that matches the task. For most scale modelling, the efficient starting point is a dual-action, gravity-feed airbrush with a 0.3mm needle/nozzle, fed by a tanked mini compressor with a regulator. That combination lets you control air and paint independently, change colours quickly, and stay in the 15–20 PSI range where fine details actually spray cleanly.
Once you understand that formula, you can judge any product listing without hype. Single-action brushes are simpler, but double-action is so much more flexible for feathered camo edges, subtle pre-shading, and smooth metallic finishes that it is the better first purchase for model making. If you are just starting the finishing process, our model kit painting guide covers the rest of the routine step by step.
Single-Action vs. Double-Action Airbrush for Models
Before you choose, compare the two trigger systems side by side. The table below shows where each type earns its place, and it explains why serious modellers rarely pick single-action.
| Feature | Single-Action | Double-Action | Model Making Verdict |
|---|---|---|---|
| Air control | Fixed when the trigger is pressed | Adjustable while spraying | Select double-action for feathering |
| Paint control | Trigger opens the nozzle only | Trigger moves the needle to meter both air and paint | Double-action gives thin-to-thick coat control |
| Learning curve | Easier for an absolute beginner | Slightly steeper at first | Stay with double-action from the start |
| Best use | Large base coats, priming, stencils | Panels, freehand lines, gradients, weathering | Essential for model detail work |
Double-action means both air and paint are under your index finger, so a single motion changes coverage density.
A good way to avoid buying twice is to start with a set that includes more than one needle/nozzle size. That way you can spray primer with a larger setup and switch to a smaller needle for canopy frames and insignia without changing airbrushes.
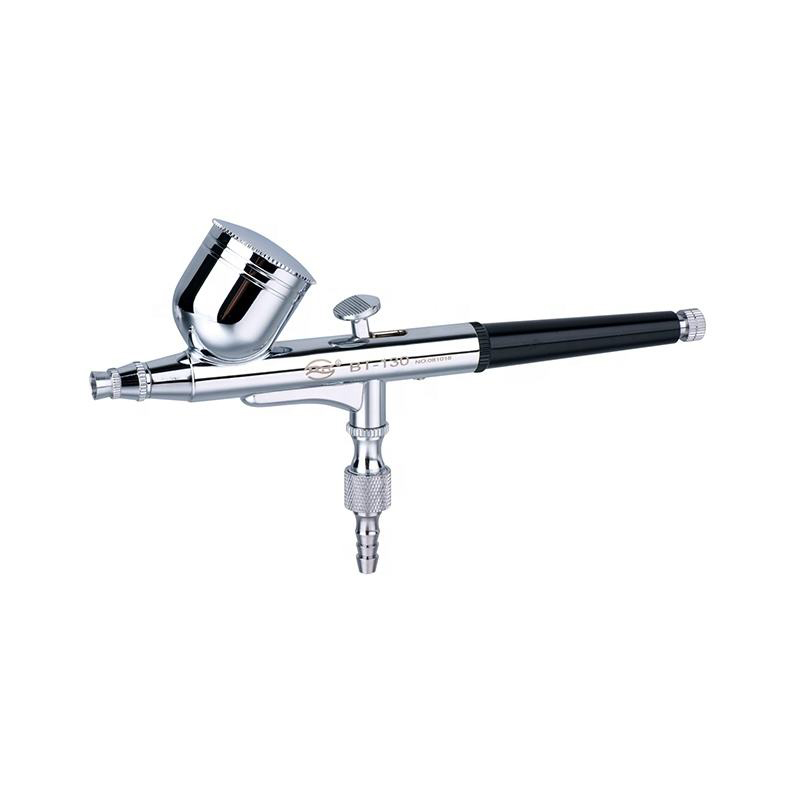
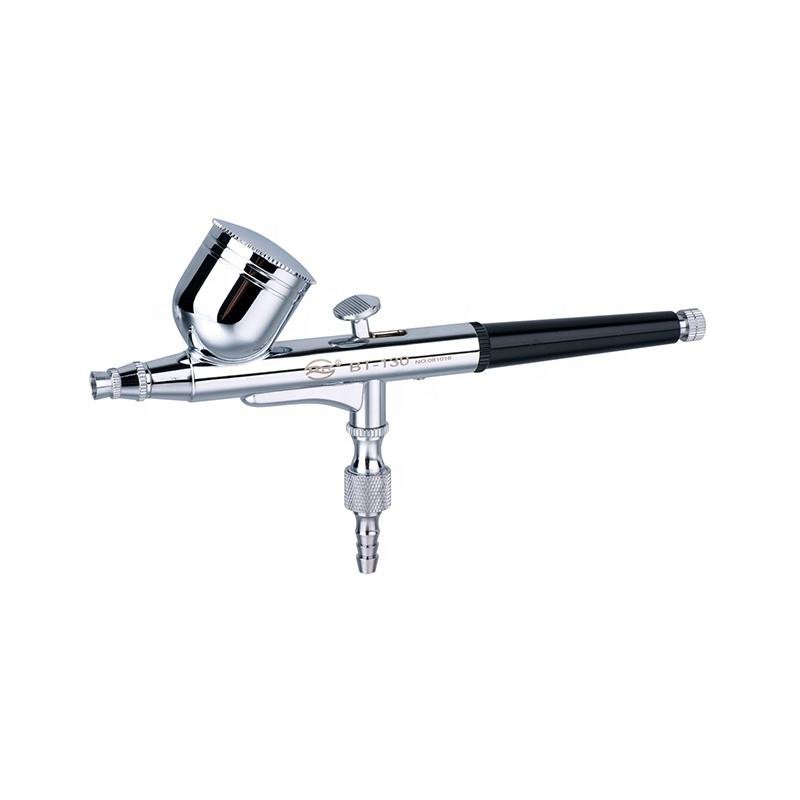
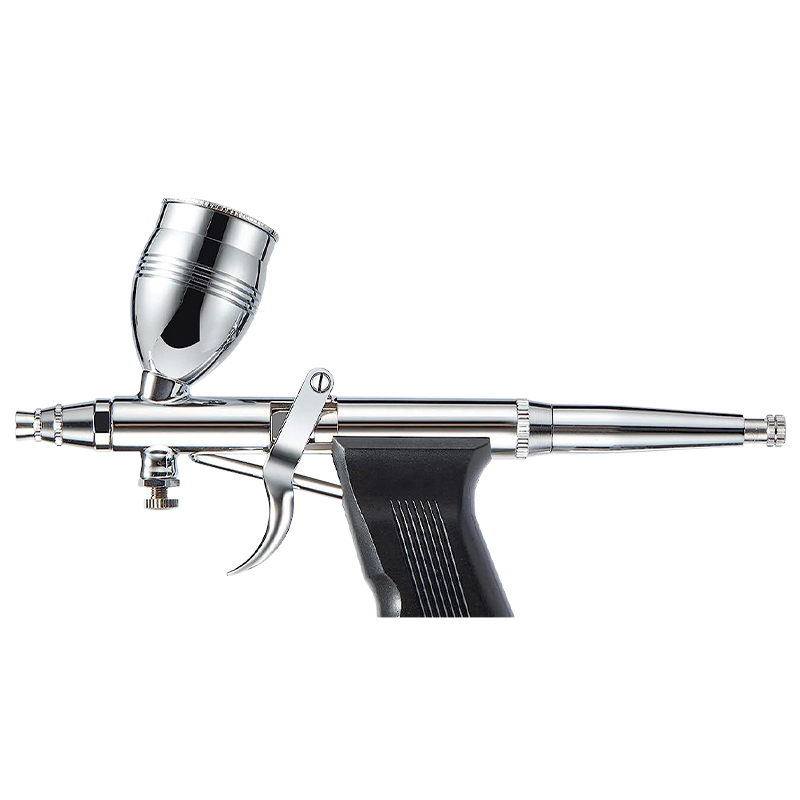 Professional Modeling Airbrush Kit Airbrush Gun Pen with 0.3mm/0.5mm/0.8mm Needles NozzlesThe core of the set is a high-grade airbrush gun with exquisite design and smooth operation, which can easily cope with complex painting challenges. We specially equip...View Product →
Five Steps to a Consistent Model Paint Job
These steps may feel slow at first, but they protect the finish and keep the airbrush reliable. Work through them in order until they become routine.
- Prepare the surface. Wash the kit in warm water with a drop of dish soap, then wipe with alcohol to remove mould release residue.
- Thin the paint before it goes in the cup. For acrylics, aim for a skim-milk consistency; if the liquid drips easily through a toothpick, it is close.
- Set the pressure. Begin around 15–18 PSI for 1/72 and 1/48 scale detail; raise slightly for primer, lower for fine lines when your paint is thin enough.
- Spray short passes, not long sweeps. Keep the airbrush 10–15 cm away and release the trigger before you stop moving.
- Flush and clean immediately. A five-minute clean right after spraying saves a forty-minute disassembly later.
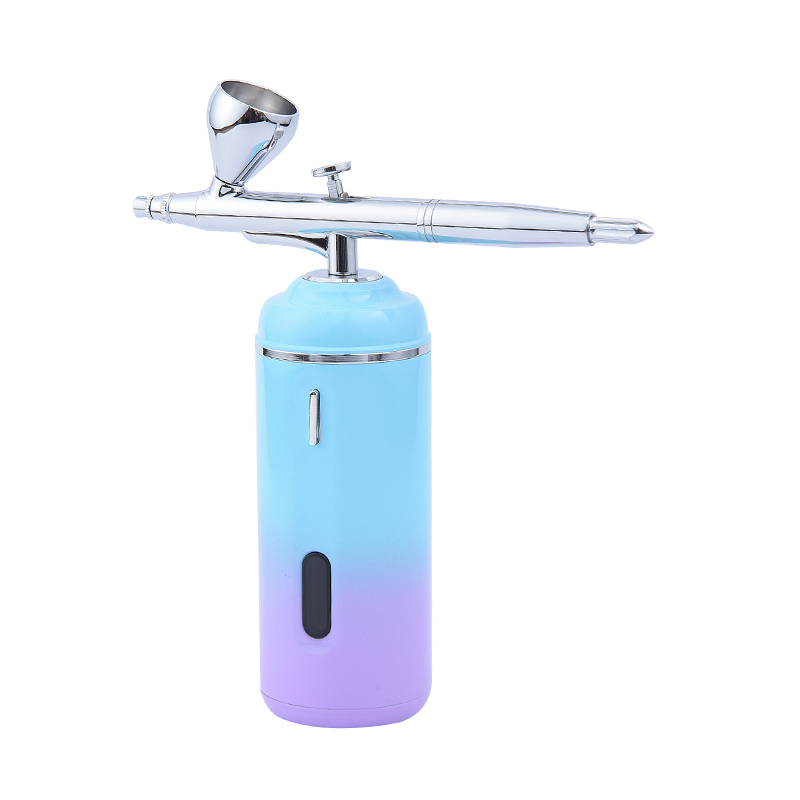
For long sessions or a small workspace, a compact pen-style brush plus a quiet compressor is easier to hold and store than a full-size pistol grip setup. A hobbyist kit gives you the brush and a matching air source in one purchase.
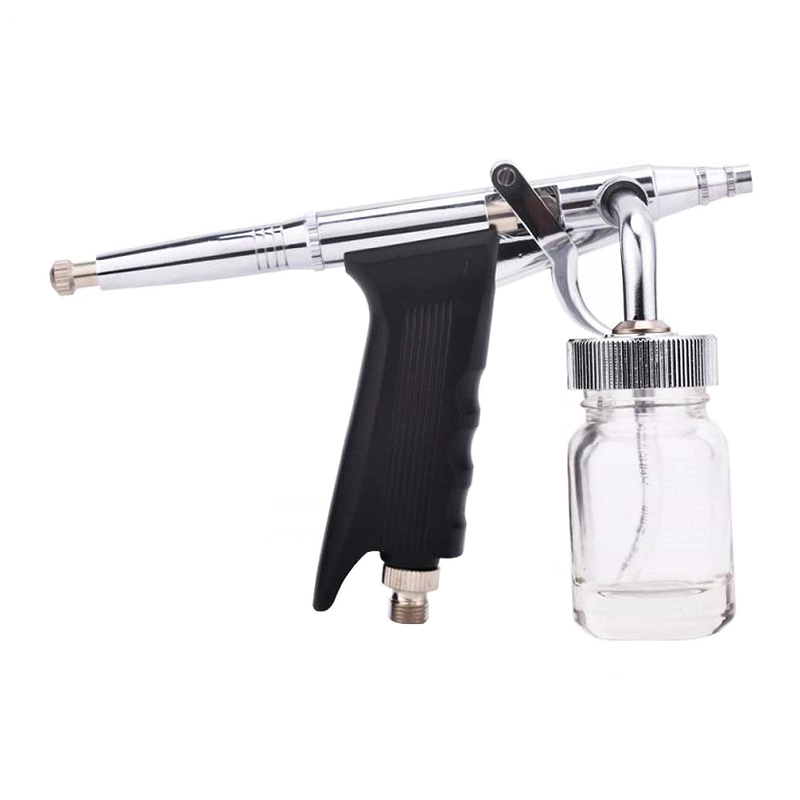
 Hobbyist Airbrush Kit Mini Airbrush PenHobbyist Airbrush Kit Mini Airbrush Pen is a mini airbrush set for hobbyists. The mini airbrush in this set is small and easy to carry, making it very suitable for beg...View Product →
Key Specs That Decide How Well an Airbrush Works
0.3mm nozzle at 15–20 PSI covers 90% of scale model painting tasks.
The remaining 10% is about the extremes. Detailed camo mottling and figure eyes demand 0.2mm; primer and high-build coats are faster with 0.4–0.5mm. The cup size matters too—2–7cc keeps the brush balanced, while a 20cc cup suits a larger painting gun, not a model bench.
- Needle/nozzle: 0.2mm for line detail, 0.3mm all-round, 0.5mm for primer and metallic undercoats.
- Air supply: use a tanked mini compressor so pressure stays constant when the pump cycles.
- Moisture control: a water trap and regulator prevent tiny water droplets from ruining the finish.
- Trigger feel: a balanced trigger with short travel lets you feather paint without losing control.
If you want one brush that adapts to all of those conditions, a gravity-feed dual-action kit with a three-tip set lets you switch needles on the spot instead of breaking momentum mid-project.
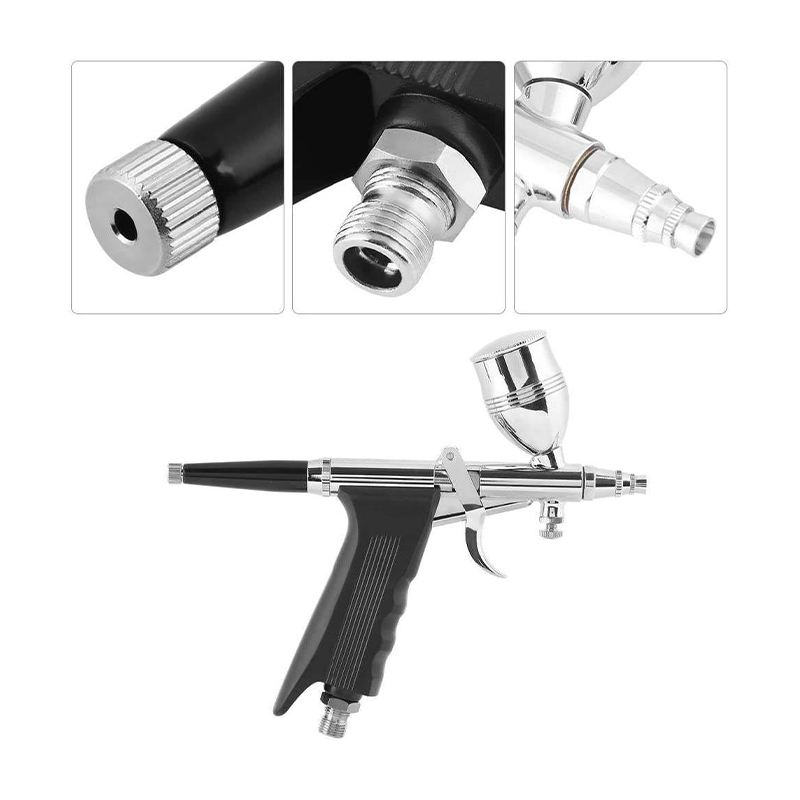 Precision Dual-Action Airbrush Kit with Gravity-Feed System and 3-Tip Set for Artistic SprThe Precision Dual-Action Airbrush Kit is equipped with a gravity feed system and three nozzle sizes, specially designed for artistic spraying. With its high-precision...View Product →
Practical Tips for Smooth Coats on Plastic Models
Spray thin coats. Build colour slowly; a wet coat on plastic will sag before it flashes off.
Keep the needle clean. At the first sign of spatter, wipe the needle tip or pull the needle for a quick wipe.
Respect distance. Too close makes runs; too far makes a dusty surface. 10–15 cm is a reliable range.
Strain your paint. A simple mesh filter stops dried bits and pigments from blocking a 0.2mm nozzle.
Use a toothpick to unblock the nozzle if it gets clogged. Never force it with a metal wire that can widen the opening.
Common Mistakes and the Simple Fix
Most model-painting problems have the same three roots: pressure too high, paint too thick, or hand speed too slow. The table below maps the symptoms to the cure.
| Problem | Fix |
|---|---|
| Paint runs or pools along panel lines | Reduce paint flow, check distance, and spray shorter bursts |
| Spatter when you first press the trigger | Open the air valve before the paint valve; don’t start at full flow |
| Needle clogs mid-session | Thin paint more; add a retarder for acrylics; wipe the tip often |
| Fine lines turn into dots | Drop pressure to 12–15 PSI and use a 0.2mm needle with thinner paint |
| Orange peel texture on gloss finishes | Spray closer, use thinner coats, or switch to a slower thinner |
If you only remember one fix, keep the paint thin and the pressure lower than feels comfortable.
A Starter Checklist for Your First Model Making Airbrush
If your budget is limited, build the kit around these five items. They will make every later upgrade less painful.
- Dual-action gravity-feed airbrush with about a 0.3mm nozzle.
- Small compressor with an air tank, regulator, and moisture trap.
- Cleaning station, brushes, and a dedicated cleaner for your paint type.
- Thinner and a flow enhancer matched to the paint brands you use.
- Test material—old sprue frames, disposable plastic spoons, or a scrap sheet.
You can see how these parts fit into a full purchase in our main product range; the catalog groups brushes, compressors, and repair parts in one place.
Safety Notes Before You Start Spraying
Airbrushing small models inside a room can create a fine, invisible mist. Work in a ventilated area or a spray booth, and use a respirator rated for organic solvents when you spray lacquers and inks. Clean up with covered containers and keep all thinners away from heat and open flame. Never point the airbrush at skin or eyes—compressed air and paint can be driven into soft tissue, which is a far more serious injury than a stained thumbnail.