 English
 русский

Oct 19,2026
Content
You have just finished assembling a Tamiya 1/35 scale tank. The seams are clean, the parts fit well, and the primer is ready. Then you pick up a brush and start painting. What looked like a promising project suddenly shows brush strokes, uneven thickness, and cloudy patches. This is a common moment for modelers, and the reason is not your skill. It is the tool.
Why an Airbrush Beats a Brush for Tamiya Models
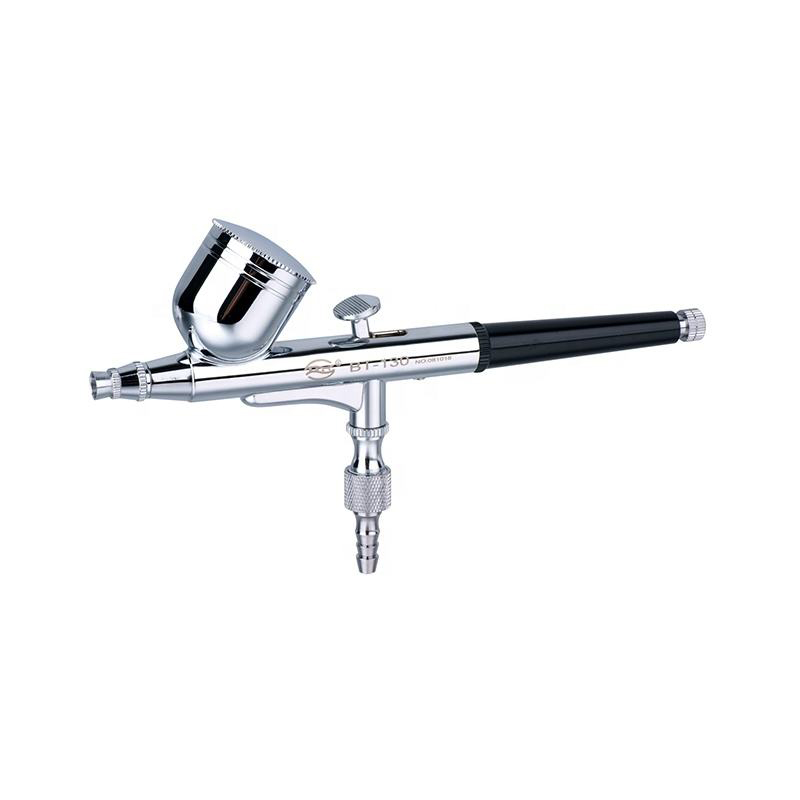
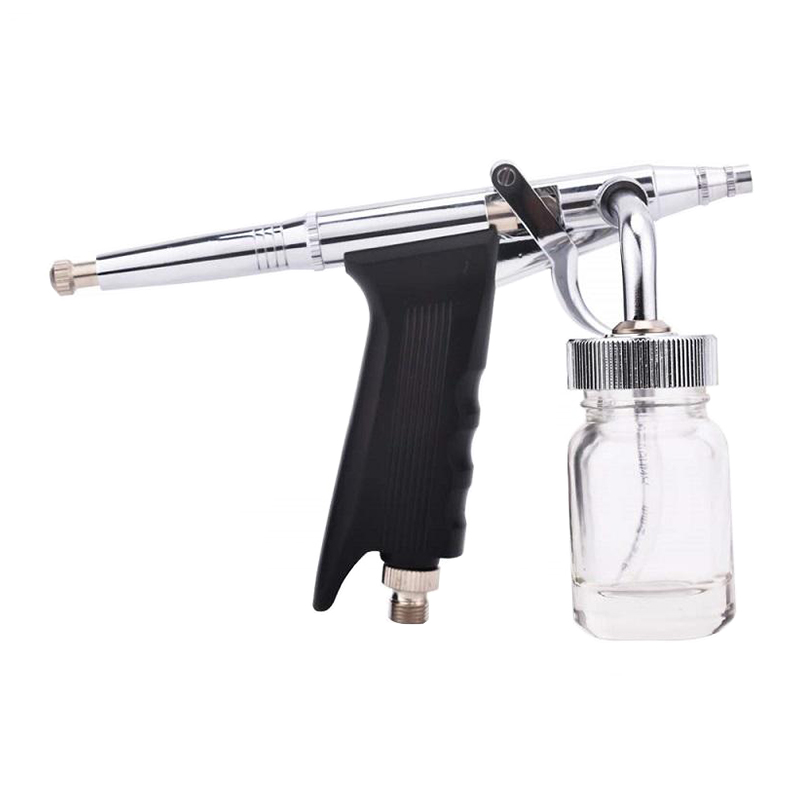
An airbrush is the right tool for Tamiya models because it lays down a thin, even film of paint in one pass. Brush painting forces you to load pigment, spread it, and go back over the same surface. Each return stroke drags pigment and creates visible ridges. With a spray gun, you are not spreading paint; you are depositing a fine mist. The paint dries before it has a chance to pool, so the surface stays smooth.
This matters for Tamiya kits. The plastic is molded to a high standard, and the panel lines, rivets, and fine details deserve a finish that does not hide them. A brush fills the grooves and rounds off sharp edges. An airbrush covers without obscuring, so the detail you spent time assembling remains visible.
Getting the Paint Thinning Right
A simple starting point is one part thinner to one part paint for airbrush use.
Thinning is the single biggest factor in how a Tamiya model looks after spraying. Most acrylic paints are too thick straight out of the bottle. If you spray them, the paint will sputter, dry before it reaches the surface, and leave a pebbly texture. The goal is a consistency close to low-fat milk: it should flow off a mixing stick easily but still carry enough pigment to cover.
For some acrylics, you may need more thinner. The exact ratio depends on the brand and on the temperature in your room. The practical test is this: put a drop on a piece of plastic. If it spreads out and levels, it is ready. If it holds a raised bead, add a few drops of thinner.
Do not use the same thinner for every paint. Tamiya acrylics react well to water or dedicated acrylic thinner, but for lacquer-based primers you must use a lacquer thinner. When in doubt, follow the paint manufacturer's own dilution chart.
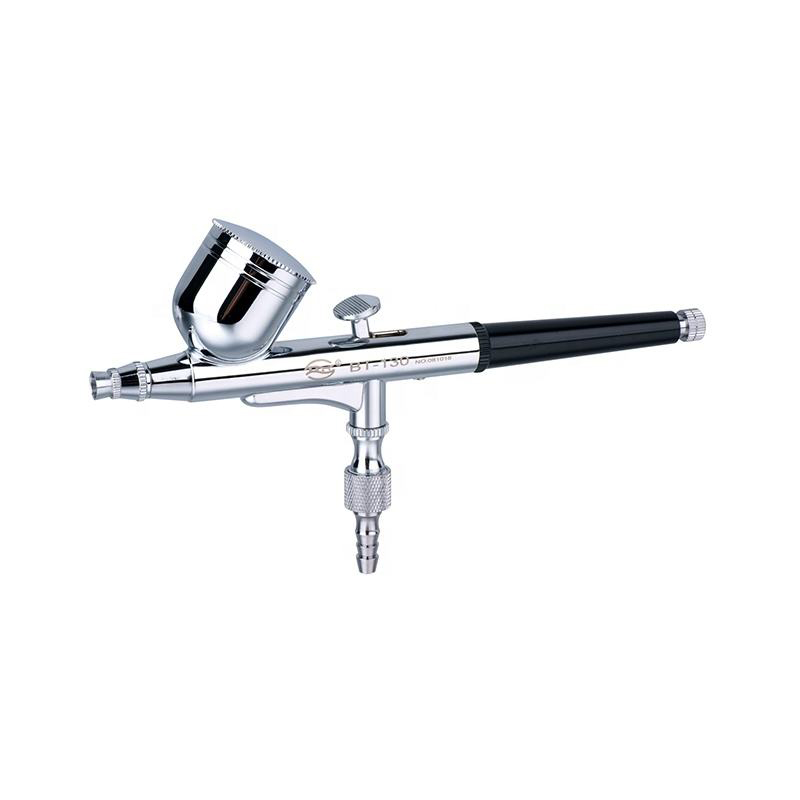
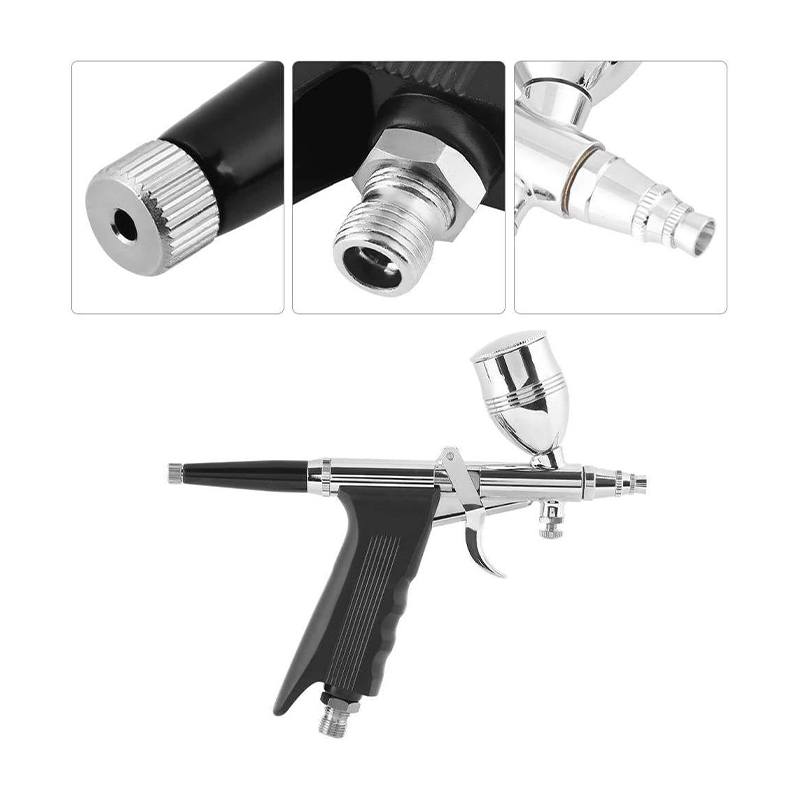 Dual-Action Gravity-Feed Airbrush with Three Interchangeable Tips for Detailed WorkFeaturing a gravity-feed design and three nozzle options, this kit delivers precise atomization for artistic spraying, ideal for achieving smooth paint flow on model surfaces.View Product →
Air Pressure and Distance: Settings That Actually Matter
- Keep working pressure between 15 and 30 PSI for most jobs — lower pressure gives a finer mist with less overspray, higher pressure covers faster but risks blowing paint into a dust that lands as a rough texture.
- Hold the airbrush 10 to 15 centimeters from the surface.
- Move parallel to the surface and keep moving — if you stop, paint pools; too close and it runs, too far and it dries in the air, leaving a dusty look.
- Start around 15 PSI for fine base coats, and 25 to 30 PSI for primers and full-body coverage.
Clean the Airbrush After Every Session
Acrylic paint dries fast inside a narrow nozzle. A tip that worked at the start of a session can be plugged by the end if you do not clean it. For Tamiya modelers, this is the most common reason a project stops mid-way. The cleaner you keep the airbrush, the more consistent the way you paint.
- 1 Flush after every color change. Run a few milliliters of thinner through the airbrush.
- 2 Disassemble and wipe. Take apart the nozzle and needle, wipe them with a soft cloth, and blow out any remaining moisture.
- 3 Use the right tools. Skip cotton swabs that leave fibers behind; a dedicated cleaning needle removes paint from the walls without enlarging the opening.
- 4 Make it routine. Two minutes of cleaning before storage can save hours of sanding and repainting later — a partially blocked nozzle makes the spray pattern unstable and the base coat uneven.
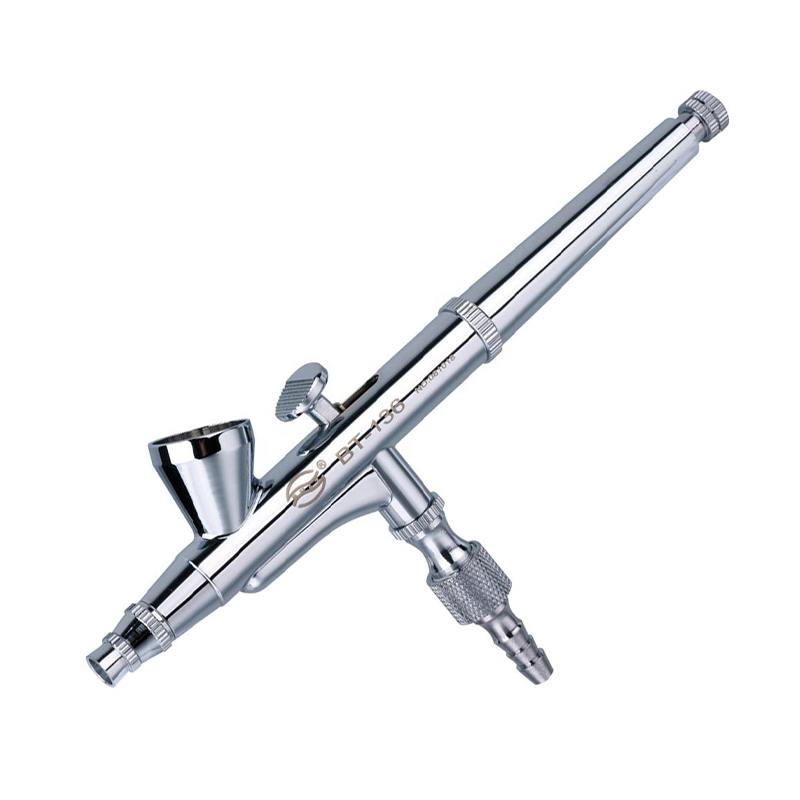
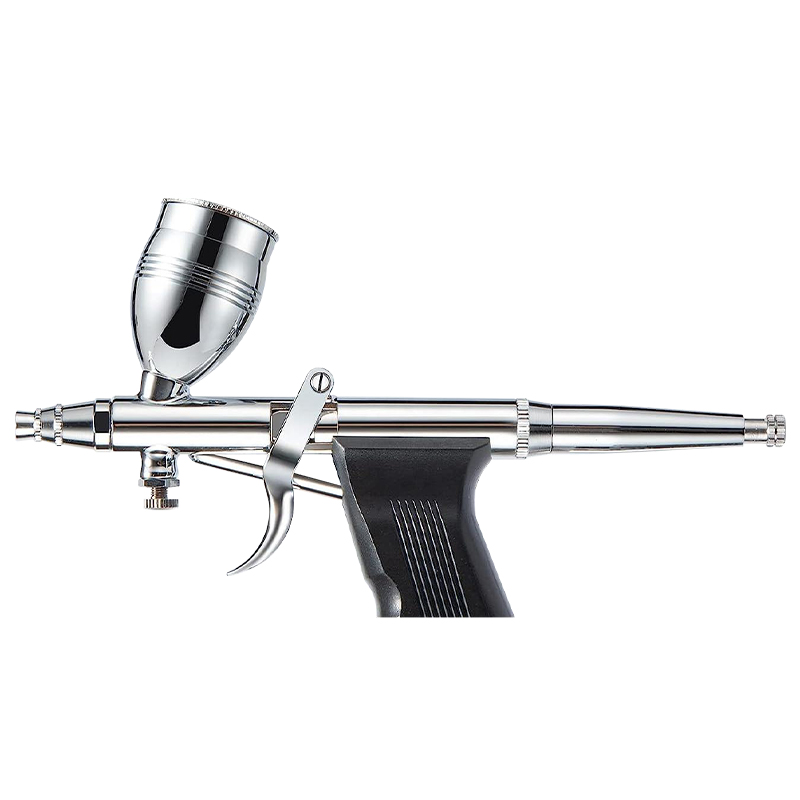 Modeling Airbrush Set with 0.3mm, 0.5mm, and 0.8mm Needles for Versatile SprayingThis airbrush kit includes three needle sizes, allowing you to adjust spray patterns for fine details or broader coats, suitable for both car painting and body art projects.View Product →
Common Mistakes When Painting Tamiya Models
Many modelers blame the airbrush when the real problem is technique. Avoid these errors:
| Common Mistake | Correct Approach |
|---|---|
| Spraying too far from the surface, drying the paint before it lands and leaving a rough, matte finish | Hold the airbrush 10 to 15 cm from the surface |
| Using too little thinner, so the paint is too thick and the airbrush spits and leaves blobs | Thin to a milky consistency and test a drop on plastic first |
| Moving the airbrush too slowly, which builds up a wet coat and causes runs | Keep the airbrush moving steadily, without stopping over one spot |
| Adding too much paint in a single pass | Apply two or three light coats instead of one heavy coat |
| Forgetting to practice on a scrap part | Always test the spray pattern and paint flow on a piece of sprue first |
If you want to improve the way you handle a double-action airbrush, a focused guide on fine spraying technique can help you understand how the trigger and air flow interact. Learn more about achieving a fine spraying effect.