 English
 русский
Oct 19,2026
Content
- 1 Airbrush Model Cars: What Really Decides the Finish
- 2 Gravity Feed, Needle Size and Cup Size: What Matters on a Car Body
- 3 Seven Steps from Bare Plastic to a Finished Body
- 4 The Three Numbers Worth Writing on the Wall
- 5 Technique Notes That Save Paint, Sanding and Nerves
- 6 Common Problems on Model Car Bodies and How to Fix Them
- 7 Bench Checklist Before You Start Spraying
- 8 Ventilation, Skin and Solvent Safety
Airbrush Model Cars: What Really Decides the Finish
A 1/24 scale car body is roughly 18 cm long and the roof is barely 3 cm wide. Every layer you put on that surface, from primer to clear coat, has to stay thin enough that door shut lines, panel gaps and badge recesses survive to the end of the build. That single constraint eliminates a surprising amount of equipment before you spend any money.
A gravity-feed, double-action airbrush with a 0.3 mm needle, driven by a regulated compressor at 12 to 18 psi, covers about 80 percent of model car work. A 0.5 mm setup handles primer and clear coat, and a 0.2 mm needle earns its place on grilles, badges and interior trim. Get those combinations right and paint behaves; get them wrong and you spend a weekend sanding orange peel off a roof.
What follows covers the specification choices, the spray sequence, the numbers worth writing on the wall, and the mistakes that consume the most time on a scale car body.
Gravity Feed, Needle Size and Cup Size: What Matters on a Car Body
Airbrushes are usually sold as a list of features. On a model car body, only three of those features change the result.
Feed type
Gravity-feed airbrushes work at lower pressure and will spray the last half millilitre out of the cup, which matters when a full colour coat on one body uses only 3 to 5 ml of thinned paint. Side-feed models let you swap a bottle mid-session, useful when four bodies are waiting for the same colour. Suction-feed units need higher pressure to lift paint and leave more residue behind, so they suit large panels better than a 1/24 body.
Needle and nozzle
The needle sets both the finest line you can draw and the volume you can lay down. A 0.2 mm needle will put a 1 mm line into a panel gap; a 0.5 mm needle will flood that same gap in one pass. Most builders keep two airbrushes, or one airbrush with two interchangeable nozzle sets, instead of forcing one needle to do both jobs.
Cup size
A 2 cc cup is enough for panel lines, badges and four wheels. A 5 to 7 cc cup covers one body in colour with a little spare. Primer and clear coat consume more volume, so a 13 cc cup avoids a refill halfway along a roof, which is exactly where a refill seam shows.
| Needle and nozzle | Pressure | Best use on a scale car | Typical cup |
|---|---|---|---|
| 0.2 mm | 10–15 psi | Panel lines, badges, grille mesh, interior trim | 2 cc |
| 0.3 mm | 12–18 psi | Main body colour, two-tone masking, small touch-ups | 5–7 cc |
| 0.5 mm | 18–25 psi | Primer, clear coat, single-colour overalls | 7–13 cc |
Table 1: Needle, pressure and cup combinations for 1/24 and 1/25 scale model car bodies, based on typical acrylic and lacquer model paints.
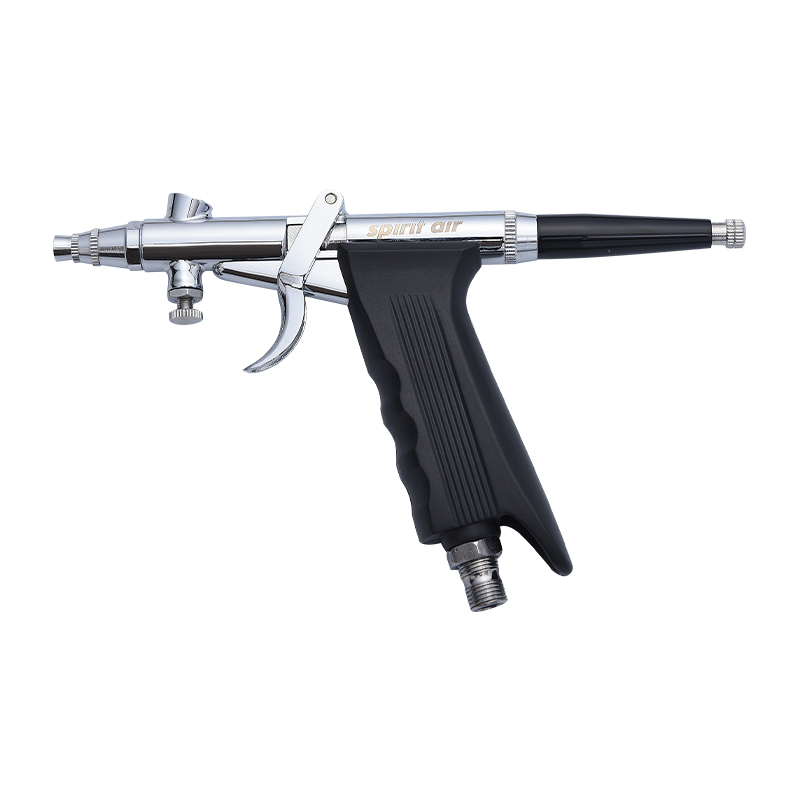
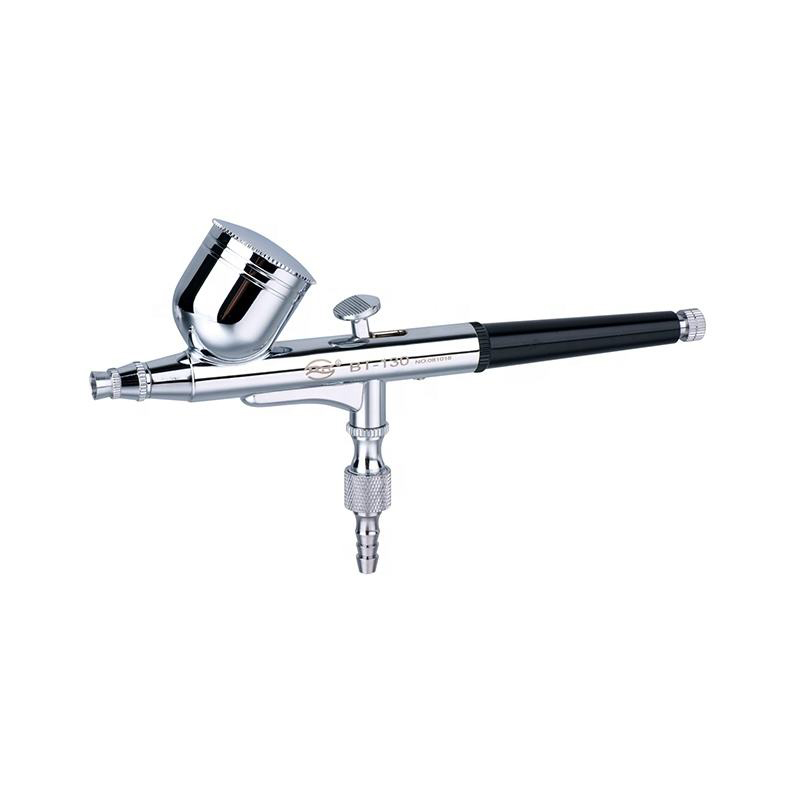
A hobby-oriented unit such as the BT180 pairs a 0.3 mm gravity-feed body with a compact cup, which is the combination most scale car builders settle on first.
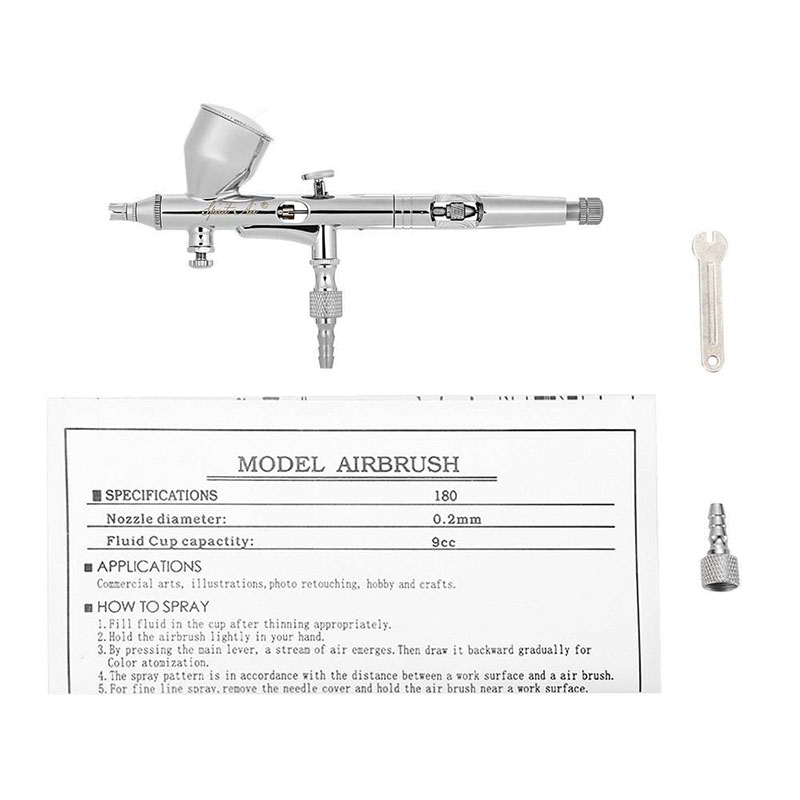 Airbrush Painting Gun BT-180 Spray Gun for Body Painting on Models, Hobbycor Airbrush KitAirbrush Painting Gun BT-180 Spray Gun for Body Painting on Models, Hobbycor Airbrush Kit is a BT-180 spray gun specially designed for model painting and body painting...View Product →
Seven Steps from Bare Plastic to a Finished Body
This sequence assumes a polystyrene body finished in acrylic or lacquer, at roughly 20 to 25 degrees Celsius and moderate humidity.
- Degrease before anything else. Wash the body in warm water with a drop of mild detergent, rinse it and let it air-dry. Skin oils and mould release agents are the main cause of fisheyes, and they stay invisible until the first colour coat.
- Sand and prime. Clean up seam lines and ejector pin marks with 800 to 1000 grit, then spray two light primer coats from about 15 cm. Let each flash for 15 minutes and inspect for scratches before colour goes on.
- Plan the colour order and mask. Light colours go down before dark ones so overspray is easier to hide. Burnish low-tack tape along door lines and window trim, then seal the tape edge with a light pass of clear or base colour.
- Mix to milk consistency. Thin until the paint runs off a stirrer in a thin, even stream. Ratios vary by brand, but 2:1 thinner to paint is a fair starting point for acrylics. Test on a plastic spoon before committing to the body.
- Build mist coats first. Two thin mist coats, 10 to 15 minutes apart, give the next coat something to grip and reduce the risk of solvent attacking the plastic. Then apply two wetter coats, keeping the airbrush moving across the body without pausing.
- Clear coat and cure. Two or three clear coats, the last slightly wetter than the others, then leave the body for 24 to 48 hours before handling it. Full hardness takes longer, and polishing too early leaves marks in the finish.
- Polish and reassemble. Wet-sand with 2000, then 3000 grit, and finish with a fine compound. Panel line washes, decals and bare-metal foil go on last, once the clear has fully cured.
Every one of these steps depends on a stable, pulsing-free air supply, which is why the compressor deserves as much attention as the airbrush. For a longer explanation of the underlying technique, our guide to painting plastic models with an airbrush walks through the same process in more detail.
The Three Numbers Worth Writing on the Wall
12–18 psi for colour, 10–15 cm from the surface, and roughly 2:1 thinner to paint.
Those values apply to a 0.3 mm gravity-feed airbrush spraying acrylic or lacquer on a scale body. Change one of them without adjusting the others and the finish suffers.
- Pressure: 12 to 18 psi for colour, 18 to 25 psi for primer and clear. Higher pressure atomises paint better, but it also dries it in mid-air, which is how a body ends up with a rough, dusty surface instead of a gloss.
- Distance: 10 to 15 cm for full coats and 5 to 8 cm for panel lines and small details. Closer than that and the wet edge follows the nozzle faster than you can move your hand.
- Thinning: about 2:1 thinner to paint for acrylics, closer to 1:1 for some lacquers. If a mix needs more than 30 psi to spray cleanly, it is too thick, not under-powered.
- Environment: 20 to 25 degrees Celsius and below 65 percent relative humidity. Lacquer blushes milky white above that, and a moisture trap on the line only removes part of the problem.
A compressor with a tank, a regulator and a filter keeps pressure steady between the tank and the nozzle. Without a tank, piston pulses reach the air cap and show up as uneven coverage on large flat panels such as a roof or a hood.
Technique Notes That Save Paint, Sanding and Nerves
Trigger sequence
Start the air, then add paint, then stop the paint, then stop the air. Reversing that order leaves a blob at the start of every stroke, and a model car body has a lot of strokes.
Movement
Overlap each pass by about 50 percent, keep distance constant, and rotate the model rather than swinging the airbrush around it. A wrist that pivots instead of travelling moves the nozzle closer at the ends of a stroke, which produces two wet bands on every panel.
Paint preparation
Strain paint through a fine mesh or a piece of nylon before it goes in the cup. Stir metallics rather than shaking them, and warm a cold jar of lacquer in your hand for a minute so it atomises evenly.
Maintenance during the session
Flush with thinner at the end of every session and pull the needle out from the rear, never through the front of the nozzle. A needle that is wiped clean and stored dry lasts far longer, and a nozzle that is never forced off its seat keeps its taper.
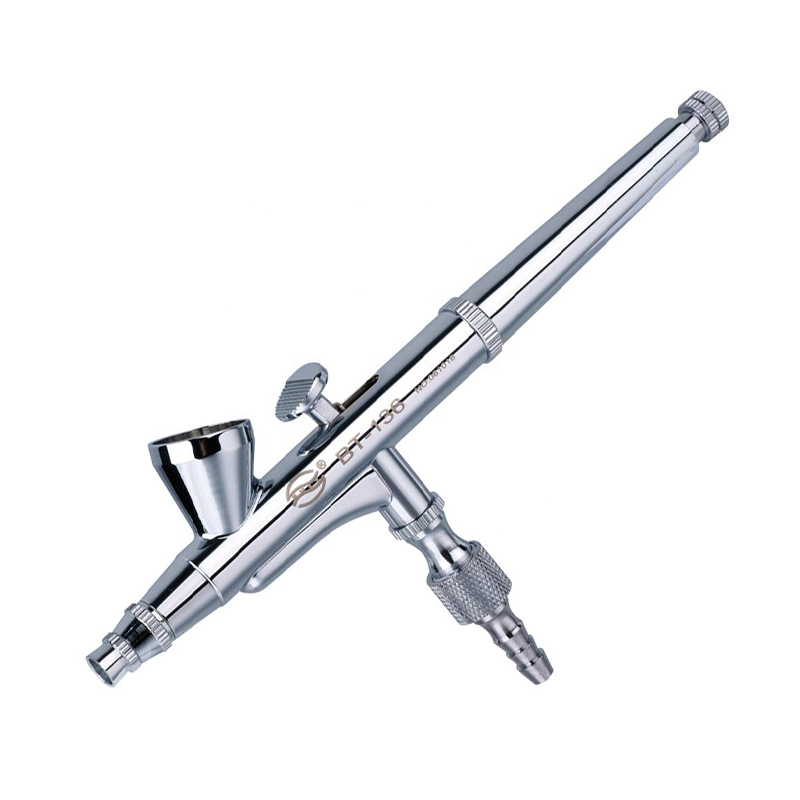
Swapping between a 0.3 mm needle for colour and a 0.5 mm set for primer is faster than cleaning one nozzle repeatedly, and it is the reason interchangeable nozzle sets matter more than extra airbrushes. A kit built around 3 mm, 5 mm and 8 mm needles covers primer, colour and detail work from one body.
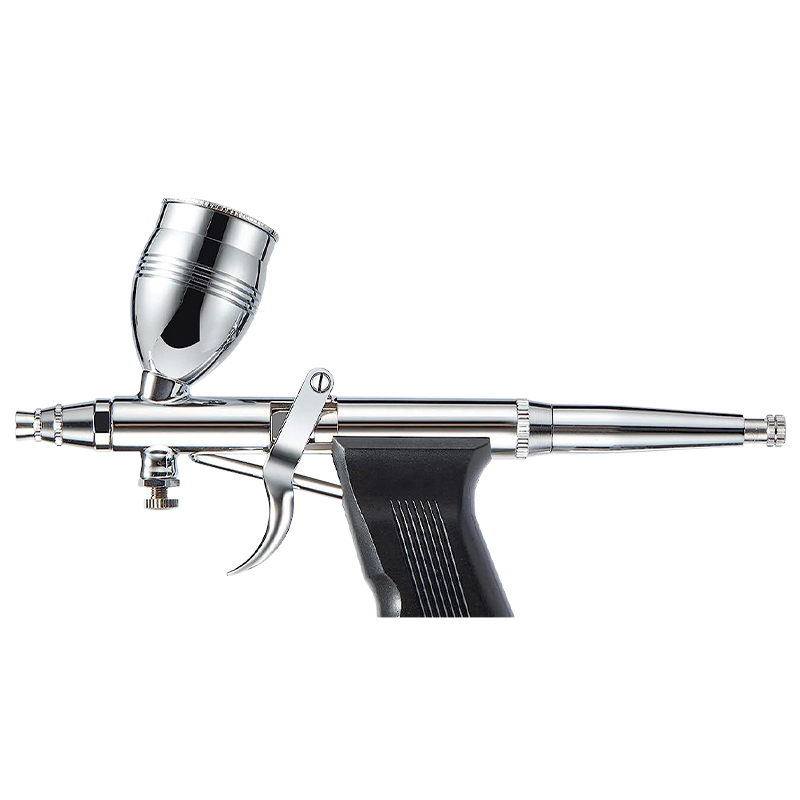 Professional Modeling Airbrush Kit Airbrush Gun Pen with 0.3mm/0.5mm/0.8mm Needles NozzlesThe core of the set is a high-grade airbrush gun with exquisite design and smooth operation, which can easily cope with complex painting challenges. We specially equip...View Product →
Common Problems on Model Car Bodies and How to Fix Them
Almost every defect on a scale car body traces back to distance, thinning or surface preparation rather than to the airbrush itself.
| Problem | Why it happens | Fix |
|---|---|---|
| Dry, gritty surface | Airbrush held too far away, paint drying in mid-air | Move to 10–15 cm and reduce pressure slightly |
| Orange peel | Coats applied too wet, or a cold surface | Mist coat first, then 15-minute flashes between coats |
| Runs and sags | Trigger held open while the hand pauses | Keep moving, thin the paint, build thinner layers |
| Crazed or cracked plastic | Hot lacquer sprayed straight onto bare polystyrene | Use a barrier primer, or an acrylic primer first |
| Dust specks in the clear | Static, lint and workshop air movement | Wipe with a tack cloth, work inside an enclosed booth |
| Milky blush in lacquer | Humidity above 65 percent | Add retarder, fit a moisture trap, or wait for drier air |
Table 2: The six defects seen most often when airbrushing scale model car bodies, with the practical correction for each.
Bench Checklist Before You Start Spraying
Most ruined finishes are the result of a missing item rather than poor technique. These are the supplies worth having within reach before the first coat goes down.
- Spare 0.2 mm and 0.5 mm needle and nozzle sets, matched to the body in use
- A nozzle wrench that fits the flats properly, so the nozzle is never forced
- Cleaning brushes, a spray-out pot and enough thinner for a full flush
- 5 ml and 10 ml graduated mixing cups with clear markings
- Fine strainers, or a piece of clean nylon, for filtering paint
- Low-tack masking tape in 2 mm, 6 mm and 18 mm widths
- Tack cloth and nitrile gloves for the final dust removal
- A regulator and moisture trap fitted between compressor and hose
Replacement nozzles, needles and caps are consumables, not spares to order after a mistake. A ten-piece parts kit with 2 mm, 3 mm and 5 mm nozzles, matching needles and a mini wrench covers the most common breakages in one purchase.
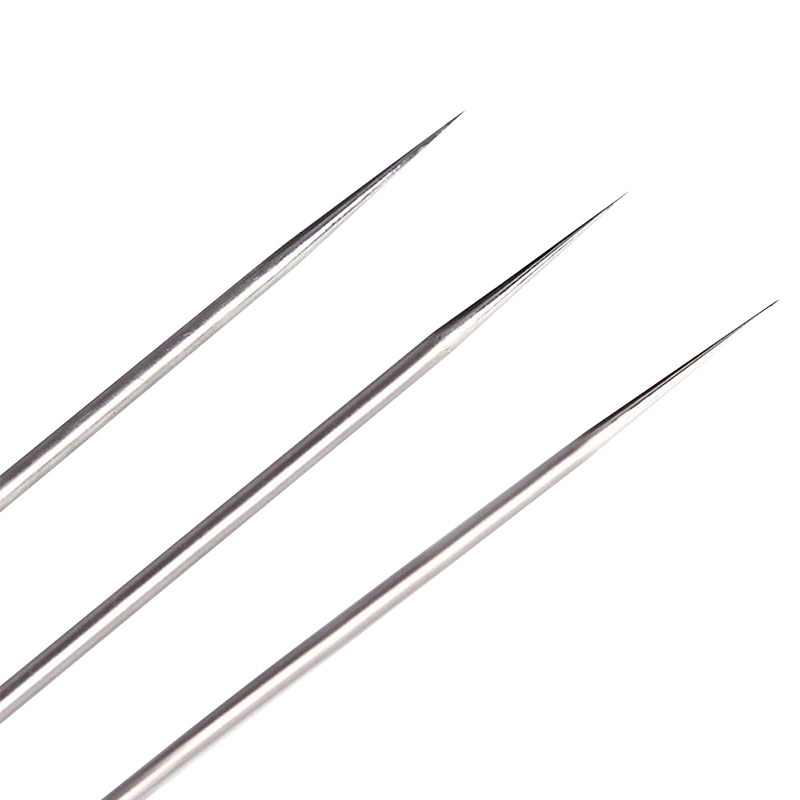 10-Pieces Airbrush Replacement Parts Kit with 0.2mm, 0.3mm, and 0.5mm Airbrush Nozzles, NeThe 10-piece airbrush replacement parts kit includes three sizes of airbrush nozzles, needles, nozzle caps and mini wrenches in 0.2mm, 0.3mm and 0.5mm sizes, designed ...View Product →
Ventilation, Skin and Solvent Safety
The airbrush is not the hazard in this hobby; the thinner and the aerosolised paint are. A cardboard box in a closed room concentrates vapour instead of removing it, and the smell fading is not the same as the vapour being gone.
- Spray in a booth or a space with cross-flow ventilation, and keep the compressor intake away from the spray plume so overspray is not pulled back through the machine.
- Wear a respirator with an organic vapour cartridge for lacquer work, plus safety glasses. A dust mask does not stop solvent vapour.
- Keep solvent-soaked rags in a closed metal container. Piled together in the open, they generate heat as they dry.
- Never spray near a water heater, pilot light or open flame. Lacquer vapour is heavier than air and travels along the floor.
- Wash paint and thinner off the skin promptly, and wear nitrile gloves during cleanup. Repeated solvent contact causes dermatitis long before it causes anything more serious.
A model car body rewards consistency more than it rewards expensive equipment. Fix the needle size to the job, keep pressure between 12 and 18 psi for colour, thin the paint until it flows like milk, and build the finish in thin layers instead of one heroic coat. Everything else on this list is detail work.
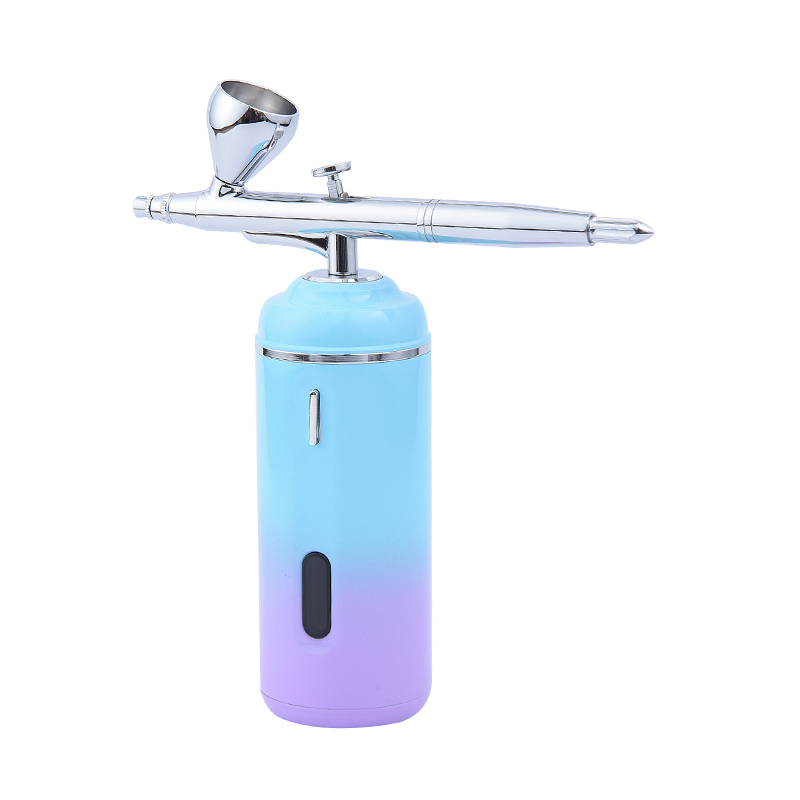
That also means the airbrush, the compressor and the consumables should come from one place with matching thread sizes and nozzle tapers, so a 0.3 mm needle bought in six months still seats correctly in the same body. Our own airbrush and mini compressor range is built around that idea, with the same fittings and nozzle families across kits.