 English
 русский
Sep 21,2026
Content
- 1 What a Complete Model Airbrush Kit Should Include
- 2 Nozzle Size Decides What the Kit Can Do
- 3 Dual Action and Gravity Feed: Why These Matter
- 4 Air Supply: Regulated Pressure Beats Peak Pressure
- 5 Thinning, Testing, and First Spray Pattern
- 6 First Session: From Box to First Fine Line
- 7 Cleaning and Storage: What Keeps a Kit Reliable
The most practical airbrush kit for model painting is a dual-action, gravity-feed setup with a 0.3mm nozzle, supplied with a regulated compressor and basic cleaning tools. For most modellers, buying a complete kit beats assembling separate parts, because a matched package removes the three variables that cause most of the early frustration: the wrong needle size, an unstable air supply, and paint that arrives too thick.
Before comparing prices, study the product structure of a kit rather than the marketing language. The way a kit is assembled tells you which parts the maker intends to be used together, and that combination matters more than the badge on the box.
What a Complete Model Airbrush Kit Should Include
Kits that perform well at the workbench share the same skeleton. When you evaluate any airbrush kit for model painting, check the box against this list:
- A dual-action gravity-feed airbrush with a 0.3mm needle, the confirmed all-rounder for scale modelling.
- A compressor with a pressure regulator; a small air tank is a strong plus because it smooths out pressure pulses.
- A 6-foot braided hose with standard 1/8-inch fittings so the first session does not start with adapter hunting.
- Spare needles and nozzles plus a small wrench, because these two parts take the most abuse while you learn.
- A cleaning pot, brushes, and a nozzle tool: dried acrylic is the main enemy of a new airbrush.
- Droppers and a mixing container, which sound trivial until you try to pour thinned paint from a full bottle.
These six items determine whether the kit keeps you spraying or leaves you improvising. A complete kit with a clean needle fit and a pressure gauge produces better results on day one than a bare airbrush with an impressive brand name.
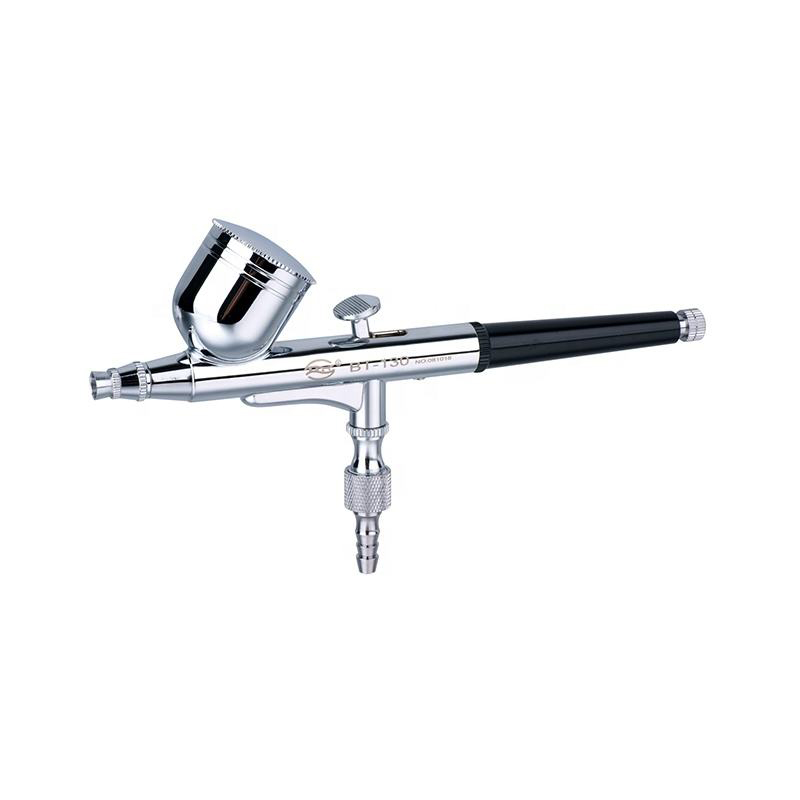
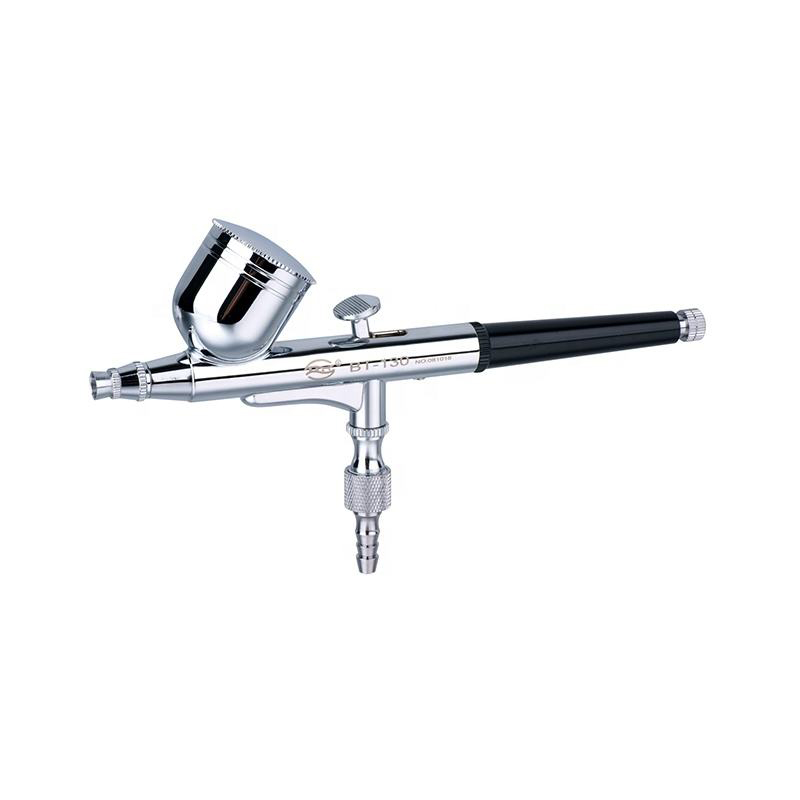
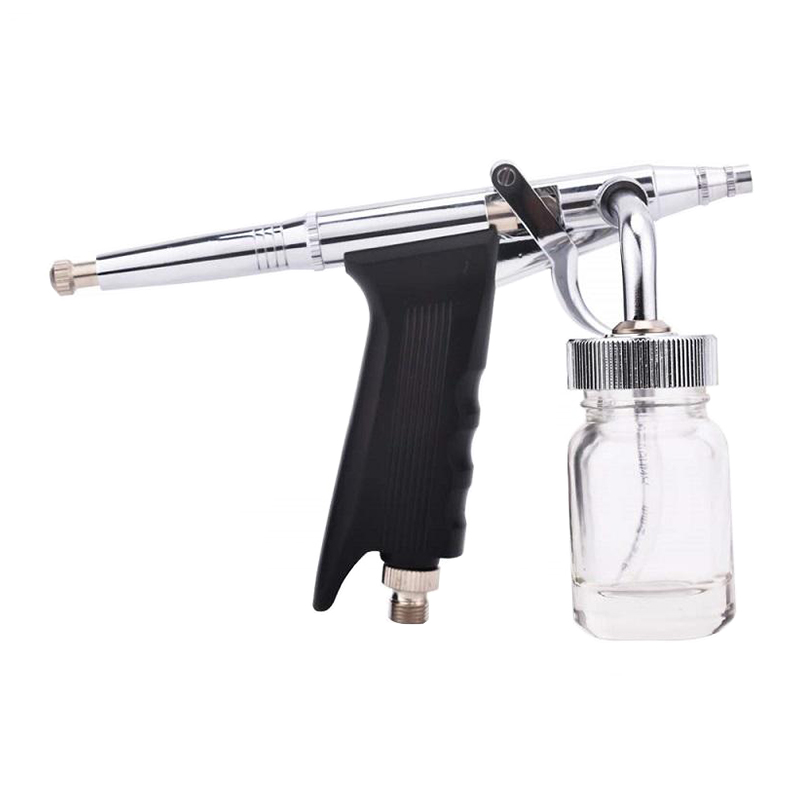
 Mini Airbrush Kit for Hobbyists with Gravity-Feed DesignThis compact airbrush set is built for beginners and experienced hobbyists, offering easy handling and fine detail work. Its nozzle size and pressure gauge are worth checking before starting.View Product →
Nozzle Size Decides What the Kit Can Do
The first specification to check is nozzle size. It sets the finest line you can pull, the paint viscosity you can push through, and the pressure range you will actually use.
| Nozzle Size | Best For | Typical PSI | Thinning |
|---|---|---|---|
| 0.2 mm | Fine lines, mottled camo, small-scale detail on 1/72 and smaller models | 15–20 | Heavy thinning |
| 0.3 mm | All-round modelling: base coats, preshading, freehand camo on 1/48 and 1/35 | 18–25 | Medium thinning |
| 0.5 mm | Primers, large panels, high-volume coverage with thicker paint | 20–30 | Light thinning |
Figures assume thinned water-based acrylics at room temperature; start low and raise pressure until the paint atomizes into a smooth mist.
For a first kit, choose 0.3mm. It is wide enough for primers and base colours, yet fine enough for freehand camo and panel shading. Kits that include a three-tip set let you experiment with 0.2mm and 0.5mm limits without buying a second airbrush.
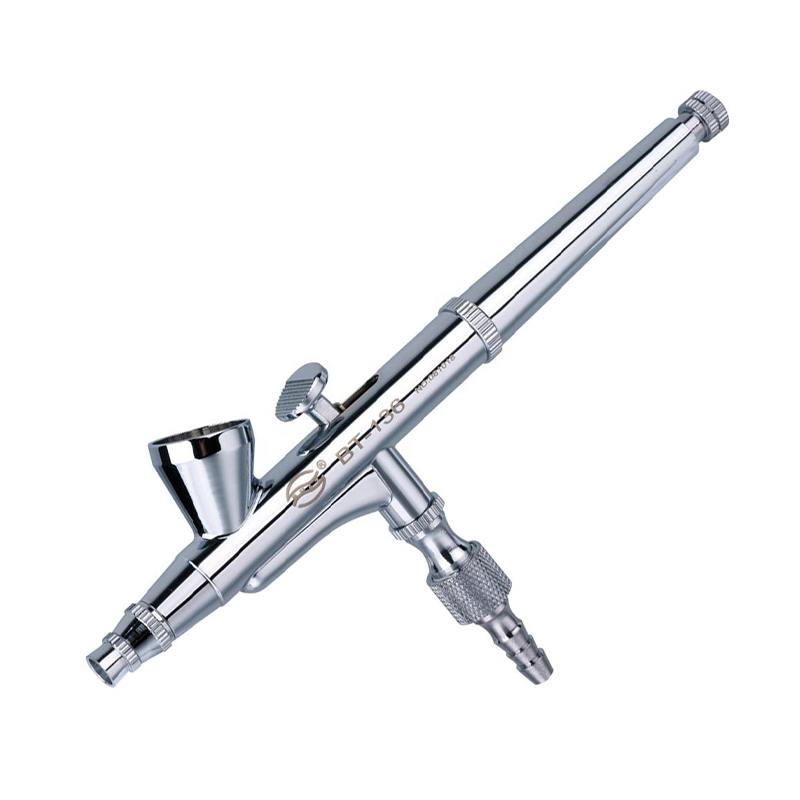
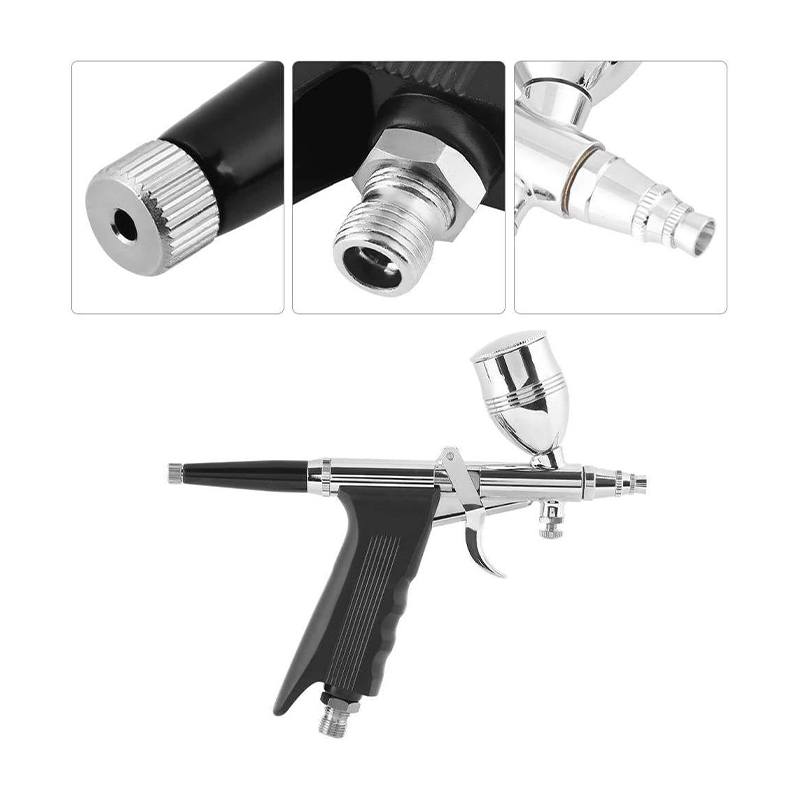 Dual-Action Airbrush Kit with Three Nozzle SizesWith a gravity-feed system and three interchangeable tips, this kit supports versatile line widths and low-pressure paint flow, ideal for artistic spraying and model detailing.View Product →
Dual Action and Gravity Feed: Why These Matter
Two design choices determine how much control you get from a model airbrush kit. A dual-action trigger presses down for air and pulls back for paint, so line width changes in a single pass. A gravity-feed cup sits on top, letting thin paints flow into the nozzle at low pressure with very little waste.
Trouble usually starts when someone picks a kit that ignores these two mechanics. The table below pairs the most common mistakes with the practical alternative:
| Common Choice Mistake | What It Means for Model Painting |
|---|---|
| A single-action trigger because it looks simpler | Air and paint open together at a fixed ratio, so lines cannot taper; dual action needs one practice session and then does almost everything. |
| A siphon-feed bottle because it holds more paint | Paint is lifted from below, which needs higher pressure and causes more overspray at close range; gravity feed runs clean at 18–20 PSI. |
| A 0.5 mm-only kit to "spray anything" | A single wide nozzle limits fine detail work that most model painting actually needs; 0.3 mm covers both coverage and control. |
Dual-action gravity-feed is the standard control layout for scale models; single-action siphon systems remain useful for large flat surfaces and production work.
The pattern is consistent: the choices that give you more control also give you less waste. That is why most manufacturers recommend a dual-action gravity-feed layout as the default specification for an airbrush kit for model painting.
Air Supply: Regulated Pressure Beats Peak Pressure
Modellers tend to over-rate compressors. A small regulated unit with a moisture trap will outperform a large machine without one, because most model paint jobs happen in a narrow pressure band.
15–25 PSI covers the practical working range for a model airbrush kit; with a 0.3mm needle, start at 18 PSI and fine-tune from there.
Pressure interacts with needle size. A 0.3mm needle atomizes most acrylics between 15 and 25 PSI, while 0.5mm setups prefer the upper half of that range. If your kit includes a tank, pressure stays constant through long passes; if it is tankless, expect a slight pulse at low speeds. A moisture trap between the compressor and the hose prevents condensed water from spotting the primer.
Maximum pressure is a misleading number printed on the box. What matters is whether the regulator holds the value you set. A steady 20 PSI beats an unregulated 60 PSI every time. The exact numbers for different scales are covered in our detailed PSI guide for miniatures.
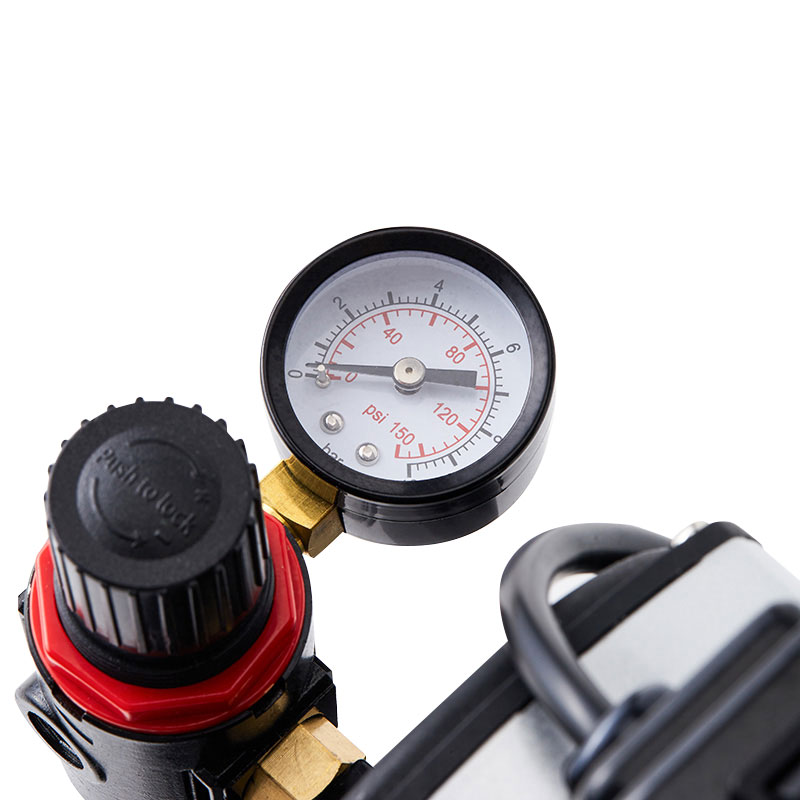 Oil-Free Piston Compressor with Air Tank and RegulatorThis compressor provides stable, pulse-free airflow via its air tank and an oil-free piston, with auto start-stop and overheating protection. A reliable regulator helps maintain steady PSI.View Product →
Thinning, Testing, and First Spray Pattern
Most first-day problems are paint problems, not equipment problems. If you thin correctly and test before every pass, the airbrush behaves predictably.
Practical habits that shorten the learning curve
- Thin water-based acrylic until it looks like skimmed milk; if paint dries on the needle tip, it is too thick or being applied too slowly.
- Always test on scrap plastic before touching the model: a clean, even mist at 18–20 PSI means the mixture is ready.
- Start the spray off the part, sweep across it, and release before the end of the stroke. This prevents blobs where a line begins and ends.
- Raise pressure only until atomization smooths out; a dusty, speckled pattern means you are overspraying.
- Between colours, spray cleaner through the cup until it runs clear, then load the next colour. Deep cleaning stays for the end of the session.
First Session: From Box to First Fine Line
Follow this sequence and the first session stays calm and productive:
- Inspect the airbrush: confirm the needle is straight, the nozzle is clean, and the cup is seated before connecting anything.
- Attach the hose with 1/8-inch fittings, open the regulator, and set 18 PSI with the air flowing.
- Thin a small amount of acrylic paint in a mixing cup and strain it if you see lumps.
- Load a few drops into the gravity cup and spray onto scrap until the pattern becomes a soft oval.
- Lay down a thin base coat in light passes, then practise widening and narrowing lines with the trigger pull-back.
- Flush with cleaner, remove the needle, wipe it from back to tip, and store the airbrush clean.
Cleaning and Storage: What Keeps a Kit Reliable
A model airbrush kit works for years if the routine stays simple. The goal is to never let paint dry inside the nozzle assembly.
Rinse by spraying cleaner until it runs clear, then remove the needle, wipe it gently from back to tip, and reinsert it straight. The three habits that keep a kit spraying smoothly are cleaning after every colour, cleaning immediately after the session, and never soaking the whole airbrush in solvent.
Check the needle tip under bright light while you clean; a hooked tip causes spitting even when the paint is perfectly thinned.
If maintenance feels tedious, remember that most airbrushes returned as "unreliable" are simply clogged with dried acrylic. A two-minute rinse after each colour prevents the thirty-minute strip-down that careless modellers accept as normal.
Choose the kit that matches the work you will actually do: a dual-action gravity-feed 0.3mm airbrush, a regulated compressor, and spares in the box. That combination makes the first year of model painting about building skill instead of troubleshooting equipment. If you want to compare complete packages side by side, the full airbrush catalog on this site organizes kits by application so the specification differences stay visible.