 English
 русский
Nov 02,2026
Content
- 1 The Paint Choice Decides Whether the Shell Survives
- 2 What Actually Bonds to a Lexan Shell
- 3 Airbrush or Aerosol: Matching the Tool to the Job
- 4 Step by Step: Painting the Inside of a Shell
- 5 Pressure, Needle Size and Shop Conditions
- 6 Techniques That Keep Edges Clean
- 7 Mistakes That Show Up Two Weeks Later
- 8 Checklist Before the First Coat
- 9 Safety and Solvent Control
The Paint Choice Decides Whether the Shell Survives
Paint choice decides whether an RC shell survives its first season — not the airbrush, not the brand on the bottle, not the number of coats. Clear polycarbonate bodies, the Lexan shells used on most 1/10 and 1/8 kits, flex every time the chassis takes a hit. A coating that cures hard will crack, flake or lift along the wheel arches within a few runs. The reliable formula is unglamorous: polycarbonate-rated paint, sprayed on the inside of the body, built up in thin mist coats, finished with a backing layer.
Everything else is detail. A patient painter with a can of Lexan-rated paint will outlast an experienced airbrusher using hardware-store enamel, because that enamel never really bonds to the plastic in the first place.
The sections below cover what bonds to polycarbonate, how to lay coats without solvent burn, which pressures and needle sizes suit a 1/10 shell, and the mistakes that only appear a fortnight after the body looks finished.
Airbrush or Aerosol: Matching the Tool to the Job
A rattle can is perfectly reasonable for a single-colour basher shell. An airbrush earns its place when you want fades, tight sponsor-style lines, or control over how wet each pass goes down. For 1/10 and 1/8 bodies, a gravity-feed airbrush with a 0.3–0.5 mm nozzle covers nearly everything: 0.5 mm moves enough material for a whole body in a few passes, while 0.3 mm handles masking lines and soft shadows. Cup size matters less than buyers expect — 7 cc to 13 cc is plenty when you refill between colours.
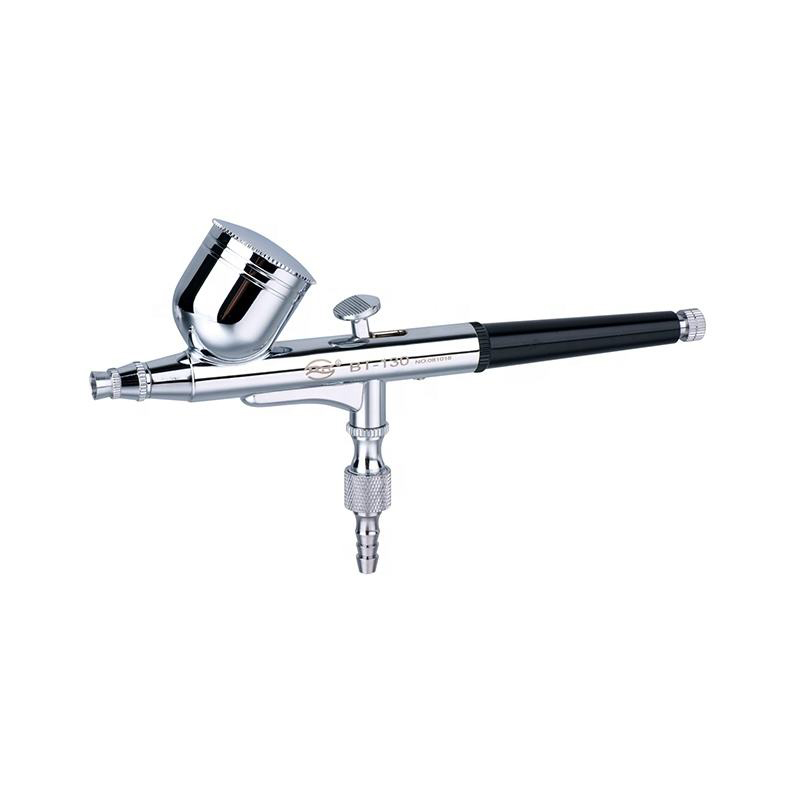
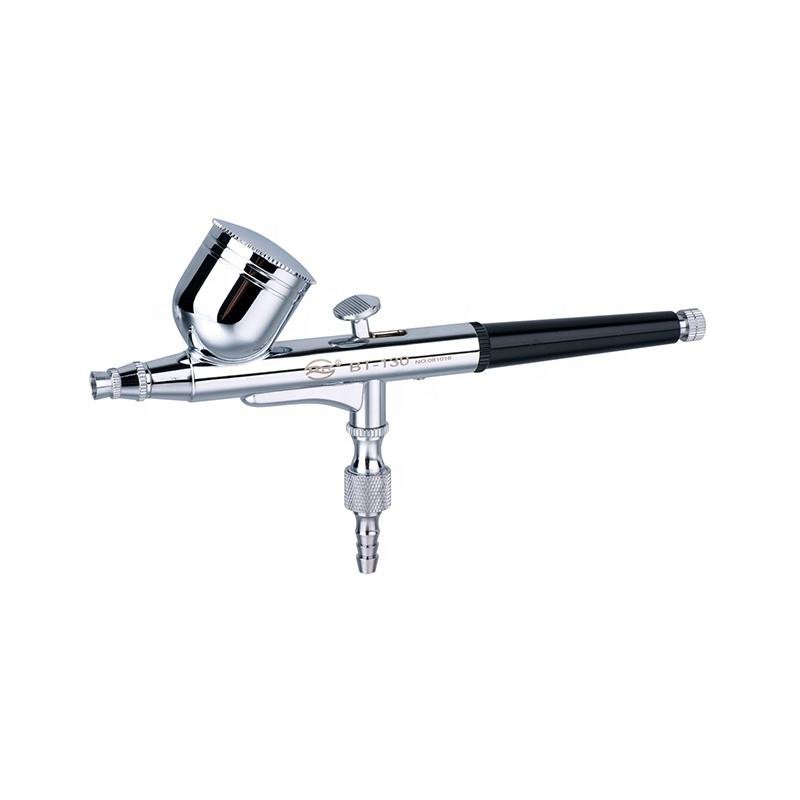
A kit with several needle and nozzle sets removes the awkward compromise of spraying everything through one tip. The set below, for instance, ships with three sizes and is aimed at the same car-painting and body-art work that RC shells demand.
 Professional Modeling Airbrush Kit, 3 mm / 5 mm / 8 mmGravity-feed airbrush pen supplied with three needle and nozzle sets, aimed at car painting, body art and fine modeling work.View Product →
Whichever route you take, keep the trigger moving. Paint is deposited by passing the gun across the surface, not by parking it in one spot — the moment the film looks glossy and wet, you are already close to a run.
Step by Step: Painting the Inside of a Shell
Work in this order and most of the classic failures disappear before they start.
- 1Wash and degrease. Warm water with a drop of dish soap, inside and out, then dry with a lint-free cloth. Skin oils on the inside of the shell cause fish-eyes that no amount of technique will fix.
- 2Trim before you paint. Cut the wheel arches and body-post holes first; the shell handles better and you avoid dragging a blade across fresh colour. Lexan needs no sanding — abrasion clouds the plastic and shows straight through the paint.
- 3Plan the mask. The body is painted in reverse, so dark colours and fine detail go on first and light colours last. Liquid mask for curves, tape for straight edges, and a paper sketch of the scheme before anything is mixed.
- 4Lay a mist coat. Roughly 50% overlap, 15–20 cm from the surface, thin enough to look dusty rather than wet. Give the solvent 5–10 minutes to flash before the next pass.
- 5Build the colour. Three or four progressively wetter coats, each still thin. Stop while the surface is even but not glassy; a glossy wet edge is a run waiting to happen.
- 6Back the colour, then wait. Two coats of white or silver behind the final colour so it reads correctly from outside. Leave the shell for 24 hours before peeling the overspray film.
Air supply is the other half of the job. A small compressor without a tank pulses with every piston stroke, and on a large panel that shows up as tiger-striping. A receiver tank plus a regulator smooths the flow out, and a gauge lets you return to a setting you already know works.
For steady pressure across a full body, a piston compressor with a tank does more for finish quality than a more expensive airbrush run off a pulsing unit.
 BT186 Single-Cylinder Piston Compressor with Air TankPiston compressor with a receiver tank and regulator, giving steadier pressure for full-body coverage and longer spray sessions.View Product →
Once the last coat is down, resist the urge to handle the shell. Solvent paint keeps releasing and shrinking for several hours, and peeling the film too early lifts the edges of fresh colour. A longer finishing sequence, including decal and clear-coat stages, is set out in this RC body paint finishing guide.
Pressure, Needle Size and Shop Conditions
20–30 psi, a 0.3–0.4 mm needle and 5–10 minutes between coats handles most Lexan work.
Those numbers are a starting point, not a rule. The variables that actually change the result:
- Viscosity. Thin only with the manufacturer's thinner, and only when a test spray shows visible spatter or a grainy edge.
- Distance. 15–20 cm keeps the film even; closer than 10 cm dumps material and invites solvent attack on the plastic.
- Temperature. 18–25 °C. Below about 15 °C the paint thickens, atomises badly and may dry with a milky blush.
- Humidity. Under 60% relative humidity. Damp air traps solvent and dulls the finish, especially with fast-drying lacquers.
- Film build. 20–40 µm total is plenty for a 1/10 shell. Thicker films crack sooner, not later.
Warm the room and the paint, never the shell. A heat gun aimed at Lexan will deform a body long before it feels hot to the touch.
Techniques That Keep Edges Clean
Small habits separate a shell that photographs well from one that merely looks acceptable at arm's length.
- Spray into the recesses first. Getting colour into window frames and vents before the flat panels prevents the wet edge from being dragged into a corner.
- Move the body, not the wrist. Mounting the shell on a stand and turning it keeps the gun angle consistent, which is what produces even coverage on curved surfaces.
- Flash with cool air, not heat. A hairdryer on the cold setting moves solvent without softening the polycarbonate.
- Test on an offcut. A strip of the same Lexan shows real colour density in seconds; guessing on the body usually costs a whole respray.
- Change needles between stages. Details with the small tip, coverage and backing with the larger one, so neither stage is a compromise.
Mistakes That Show Up Two Weeks Later
Most RC paint problems are not visible on the day of painting. They appear after the shell has flexed a few dozen times, which is why the cause and the fix belong in the same row.
| What you see | Cause and fix |
|---|---|
| Paint lifts in sheets | Enamel or craft paint on bare Lexan. Strip with isopropyl alcohol and respray with a polycarbonate-rated product. |
| Fine crazing across a panel | First coat too wet, so solvent attacked the plastic. Use mist coats only, with longer flash times between passes. |
| Colour looks flat from outside | No backing coat. Two passes of white or silver behind the colour restore density and make metallics read properly. |
| Runs along the sills | Gun too close or moving too slowly. Reset to 15–20 cm, reduce fluid flow and keep the pass speed constant. |
| Milky blush in the finish | Cold or damp conditions. Bring the room to 20 °C or above and keep humidity under 60% while spraying. |
| Mask lines bleed | Tape edge not burnished down. Press the edge with a toothpick and seal it with one thin, dry pass before changing colour. |
All fixes assume the shell was washed and handled by the edges only; contamination mimics every one of these faults.
If two of these appear at once, suspect the base layer rather than the technique on top. Repainting over a failing coat only hides the problem for a weekend or two.
Checklist Before the First Coat
Run through this list at the bench. Each item takes seconds to confirm and saves an afternoon of stripping.
- Paint labelled for polycarbonate or Lexan, not for polystyrene.
- Shell washed, dried, and handled by the edges only.
- Room at 18–25 °C and below 60% relative humidity.
- Masking plan sketched on paper before any colour is mixed.
- Needle and nozzle size matched to the stage being sprayed.
- Regulator set, with a test pass on a spare strip of Lexan.
- Respirator with organic vapour cartridges and nitrile gloves within reach.