 English
 русский
Oct 12,2026
Content
- 1 What Is Nail Airbrushing?
- 2 Nail Airbrushing vs Traditional Polish Application
- 3 How the Nail Airbrushing Process Works Step by Step
- 4 Key Performance Data on Airbrushed Nail Finishes
- 5 Techniques That Improve Airbrush Nail Art Results
- 6 Common Airbrushing Mistakes and How to Fix Them
- 7 Habits That Help Maintain Your Airbrush Equipment
- 8 Safety Notes for Airbrushing Nails
- 9 Frequently Asked Questions
What Is Nail Airbrushing?
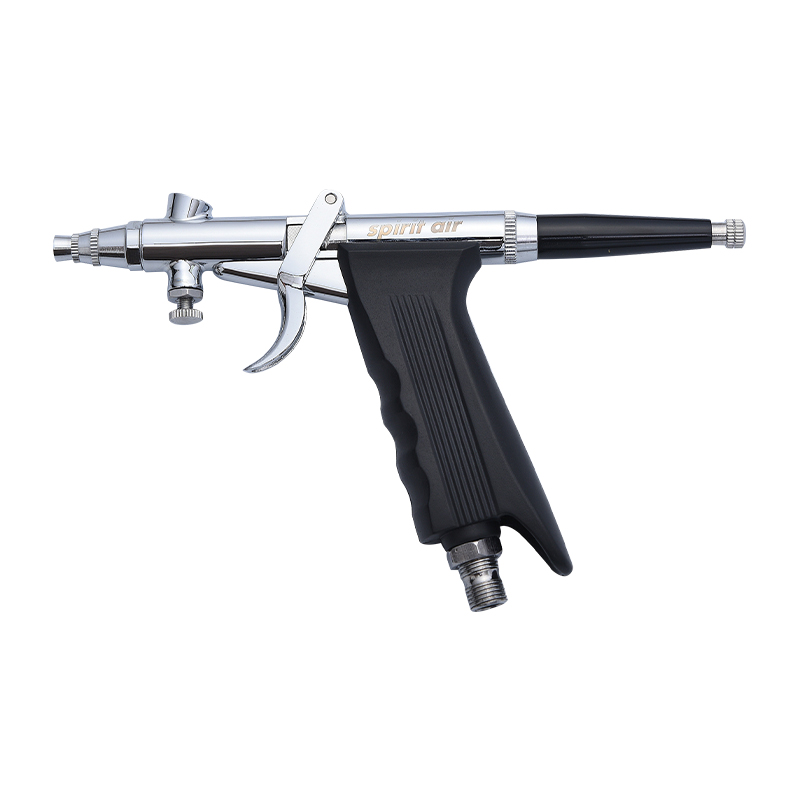
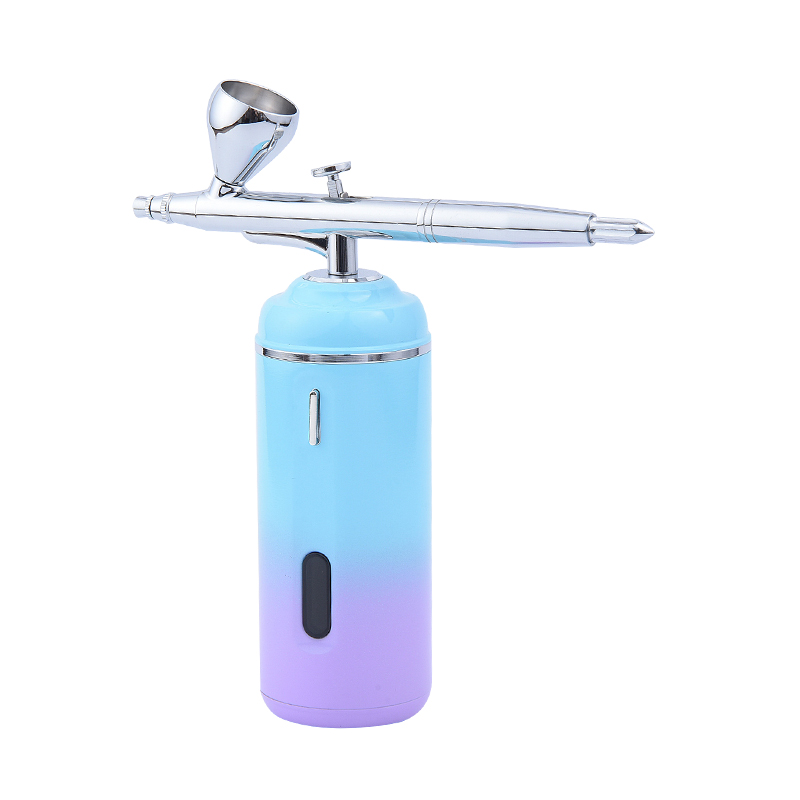
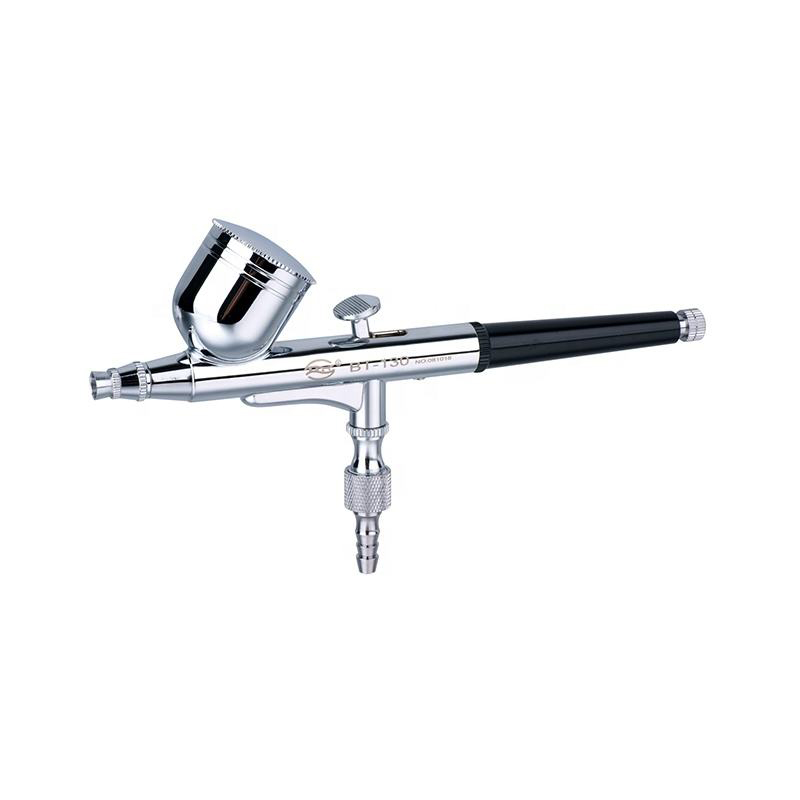
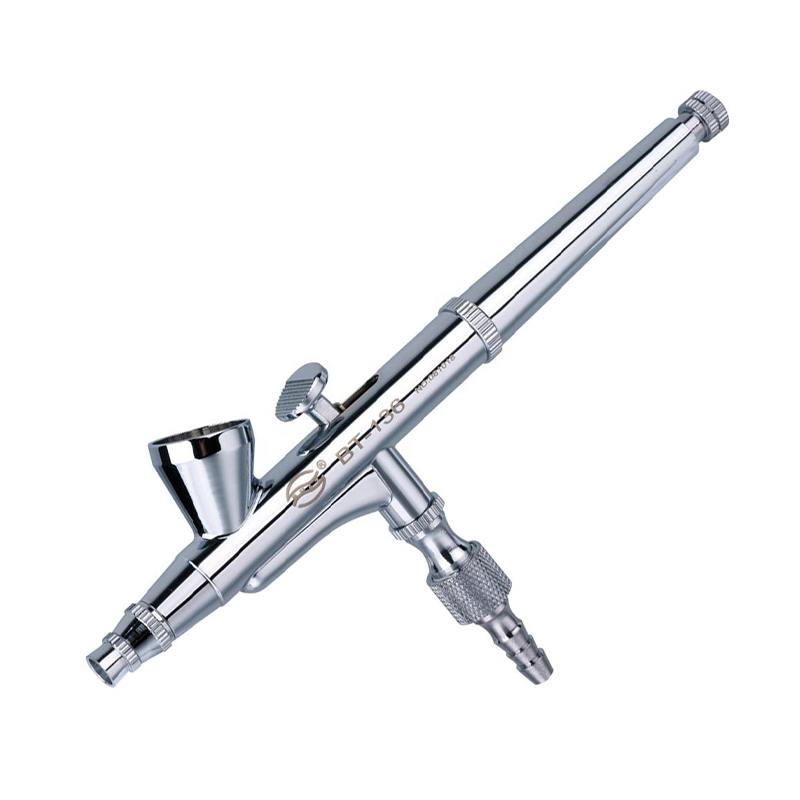
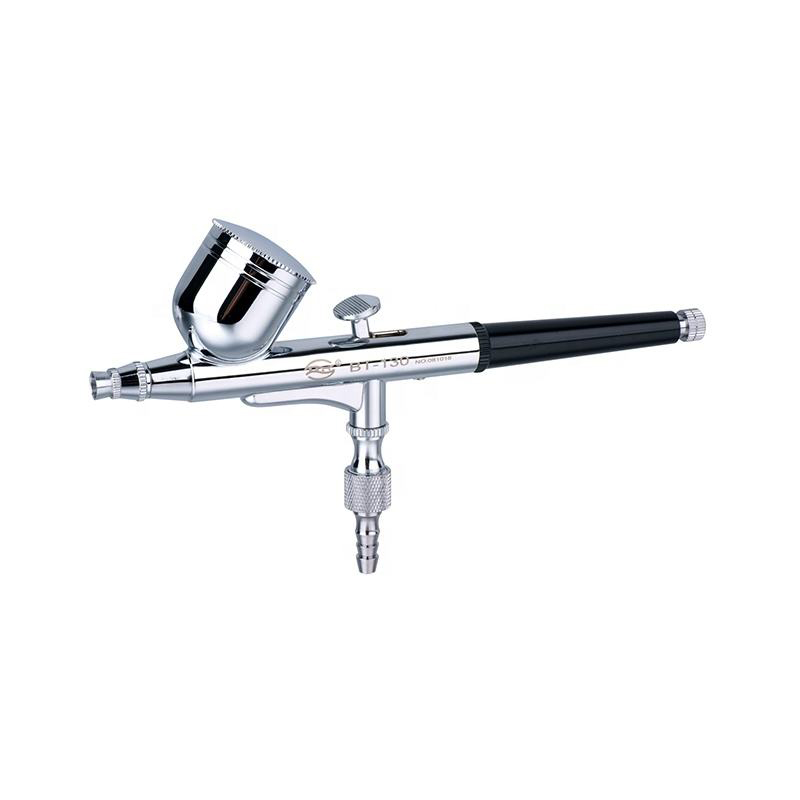
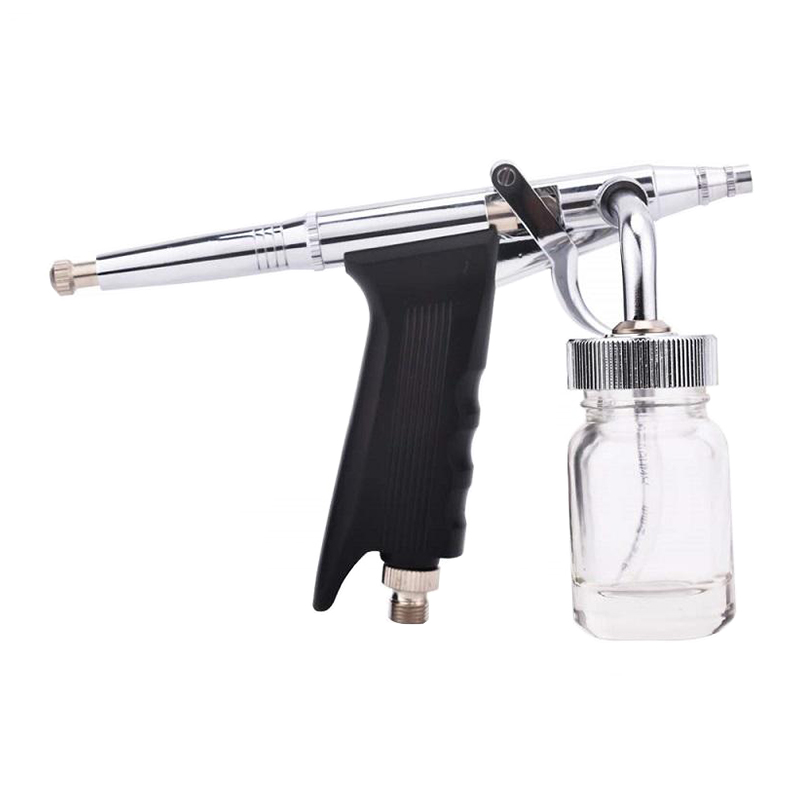
Nail airbrushing is a technique for applying nail polish using a small spray gun that atomizes color into a fine mist, rather than brushing liquid polish directly onto the nail. A Nail Airbrush is connected to a compressor that pushes air through the tool, breaking the pigment into tiny droplets that land as an ultra-thin, even layer. This approach allows for smooth color gradients, precise stenciled patterns, and multi-layered designs that would be difficult or impossible to achieve with a standard polish brush.
Because the color is misted on rather than dragged across the nail, airbrushed polish dries faster, resists streaking, and builds up in extremely thin, controllable coats. This makes it a preferred method among professional nail technicians for both salon services and detailed nail art competitions.
How the Nail Airbrushing Process Works Step by Step
A typical airbrush nail service follows a repeatable sequence, whether it is a simple gradient manicure or a detailed design with stencils.
1
Prep the Nail Surface
Shape the nail, push back the cuticle, and apply a base coat to create a smooth surface that helps the misted color adhere evenly.
2
Set Air Pressure and Load Color
Adjust the compressor to the recommended pressure range, then load the airbrush cup or bottle with thinned, airbrush-specific polish designed to atomize cleanly.
3
Apply the Base Color in Light Passes
Hold the airbrush a short distance from the nail and mist in light, overlapping passes, building opacity gradually rather than in one heavy application.
4
Add Gradients, Stencils, or Freehand Detail
Layer a second or third color at the tip or cuticle line for an ombre effect, or place adhesive stencils on the nail before misting to create sharp geometric or floral patterns.
5
Seal with Top Coat
Once the design is complete and dry, apply a glossy or matte top coat to protect the airbrushed layers and extend wear time.
Key Performance Data on Airbrushed Nail Finishes
A properly thinned airbrush polish mist can dry to the touch in as little as 10 to 20 seconds per coat, compared to several minutes for a brushed-on layer.
Because each pass deposits such a fine layer, technicians can typically apply three to five thin coats in the time it would take to apply and dry a single traditional coat, which is what makes deep, saturated gradients achievable without the polish pooling near the cuticle. A quality Nail Airbrush set to the correct pressure, generally in the range of 15 to 20 psi for detail work, also produces a consistent spray pattern that reduces the speckling or spotting that can occur when pressure is set too low.
This efficiency is a major reason airbrushing has become popular in high-volume salon settings, where reducing per-client service time without sacrificing finish quality has a direct impact on daily capacity.
Techniques That Improve Airbrush Nail Art Results
Getting clean, professional-looking results from airbrushing depends on a few technique details that are easy to overlook when starting out.
Keep a Consistent Spray Distance
Holding the airbrush too close causes pooling and drips, while holding it too far creates a dry, gritty texture; a distance of roughly 4 to 6 inches from the nail generally produces the smoothest coverage.
Protect Skin with a Barrier Cream or Tape
Since the mist spreads beyond the exact nail outline, applying a peel-off barrier around the cuticle and fingertip keeps cleanup fast and results crisp.
Common Airbrushing Mistakes and How to Fix Them
Most uneven or patchy airbrush results trace back to a handful of setup or technique errors. Identifying the cause quickly saves product and time.
| Problem | Likely Cause | Recommended Fix |
|---|---|---|
| Speckled, dotted spray pattern | Air pressure set too low | Increase compressor pressure to the recommended range |
| Polish pooling near cuticle | Nozzle held too close to the nail | Increase spray distance and use lighter passes |
| Nozzle clogging mid-session | Polish not thinned to airbrush consistency | Use polish formulated for airbrush use or a compatible thinner |
| Color bleeding past nail edge | No skin barrier applied before spraying | Apply peel-off barrier cream around the nail first |
Table 2: Frequent airbrush nail art issues and their practical solutions.
Habits That Help Maintain Your Airbrush Equipment
Clean the nozzle after every color change. Dried polish residue is the most common cause of clogging and inconsistent spray patterns.
Run a purge of clean thinner between sessions. Flushing the internal chamber prevents pigment buildup that gradually narrows the nozzle opening.
Store the airbrush disassembled when not in use. Leaving parts fully dry between uses extends the life of seals and gaskets.
Check compressor pressure before each session. A quick pressure check helps catch drift before it affects spray consistency mid-service.
Safety Notes for Airbrushing Nails
Because airbrushing releases a fine mist into the air, ventilation matters more than with traditional polish application. Always work in a well-ventilated space or use a spray booth with extraction to limit inhalation of atomized polish particles.
A protective mask is recommended during extended sessions, and client skin should always be shielded with a barrier product before spraying to avoid pigment staining or skin irritation from prolonged exposure.
Frequently Asked Questions
QDo I need special polish for a nail airbrush?
Yes, standard bottled polish is generally too thick to atomize properly, so polish formulated specifically for airbrush use, or regular polish combined with a compatible thinner, produces the best spray consistency.
QHow long does airbrushed nail polish last?
When sealed with a quality top coat, airbrushed manicures typically wear as long as traditional polish, often one to two weeks, since durability depends more on the top coat and nail prep than the application method itself.
QIs nail airbrushing suitable for beginners?
It has a learning curve around spray distance and pressure control, but starting with simple one-color coverage before attempting gradients or stencils helps beginners build consistent technique quickly.
QWhat equipment do I need to start nail airbrushing?
At minimum, a nail airbrush gun, a compact air compressor, airbrush-compatible polish, and a set of nail stencils cover the essentials needed to begin practicing gradients and basic patterns.