 English
 русский
Jul 20,2026
Content
- 1 What You Need to Know About RC Body Paint Right Away
- 2 Understanding RC Car Body Materials and Why They Matter for Paint
- 3 Choosing the Right RC Body Paint: Brands, Types, and What They Actually Do
- 4 Preparing the RC Body Before Painting: The Step Most People Rush
- 5 Using an Airbrush for RC Body Paint: Why It Changes Everything
- 6 Aerosol Cans vs. Airbrush: A Practical Comparison for RC Body Work
- 7 Step-by-Step RC Body Paint Process: From Bare Shell to Finished Body
- 8 Advanced Airbrush Techniques That Elevate RC Body Paint Results
- 9 Common RC Body Paint Mistakes and How to Fix Them
- 10 Protecting and Maintaining Your RC Body Paint
- 11 RC Body Paint for Specific Vehicle Types: Crawlers, Drift Cars, and Touring Cars
- 12 Budget Breakdown: What You Actually Need to Spend to Paint RC Bodies Well
What You Need to Know About RC Body Paint Right Away
The single most important thing about RC body paint is this: polycarbonate (Lexan) bodies require paint applied to the inside surface, not the outside. If you spray the outside, the paint chips off within a few runs. This one detail catches nearly every beginner off guard and wastes time and money. Get that right first, and everything else becomes much easier.
Beyond that core rule, the quality of your finish depends on three things: surface preparation, paint type, and application method. Whether you use rattle cans or an airbrush, skipping any of these steps produces a disappointing result. This guide covers all of it in practical detail so you can get a finish that actually holds up on the track.
Understanding RC Car Body Materials and Why They Matter for Paint
Most RC car bodies used in 1/10 and 1/8 scale touring cars, buggies, and stadium trucks are made from polycarbonate, commonly sold under the brand name Lexan. This material is chosen because it flexes on impact rather than shattering, which saves bodies from destruction during crashes. However, polycarbonate has a plastic surface that standard acrylic and enamel paints cannot bond to properly without the right products.
Hard plastic bodies, found on some crawler scale trucks and drift cars, behave differently. These can be painted on the outside using standard plastic-compatible paints. Knowing which material you have before buying any paint is essential. Applying Lexan-specific paint to a hard plastic body, or vice versa, will produce adhesion failures regardless of how carefully you apply it.
Polycarbonate vs. Hard Plastic: Key Differences
| Property | Polycarbonate (Lexan) | Hard Plastic |
|---|---|---|
| Paint surface | Inside only | Outside |
| Flexibility | High — flexes on impact | Low — can crack |
| Paint type needed | Lexan-specific (e.g., Tamiya PS, Parma) | Standard acrylic or enamel for plastic |
| Common use | Touring cars, buggies, stadium trucks | Crawlers, scale trucks, drift bodies |
| Primer required | Usually no | Recommended |
Choosing the Right RC Body Paint: Brands, Types, and What They Actually Do
The RC paint market is not large, but there are several well-established brands that have proven themselves over years of use by competitive and hobby racers alike. Each has different characteristics that affect color vibrancy, flexibility after curing, and compatibility with masking tape during multi-color work.
Tamiya PS Series
Tamiya's PS line is the most widely recognized polycarbonate paint in the hobby. It comes in aerosol cans and covers an enormous color range, including fluorescent shades like PS-26 Bright Red and PS-29 Fluorescent Orange that glow under UV lighting. Tamiya PS paint is flexible when cured, which prevents cracking as the body flexes. Drying time between coats is approximately 30 minutes at room temperature, though a full cure before backing takes closer to 24 hours. The color is viewed through the clear body from the outside, which gives it a deep, almost glass-like appearance when done correctly.
Parma Faskolor
Parma Faskolor is a water-based paint designed specifically for polycarbonate and is applied with an airbrush rather than from a rattle can. This makes it the preferred choice for anyone doing custom artwork, gradients, or fine detail work. Because it is water-based, cleanup is straightforward — rinse the airbrush with water immediately after use. Faskolor bonds chemically to the inner polycarbonate surface and dries in minutes under a heat gun or in a warm room. The color range includes metallic and candy finishes that are difficult to replicate with aerosol cans.
Pactra RC Colors
Pactra offers both aerosol and brush-on options for polycarbonate. Their metallic finishes are particularly well regarded, with shades like Metallic Blue and Champagne Gold that have strong visual depth. Pactra paints are slightly thicker than Tamiya PS, which means they cover in fewer coats but also require more care to avoid drips when applied heavily.
ProTek RC and Other Specialty Brands
Several smaller brands cater to competitive racers who want factory-level results. ProTek RC, Blitz, and Gravity RC paints are often formulated to work specifically with airbrush systems, giving competitors the fine control needed for tight masking lines and complex liveries. These are not as readily available in local hobby shops but are easily sourced online and often used in club-level and national racing events.
Preparing the RC Body Before Painting: The Step Most People Rush
Poor adhesion and peeling paint almost always trace back to inadequate preparation, not the paint itself. A new polycarbonate body comes coated in mold-release agents from the manufacturing process. These agents are invisible and cannot be removed by simply wiping the surface with a dry cloth. They actively prevent paint from bonding to the plastic.
Washing the Body Correctly
Wash the inside of the body thoroughly with dish soap and warm water. Use a soft cloth or sponge and scrub every surface that will receive paint. Rinse completely and allow the body to air dry, or use a lint-free towel followed by a brief air-dry period. Some experienced painters follow this with a wipe-down using isopropyl alcohol at 70% or higher concentration to remove any remaining oils. Do not use acetone or lacquer thinner on polycarbonate — these solvents will craze and permanently damage the plastic.
Cutting and Trimming the Body
Trim the body to its final shape before painting whenever possible. Cutting polycarbonate after painting risks cracking the paint along the cut line, especially with scissors. Use sharp lexan scissors or a body reamer for hole punching. A clean, finished body edge also makes masking easier and reduces the chance of paint bleeding under tape at the edges.
Masking for Multi-Color Designs
Tamiya masking tape is the industry standard for RC body work. It conforms to curves without lifting and leaves clean edges without bleed-through. For complex designs, vinyl masking film cut with a plotter cutter gives even sharper lines. Always press the tape edge down firmly with a fingernail or burnishing tool. Apply the first color, allow it to fully dry, then add the next mask for the second color. Working from the lightest to the darkest color, or from the most transparent to the most opaque, produces the most reliable layering results.
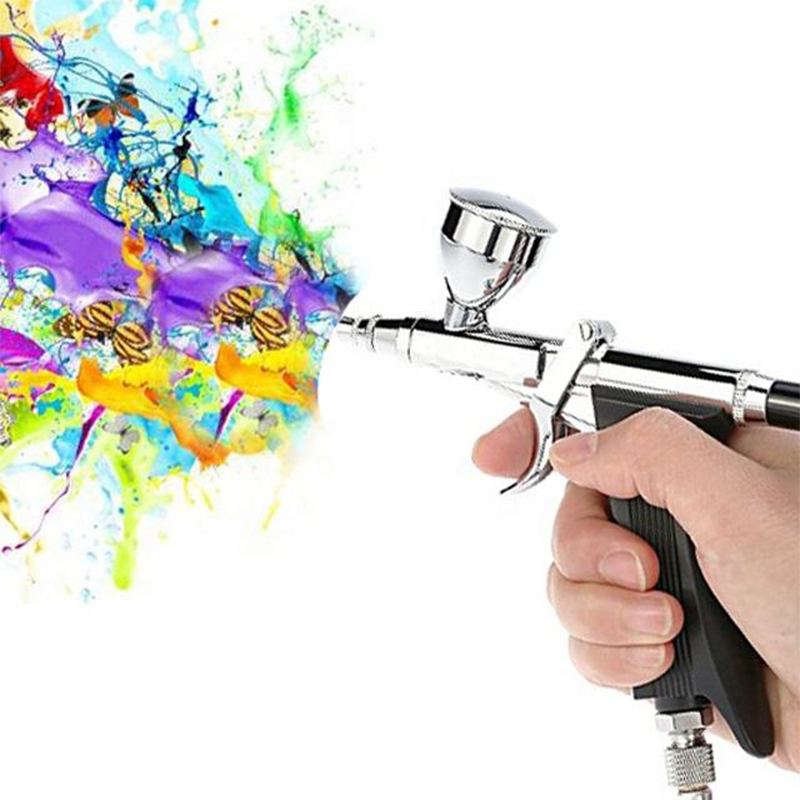
Using an Airbrush for RC Body Paint: Why It Changes Everything
An airbrush opens up a completely different level of control compared to aerosol cans. With a rattle can, you are working with a fixed nozzle pattern, fixed pressure, and a paint formulation you cannot change. With an airbrush, you control the air pressure, paint viscosity, distance from the surface, and trigger position. The result is that gradients, fades, fine detail, and translucent layers become achievable without advanced artistic training — just practice and the right setup.
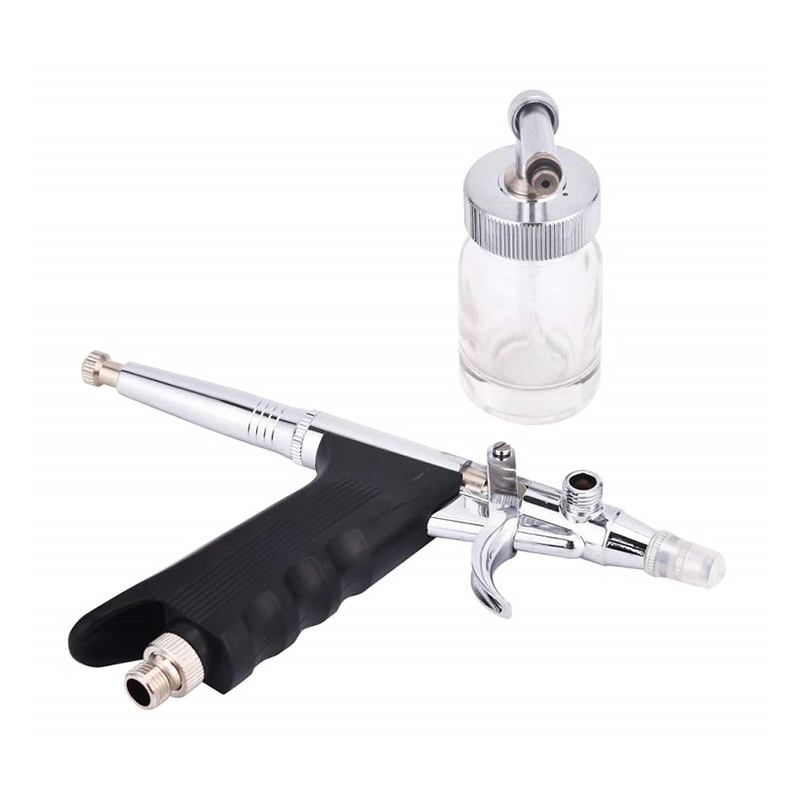
Choosing an Airbrush for RC Bodies
For RC body work, a dual-action gravity-feed airbrush in the 0.3mm to 0.5mm needle range handles most tasks comfortably. A 0.3mm needle gives finer lines for detail work and tight masking edges. A 0.5mm needle moves more paint and works better for covering large areas quickly. Popular choices among RC painters include the Iwata Eclipse HP-CS (0.35mm), the Badger Patriot 105 (0.5mm), and the budget-friendly Harder & Steenbeck Ultra (0.2mm and 0.4mm options).
Gravity-feed cups hold paint above the needle, which reduces the air pressure needed to draw paint into the airflow. This translates to finer atomization at lower pressures, which is ideal for the thin layers needed on RC bodies. Siphon-feed airbrushes work but require higher pressure and are harder to clean quickly between color changes.
Air Compressor Requirements
A small, quiet compressor with a tank is far preferable to a tankless diaphragm compressor for RC body painting. Tank compressors maintain steady pressure without cycling on and off mid-stroke, which causes visible irregularities in the paint layer. Operating pressure for most RC airbrush work falls between 15 and 30 PSI, with finer detail work at the lower end and broad coverage at the higher end. Brands like California Air Tools, Iwata, and Paasche all make suitable compressors in the $80–$200 range that are quiet enough for indoor use.
Always use a moisture trap between the compressor and the airbrush. Condensation in the air line causes water droplets to enter the paint stream, creating fish-eye defects and adhesion failures. A simple inline moisture trap costs under $15 and eliminates this problem entirely.
Thinning Paint for Airbrush Use
Parma Faskolor and similar water-based polycarbonate paints are often used straight from the bottle in a 0.5mm airbrush, but may need slight thinning for a 0.3mm needle. Use distilled water, not tap water, for thinning water-based RC paints. A ratio of 10–20% water by volume is usually sufficient. Test the consistency by drawing a bead across a piece of scrap polycarbonate. If it spiders or beads, the paint is too thick. If it runs immediately with no body, it is over-thinned and will drip on vertical surfaces.
Solvent-based paints like some Gravity RC or specialty lacquer-based formulas require their brand-specific thinner. Substituting a different thinner can change the drying time, adhesion properties, and finish sheen. Always check the manufacturer's recommendation before thinning.
Airbrush Technique for RC Bodies
Hold the airbrush 10–15cm from the surface for broad coverage, and move in smooth, even passes. Start the trigger before reaching the painted area and release after passing it. This avoids the blobs of paint that form when you start and stop the trigger directly over the body. For gradient fades, increase distance and reduce trigger pull to get a soft, feathered edge. Build color in thin, translucent layers rather than one heavy coat — three to four light passes produce a more even, drip-free result than a single heavy application.
Rotate the body on a stand or improvised holder rather than repositioning your arm. Consistent distance and angle throughout the pass matter more than speed. Many experienced RC painters mount the body on a rotating spray stand so they can walk around it while keeping the airbrush stable.
Aerosol Cans vs. Airbrush: A Practical Comparison for RC Body Work
Both methods produce excellent results when used correctly. The choice depends on your budget, the complexity of the design, and how frequently you paint bodies. Here is a direct comparison across the factors that matter most to RC painters.
| Factor | Aerosol Can | Airbrush |
|---|---|---|
| Startup cost | Low ($8–$15 per can) | Higher ($80–$300 for airbrush + compressor) |
| Color control | Limited to preset spray pattern | Full control over width, flow, and pressure |
| Detail capability | Low — difficult to control fine areas | High — fine lines down to 0.5mm possible |
| Gradient / fade effects | Difficult, inconsistent | Easy with practice |
| Cleanup | None required | Required after every session (5–15 min) |
| Paint waste | High — excess overspray, unused remainder in can | Low — use only what you need |
| Best for | Simple solid colors, beginners | Custom designs, competition liveries, frequent painters |
If you paint one or two bodies per year with simple block designs, aerosol cans from the Tamiya PS range are entirely sufficient and far more convenient. If you paint regularly, want to develop custom liveries, or are chasing competition-quality finish work, investing in a basic airbrush setup pays for itself quickly in paint savings and creative freedom.
Step-by-Step RC Body Paint Process: From Bare Shell to Finished Body
The following process applies to a standard polycarbonate body using either aerosol or airbrush application. Adjust spray distance and pressure for the airbrush steps if you are using rattle cans instead.
- Trim the body to its final shape using lexan scissors. Punch all body post holes and vent holes before painting.
- Wash the inside thoroughly with dish soap and warm water. Rinse well and allow to dry completely — at least 30 minutes, or use a lint-free cloth followed by brief air drying.
- Wipe down with isopropyl alcohol (70%+) using a lint-free cloth to remove any remaining oils or contamination. Allow to evaporate fully before masking.
- Plan your color layout and mask accordingly. Apply the first mask for the design element that will receive the first color. Press all tape edges down firmly.
- Apply the first color in thin, even passes. For aerosol: hold the can 25–30cm from the surface and sweep steadily. For airbrush: hold 10–15cm at 15–25 PSI and build up two to three translucent coats rather than one heavy coat.
- Allow to dry per the paint manufacturer's instruction — typically 30 minutes between coats, 60–90 minutes before adding a second mask on top of the first color.
- Add masking for the second color, covering the first painted area, and apply the second color using the same technique.
- Repeat for additional colors, always allowing adequate drying time between mask layers. Remove masks only after the most recent color has dried.
- Apply a backer color over the entire inner surface. White or silver backer makes colors appear brighter when viewed through the clear body from outside. Silver metallic backer gives a reflective depth to transparent or candy colors. Apply two to three solid coats.
- Allow a full cure of 24 hours before peeling the protective film from the outside of the body and mounting it to the chassis.
- Apply decals and window mask to the outside of the body after the protective film is removed. Window mask can be cut from the original protective film using a sharp blade and a steady hand.
Advanced Airbrush Techniques That Elevate RC Body Paint Results
Once basic airbrush operation is comfortable, several techniques produce results that aerosol cans simply cannot match. These are not exclusively for professional painters — with a well-maintained airbrush setup and quality Lexan-compatible paint, any committed hobbyist can achieve them.
Candy Colors and Translucent Layering
Candy paint effects on RC bodies involve applying a translucent tinted coat over a reflective metallic base. The metallic layer shows through the color coat and gives a deep, three-dimensional appearance that shifts slightly with viewing angle. This effect works particularly well with candy red, blue, and purple shades. The key is building the candy layer in five to eight very thin passes rather than two or three medium ones, which keeps the color even without hot spots or dark patches where paint accumulated.
Two-Tone Fades and Gradients
Gradients between two colors are achieved by applying the first color fully, then feathering the second color over the transition zone in progressively lighter passes. The airbrush distance increases as you approach the center of the gradient, dropping paint density and allowing the undercolor to show. Blending two colors with a very slight overlap of each into the other's territory produces a smooth transition. This technique requires no additional masking — only trigger control and distance management.
Flame and Tribal Designs Using Freehand Masking
Flame patterns are created using either pre-cut vinyl masks or hand-cut shapes from low-tack masking film. Print a flame template onto paper, trace it onto the masking film, and cut carefully with a sharp craft knife. Apply the mask to the body interior and airbrush the flame color over it. Peel the mask to reveal the flame shape against the contrasting body color beneath. Practicing on a flat polycarbonate sheet before attempting it on a shaped body makes the process considerably less stressful.
Freehand Detail Work and Lettering
Very fine detail — sponsor logos, number plates, or graphic accents — can be done freehand with a 0.2mm or 0.3mm airbrush needle at low pressure (8–12 PSI). The airbrush is held 2–5cm from the surface for maximum line precision. A steady hand rest or mahlstick (a padded stick rested against the body to stabilize the hand) helps maintain consistent strokes. Most RC body painters who work at this level use a combination of airbrushed freehand and precision-cut vinyl masks for the cleanest possible result.
Spatter and Texture Effects
Spatter effects are achieved by reducing air pressure to 5–8 PSI and increasing paint flow, then holding the airbrush at a greater distance. The atomization breaks down, and individual droplets of paint land separately rather than blending into a smooth coat. This creates a textured or splattered appearance that works well for off-road crawler bodies styled to look weathered. The same effect is completely impossible to control with an aerosol can.
Common RC Body Paint Mistakes and How to Fix Them
Even experienced painters encounter problems. Most issues have recoverable solutions as long as the paint has not fully cured. Here are the most common problems and what to do about them.
Paint Peeling After a Few Runs
This is almost always a preparation failure. The mold release agent was not fully removed before painting. There is no fix other than stripping the paint and starting over. Scrub the inside of the body with a dedicated plastic prep solution, rinse, and repaint. Some racers also report that certain brands of dish soap leave a residue — switching to a phosphate-free dish soap or a dedicated surface prep solution eliminates this variable.
Paint Bleeding Under Masking Tape
Bleed-through happens when tape is not pressed down firmly enough, or when paint is applied too wet (heavy, dripping coats). To fix on a still-wet body: carefully remove the tape and use a fine-tipped cotton swab slightly dampened with the paint's appropriate thinner to clean the bleed line. Work from outside the design area inward. For cured paint with bleed, the only option is to cover the error with the backing color or an additional design element.
Fish-Eye or Cratering in the Paint Surface
Fish-eye defects — small craters or pits in the paint film — are caused by oil or moisture contamination. Oil from fingers is the most common culprit. Handle the body interior only with clean nitrile gloves after the prep wash. Moisture from an air compressor without a moisture trap also causes this. If fish-eyes appear, allow the coat to dry fully, lightly sand with 1000-grit wet/dry paper to level the surface (on a hard-body paint only — do not sand the inner surface of polycarbonate), and reapply paint after fixing the contamination source.
Drips and Runs
Drips form when too much paint is applied in one pass before the previous coat has flashed off. On a still-wet body, use a clean brush or dry swab to gently lift and redistribute the drip before it sets. Once cured, the only correction is to paint over the drip with enough opaque backer color to hide it, which usually only works on the final backing coat where surface visibility from the outside is minimal.
Airbrush Tip Dry and Spitting
Tip dry occurs when paint dries at the needle tip during pauses in spraying. It interrupts paint flow and causes sudden blobs of paint to spit onto the surface. Prevent it by keeping the trigger moving during passes and backflushing with thinner if painting is paused for more than a minute or two. When tip dry does occur on the body surface, allow it to dry fully and sand the spot flat before continuing. Keeping the airbrush needle and tip clean between sessions is the single most effective maintenance step for preventing this issue.
Protecting and Maintaining Your RC Body Paint
A well-painted body can last many seasons if handled properly. The paint on polycarbonate bodies, being on the inside surface, is already partially protected by the body itself acting as a clear coat. However, the outside surface still scratches and scuffs during use, which affects the clarity through which the inner paint is viewed.
Applying a Protective Outer Layer
Some RC painters apply a thin coat of clear polyurethane or polycarbonate-compatible clear coat to the outside of the body to protect against scratching. This is particularly useful for show or display bodies, but on track-use bodies it adds weight and can trap debris against the surface. A light application of body polish (the same products used for model car display cases) restores clarity to a scratched outer surface without adding a permanent coat.
Storing Painted Bodies
Store painted polycarbonate bodies away from UV light, which yellows the clear material over time and fades paint colors viewed through it. A body bag or large ziplock bag keeps dust off and prevents surface scratches during storage. Do not stack bodies flat on top of each other without a protective layer between them — the weight of stacking can cause stress marks in the polycarbonate over time.
Touching Up Damaged Paint
Small areas of chipped or flaked paint on the inside of a body can be touched up using an airbrush with the same paint used originally. Clean the damaged area with isopropyl alcohol, feather in the matching color, and add backer if needed. Exact color matching is easier when you keep a record of the specific paint codes and ratios used on each body — a simple note attached to the body bag suffices for this purpose.
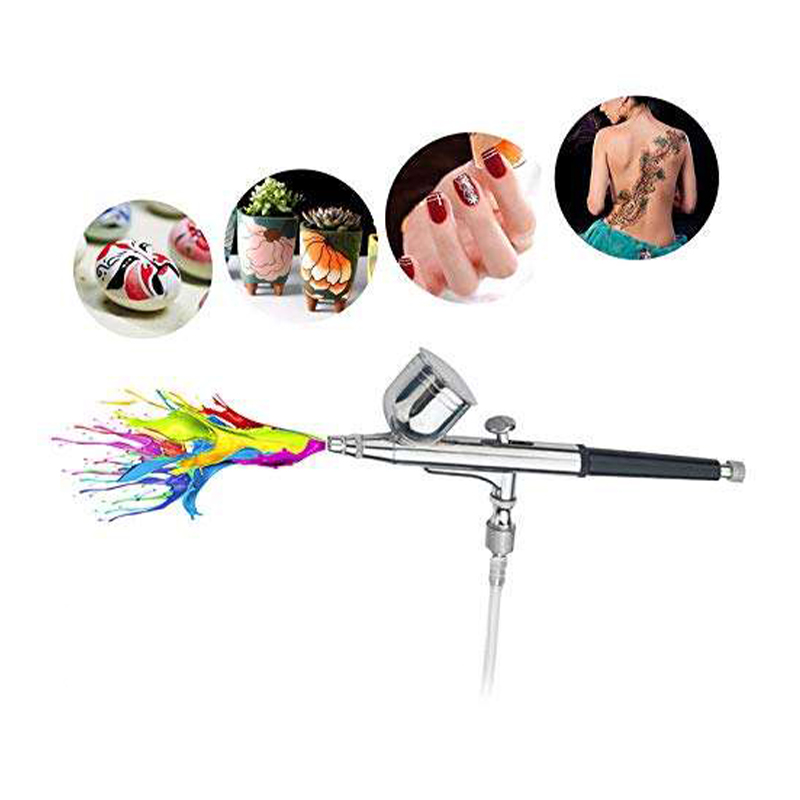
RC Body Paint for Specific Vehicle Types: Crawlers, Drift Cars, and Touring Cars
Different RC disciplines have distinct conventions for body paint, driven partly by aesthetics and partly by the specific materials and shapes involved in each body style.
Rock Crawler Bodies
Scale crawler bodies are frequently made from hard ABS plastic rather than polycarbonate, and they are painted on the outside. This allows for far more realism — scale rust effects, mud stains, dust weathering, and even peeling paint effects can be applied using airbrush stippling, dry brushing, and oil washes. The airbrush is essential for realistic scale weathering effects, such as creating panel fade (the gradual lightening of color toward panel edges from sun exposure) or exhaust staining. Tamiya's range of weathering products, combined with thinned acrylics applied by airbrush, produces very convincing results on these bodies.
Drift Car Bodies
Drift RC bodies are heavily influenced by Japanese street car and motorsport culture. Clean, high-gloss finishes with precise masking lines, realistic sponsor decal placement, and accurate color matching to real competition vehicles are priorities. Candy colors, two-tone splits, and metallic finishes are extremely common in the drift community, and these are all effects that benefit greatly from airbrush application. Many competitive drift bodies mirror actual Japanese touring car liveries with pinpoint accuracy using a combination of airbrushed color and custom-printed decals.
1/10 Touring Car and Buggy Bodies
On-road touring car and off-road buggy bodies tend toward bold, high-visibility designs that are easy to see at speed on the track. Fluorescent colors — particularly Tamiya PS-26 Fluorescent Red, PS-29 Fluorescent Orange, and PS-21 Park Green — are favorites because they show up clearly under artificial track lighting. Many racers keep paint schemes relatively simple for track-use bodies and reserve complex airbrush work for display or occasional-use bodies that will not take hard hits regularly.
Budget Breakdown: What You Actually Need to Spend to Paint RC Bodies Well
Cost is a real factor for many hobbyists deciding between aerosol and airbrush setups. Here is an honest breakdown of what you need to get started at each level, without unnecessary extras.
Aerosol-Only Setup
- Tamiya PS spray cans (2–3 colors): $16–$45
- Tamiya masking tape (18mm roll): $6–$8
- Isopropyl alcohol (500ml): $4–$6
- Lexan scissors: $10–$15
- Total: approximately $36–$74 per body
Entry-Level Airbrush Setup
- Dual-action gravity-feed airbrush (e.g., Badger Patriot 105 or entry Iwata): $50–$100
- Small tank compressor with moisture trap: $80–$150
- Parma Faskolor paint (3–4 bottles): $20–$36
- Masking tape and film: $10–$20
- Airbrush cleaner and cleaning tools: $10–$20
- Total initial investment: approximately $170–$326, then roughly $30–$50 per body in paint and consumables thereafter
The airbrush setup pays for itself after roughly four to six bodies compared to buying fresh aerosol cans for each one, while also delivering significantly better results for complex designs. For hobbyists painting more than two or three bodies per year, the airbrush is the economically rational choice as well as the artistically superior one.


