 English
 русский
Oct 26,2026
Content
- 1 The Fastest Way to Elevate Your Model Kit Painting: Use an Airbrush
- 2 Choosing the Right Airbrush for Model Kit Painting
- 3 Surface Preparation: The Step Most Builders Underestimate
- 4 Priming: Why It Matters and What to Use
- 5 Paint Types and Compatibility in Model Kit Painting
- 6 Airbrush Techniques That Transform Model Kit Results
- 7 Masking for Crisp Demarcation Lines
- 8 Weathering Techniques in Model Kit Painting
- 9 Varnish and Clear Coat Finishing in Model Kit Painting
- 10 Airbrush Cleaning and Maintenance Between Sessions
- 11 Common Airbrush Problems in Model Kit Painting and Their Fixes
- 12 Building a Model Kit Painting Workspace That Supports Airbrush Work
The Fastest Way to Elevate Your Model Kit Painting: Use an Airbrush
If you want results that look professional, the single most impactful upgrade you can make to your model kit painting workflow is switching from rattle cans or hand brushes to an airbrush system. It gives you control over paint consistency, coverage, gradients, and fine detail that no other tool can match. That said, an airbrush is not a magic wand — it rewards preparation, clean technique, and an understanding of paint thinning ratios. This guide covers everything from primer selection to final weathering, with emphasis on airbrush use because it is the tool that makes the biggest difference in output quality.
Model kit painting is not just about color application. It is a multi-stage process involving surface preparation, primer coats, base coats, shading, highlights, decals, and protective clear coats. Each stage compounds on the last. A poorly primed surface will cause paint to chip two weeks after finishing. An incorrectly thinned airbrush mix will cause tip-dry and uneven texture. Understanding each step prevents backtracking and wasted kits.
Choosing the Right Airbrush for Model Kit Painting
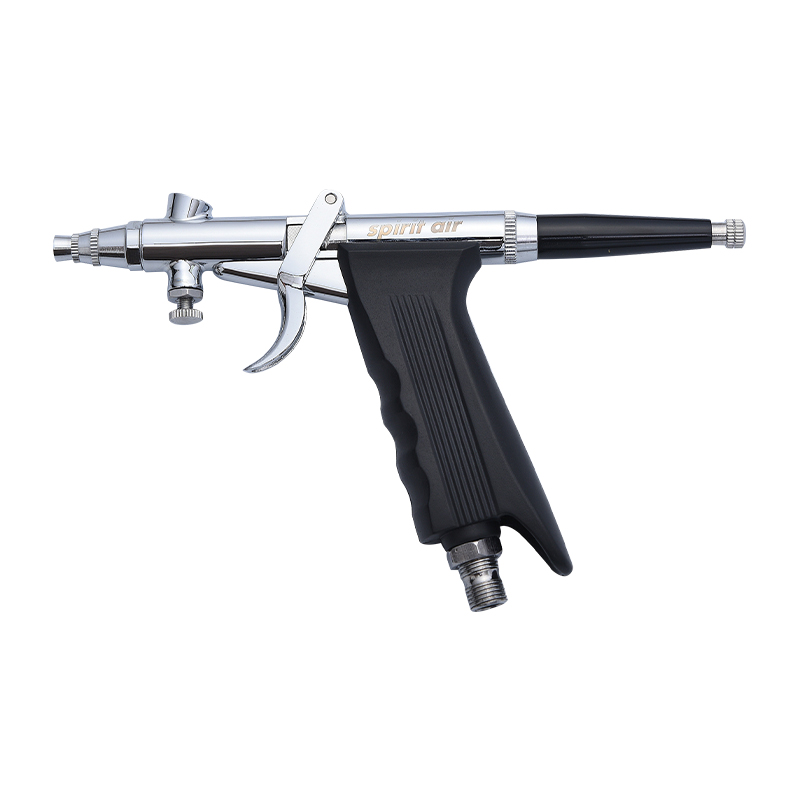
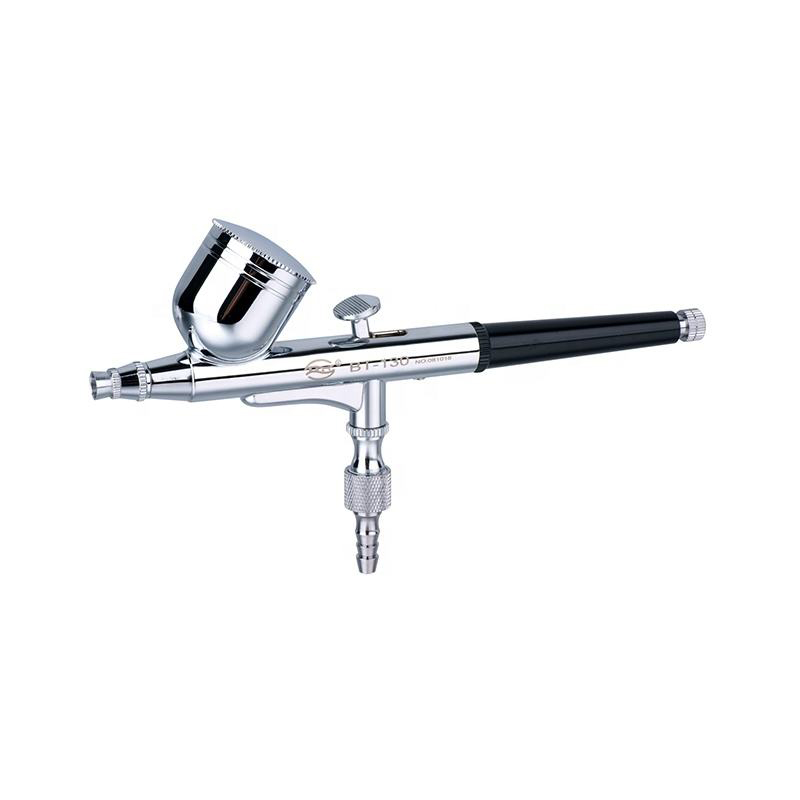
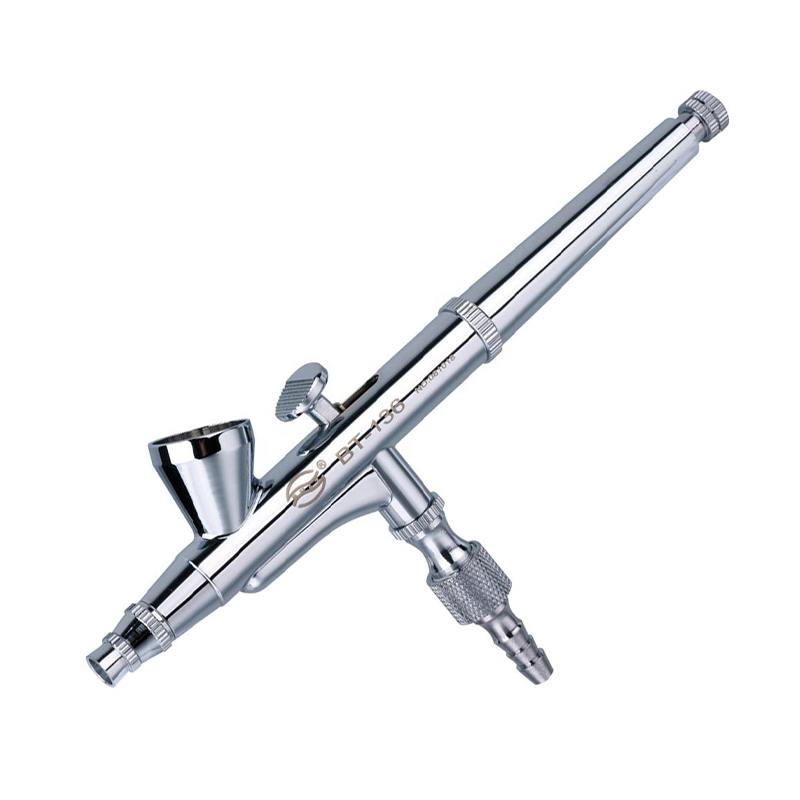
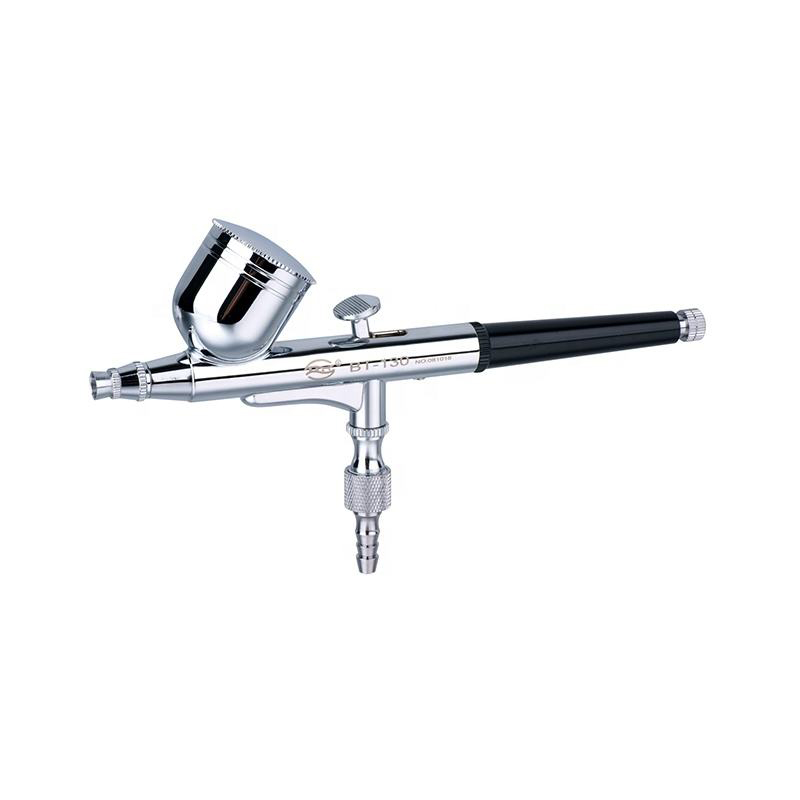
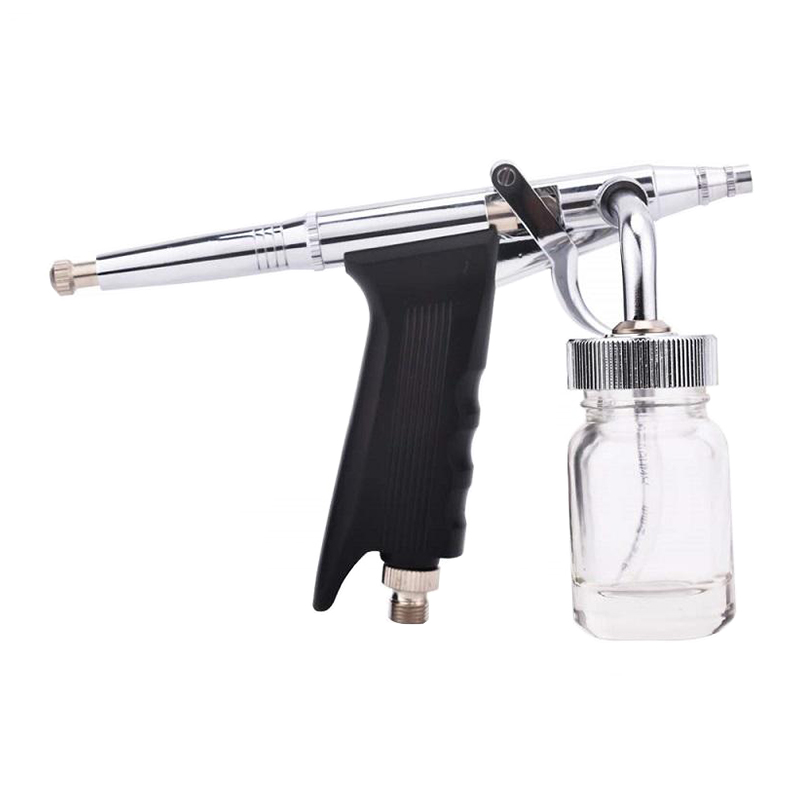
Not all airbrushes are built for scale model work. The two main categories are single-action and double-action. For model kit painting, double-action gravity-feed airbrushes are the standard choice among experienced builders. The double-action mechanism lets you independently control airflow and paint volume with a single trigger, which is essential for fine detail passes and smooth gradients.
Needle Size and What It Means for Your Work
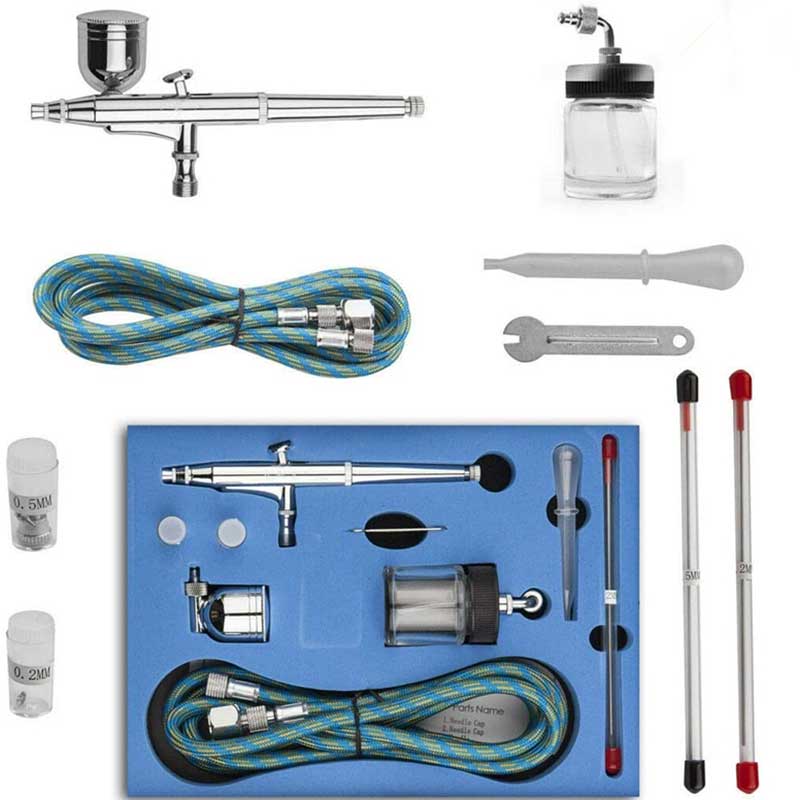
Needle size directly controls the spray pattern width and is measured in millimeters. For model kit painting, the most versatile needle sizes fall between 0.2mm and 0.5mm:
- 0.2mm — ideal for fine panel line pre-shading, hair, and tight detail work on 1/72 and 1/144 scale kits
- 0.3mm — the most popular all-around needle for base coats and shading on 1/35 and 1/48 scale armor and figures
- 0.5mm — faster coverage for large panels, vehicle hulls, and aircraft fuselages, though less precise for detail
Popular airbrush models used extensively in the model kit painting community include the Iwata Eclipse HP-CS, the Harder & Steenbeck Infinity, and the Badger Patriot 105. Entry-level options like the Harder & Steenbeck Ultra are well regarded for newcomers because they are durable and easy to clean. Avoid very cheap airbrushes under $20 — the internal tolerances are inconsistent and tip-dry becomes a constant frustration.
Compressor Requirements for Stable Airbrush Operation
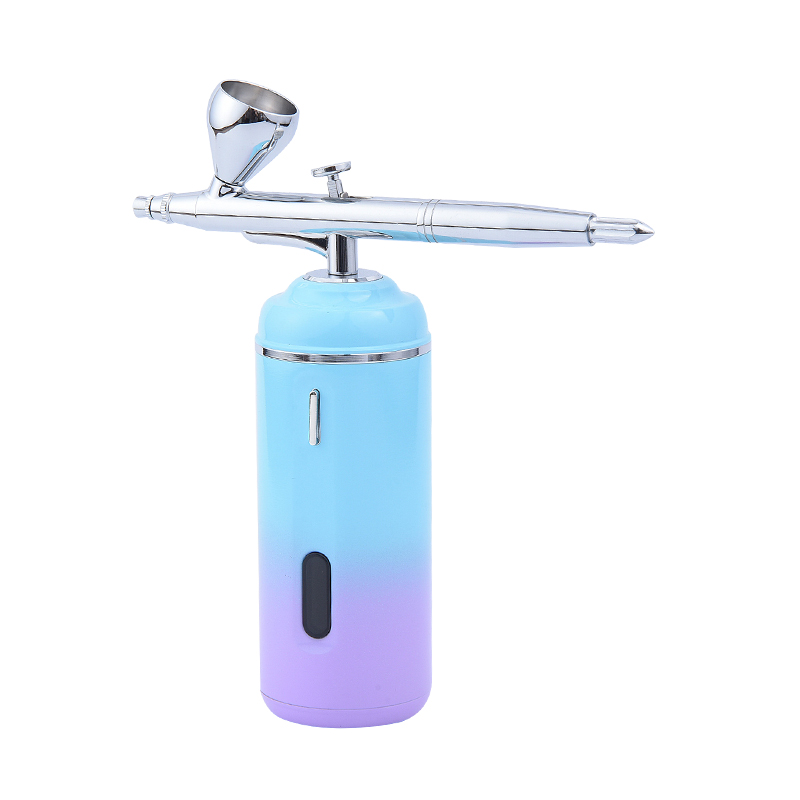
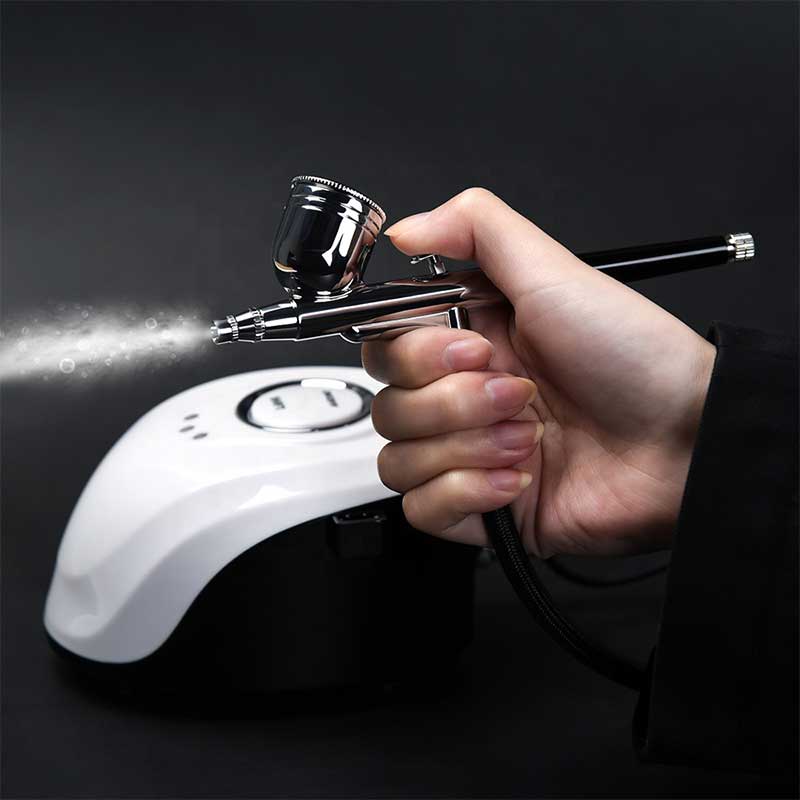
Your airbrush is only as consistent as your compressor. For model kit painting, you need a compressor with a tank and a moisture trap. Tank compressors deliver steady pressure without pulsation, which causes uneven paint deposition. A working pressure range of 15 to 25 PSI covers nearly all model painting scenarios. Tankless diaphragm compressors are quieter but prone to pressure fluctuations that interrupt smooth gradient work. The Iwata Smart Jet and Sparmax AC-500 are popular mid-range choices that balance noise level, tank capacity, and cost.
Surface Preparation: The Step Most Builders Underestimate
No amount of skill with an airbrush compensates for poor surface preparation. Model kit plastic — whether styrene, resin, or garage kit PVC — carries mold release agents, fingerprint oils, and surface static that repel paint. Skipping surface prep leads to paint beading, fish-eye effects, and adhesion failure.
Cleaning the Kit Before Painting
Wash assembled or semi-assembled model parts in warm water with dish soap, using a soft toothbrush to reach recessed panel lines and textured surfaces. Rinse thoroughly and let dry for at least two hours before priming. For resin kits, a more aggressive wash with isopropyl alcohol at 70% concentration removes release agents more effectively than soap alone. After washing, handle parts only with nitrile gloves or by holding sprue attachment points to prevent re-contamination from skin oils.
Sanding and Seam Removal Before Priming
Model kit seams and ejector pin marks must be addressed before any paint is applied. Use 400-grit sandpaper to eliminate seam lines, then progress to 600 and 800 grit to smooth the surface. Primer will reveal any remaining imperfections under raking light, so check your surface with a small flashlight held at a low angle after each stage. For putty-filled areas, Tamiya Basic Putty or Squadron White Putty work well for deep seams, while Mr. Surfacer 500 applied from a brush can fill shallow sink marks.
Priming: Why It Matters and What to Use
Primer creates mechanical adhesion between the plastic substrate and your paint layers. Without it, paint — especially lacquer over untreated styrene — can lift in sheets when you apply masking tape or handle the model. Primer also provides a uniform neutral tone that prevents the underlying plastic color from influencing your topcoat color accuracy.
For airbrush application, Mr. Surfacer 1000 and 1200 are the most widely used primers in the scale modeling hobby. Mr. Surfacer 1000 fills minor surface scratches and provides moderate build. Mr. Surfacer 1200 is finer and better suited for smaller scale kits where you want to preserve sharp detail. Both can be thinned with lacquer thinner or Mr. Color Leveling Thinner and sprayed at 18 to 22 PSI for smooth results.
Primer Color Selection and Its Effect on Final Appearance
Primer color is not merely a surface treatment decision — it shapes your final paint appearance.
| Primer Color | Best Used For | Effect on Topcoat |
|---|---|---|
| Light Gray | Most color schemes, vehicles, aircraft | Neutral base, preserves color accuracy |
| Black | Metallic finishes, dark armor, NMM prep | Deepens shadows, reduces light reflection |
| White | Bright colors, yellows, translucent effects | Maximizes topcoat vibrancy and saturation |
| Red Oxide / Brown | Rust weathering, dunkelgelb schemes | Adds warm undertone visible through chips and wear |
Paint Types and Compatibility in Model Kit Painting
Paint selection for model kit painting comes down to three main families: lacquers, enamels, and acrylics. Each has distinct characteristics in terms of drying time, airbrush behavior, odor, and compatibility with other paint layers. Mixing paint families incorrectly causes lifting, crazing, and ruined work.
Lacquers
Lacquers like Mr. Color (GSI Creos), Gaianotes, and Tamiya Lacquer spray excellently through an airbrush. They level beautifully, dry fast, and produce a very hard finish that accepts enamel washes without lifting. The trade-off is strong solvent fumes — always use lacquers in a well-ventilated area or with a respirator rated for organic vapors. Thin lacquers with dedicated lacquer thinner at roughly a 1:1 to 1:1.5 paint-to-thinner ratio for airbrush application.
Acrylics
Acrylic paints such as Vallejo Model Color, AK Interactive Real Colors (acrylic version), Citadel, and Tamiya acrylics are water-based and much safer to use indoors. They are slower to dry than lacquers and require more careful airbrush maintenance because they can clog the needle if they dry in the tip. The optimal airbrush thinner for Vallejo acrylics is Vallejo Airbrush Thinner or their Flow Improver mix — water alone tends to cause tip-dry. Aim for a skim milk consistency when checking thinned paint against a mixing stick.
Enamels
Enamel paints like Humbrol and AK Interactive enamel washes are primarily used in model kit painting for panel line washes, filters, and pin washes rather than base coats. They are slow-drying — sometimes taking 24 to 48 hours to fully cure — which allows extended working time for blending. Enamel thinners and white spirit can attack acrylic base coats if applied too heavily, so always seal your base coat with a lacquer or acrylic gloss varnish before applying any enamel wash.
Airbrush Techniques That Transform Model Kit Results
Knowing how to operate an airbrush is only half the equation. Understanding when and how to apply specific airbrush techniques makes the difference between a flat, one-dimensional model and one that reads with depth and realism from across the room.
Pre-Shading Panel Lines
Pre-shading is an airbrush technique where you spray a dark color — typically black or dark gray — along recessed panel lines and into corners before applying the base coat. This creates shadow depth that shows through subsequent thin base coat layers. The trick is to keep the pre-shade subtle: use a 0.2mm or 0.3mm needle at 12–15 PSI, hold the airbrush 1–2 cm from the surface, and work in short controlled passes. If the pre-shade is too dark and opaque, the base coat will cover it completely and the effect is lost.
Post-Shading and Color Modulation
Post-shading is the reverse approach: you apply your base coat first, then use a darkened version of that base color to add shadows in corners and low-light areas, and a lightened version to add highlights on panel centers and raised edges. This technique, also called color modulation, is widely used in armor and vehicle model kit painting. A practical ratio is to mix your base color with approximately 20–30% white for highlights and 20–30% black or dark brown for shadows. Apply with a thinned mix at low pressure in light, feathered passes.
Zenithal Priming for Instant Light Logic
Zenithal priming is a two-step airbrush priming method. First, prime the entire model black. Then, from above at a roughly 45-degree angle, lightly spray white or light gray primer. The result is a model with built-in light logic: dark undersides and recesses, lighter top surfaces. Any subsequent transparent or semi-transparent color applied over this base inherits the pre-established lighting. This approach is enormously popular in figure painting and Gunpla, cutting shading work down significantly.
Misting and Filters Through the Airbrush
A filter is an extremely thinned, semi-transparent color coat applied over a sealed base coat to unify the overall palette or add a tonal shift. With an airbrush, filters are straightforward: thin your chosen color to approximately 5–10% paint and 90–95% thinner, spray in light misting passes from a greater distance (15–20 cm), and build up gradually. A dust filter using light tan over a green vehicle, for example, shifts the model's color temperature toward a sun-baked field appearance without obscuring underlying detail.
Masking for Crisp Demarcation Lines
Masking and airbrushing work together. Hard-edge camouflage patterns on aircraft and armor, two-tone vehicle schemes, and canopy framing all require precise masking before airbrush application. The quality of your masking tape matters enormously — Tamiya masking tape (6mm and 10mm widths) is the industry standard for curved lines and tight panel borders because it conforms without leaving adhesive residue.
Hard Edge vs. Soft Edge Masking Techniques
Hard edge masking involves pressing tape firmly to the surface so the airbrush deposits paint with a sharp, defined border. Soft edge masking uses torn tape edges or tape held slightly above the surface so overspray creates a blurred, feathered demarcation — a technique used for soft camouflage patterns on World War II German armor or modern aircraft. Blu-Tack putty is another option for creating organic, non-geometric soft edge boundaries quickly.
After airbrushing and before removing masks, let the paint dry for at least 30 minutes for lacquers and 60 minutes for acrylics to prevent the paint film from pulling or tearing at the tape edge. Remove tape slowly at a low angle away from the painted area, not upward.
Weathering Techniques in Model Kit Painting
Weathering is where model kit painting moves from accurate to convincing. Even perfect base coat application leaves a model looking sterile. Real vehicles, aircraft, figures, and mechs show accumulated grime, paint wear, fuel stains, rust bleed, scratches, and dust. Replicating these effects requires a layered approach combining airbrush work with brushwork and pigment application.
Chipping and Paint Wear
The hairspray technique is the most controllable method for realistic paint chipping. After priming, spray a layer of metallic paint (representing bare metal or a primer coat beneath the topcoat). Then apply a generous coat of water-soluble hairspray from a rattle can or through your airbrush. Let it dry, apply your topcoat color, and then use a damp brush or toothpick to selectively rub away the topcoat in high-wear areas such as hatches, grab handles, and track guards. The hairspray acts as a water-soluble release layer. This technique gives far more control than sponge chipping and produces very naturalistic results.
Streaking, Grime, and Oil Dot Filters
Oil paints — not to be confused with oil-based enamels — are a staple of advanced model kit painting weathering. Dots of oil paint (raw umber, burnt sienna, titanium white, yellow ochre) placed on a sealed, matte or satin surface and then blended with a flat brush moistened with odorless mineral spirits create extraordinary depth. Vertical streaks of thinned dark brown simulate rain-washed grime running from hatches and bolt heads. Abteilung 502 and Winsor & Newton artist oil paints are the most commonly used brands in the modeling community for this work.
Pigments and Dust Effects
Dry pigments in earth tones (MIG Productions, Wilder, Vallejo pigments) are applied last, after all paint layers and washes are complete, to simulate dust, mud, and rust bloom. Pigments are applied dry with a soft brush onto a matte surface and fixed lightly with pigment fixer or isopropyl alcohol misted from a distance. Do not apply pigments before matte varnish — the varnish will dissolve and flatten them entirely.
Varnish and Clear Coat Finishing in Model Kit Painting
Clear coats serve two purposes in model kit painting: surface preparation between stages (gloss coat before decals, gloss coat before washes) and final surface finish protection. Your choice of finish — gloss, satin, or matte — dramatically affects the visual reading of the completed model.
- Gloss varnish — applied before decals to eliminate silvering, before enamel washes to allow easy cleanup, and on vehicles and aircraft where a factory-fresh or polished look is appropriate
- Satin varnish — a mid-point finish suitable for in-service military equipment, figures in leather or cotton fabric, and modern aircraft
- Matte varnish — the final protective coat for most weathered armor, ground vehicles, and figures; kills surface sheen and makes weathering look most realistic
Mr. Super Clear from GSI Creos is the benchmark lacquer varnish for model kit painting and performs consistently through an airbrush when thinned correctly. Vallejo Matte and Gloss Varnish are the best water-based alternatives for builders avoiding lacquer fumes. Apply varnish in multiple thin passes rather than a single heavy coat — flooding varnish causes pooling in recesses and obscures panel line detail.
Airbrush Cleaning and Maintenance Between Sessions
An unclean airbrush is the source of most spraying problems in model kit painting. Dried paint inside the needle bearing, crown cap, or fluid nozzle causes spitting, uneven spray, and pressure fluctuation. Cleaning must happen between every color change and at the end of every session without exception.
Between-Color Cleaning Procedure
- Empty the cup and wipe residue with a paper towel or cotton swab
- Add airbrush cleaner or appropriate thinner to the cup and spray through until clear
- Back-flush by placing a finger over the tip and triggering to push fluid back into the cup — repeat twice
- Spray a final pass of clean thinner until no color traces remain
End-of-Session Deep Cleaning
At session end, disassemble the airbrush: remove the needle, nozzle, and needle cap. Soak the nozzle in airbrush cleaner for 5–10 minutes and use a nozzle cleaning brush or interdental brush to remove any dried paint. Wipe the needle clean with a cloth moistened in thinner — never scrape the needle with a hard tool as it can deform the tip and permanently damage spray pattern. Reassemble carefully, ensuring the needle seats fully into the nozzle before tightening.
Lacquer-based paints require lacquer thinner for cleaning. Acrylic paints clean with dedicated acrylic cleaner or isopropyl alcohol. Using water alone on dried acrylic in an airbrush is ineffective — the dried polymer does not re-dissolve in water.
Common Airbrush Problems in Model Kit Painting and Their Fixes
Even experienced builders encounter recurring airbrush issues. Knowing the cause prevents hours of troubleshooting mid-session.
| Problem | Likely Cause | Solution |
|---|---|---|
| Tip-dry (paint drying at needle tip mid-spray) | Paint too thick, PSI too high, low humidity | Thin more, add flow improver, reduce PSI |
| Spitting and spattering | Dirty nozzle, inconsistent PSI, paint too thin | Deep clean nozzle, check compressor tank, adjust mix |
| Orange peel texture | PSI too low, paint too thick, held too close | Increase PSI, thin further, increase distance |
| Fish-eye effect on surface | Oil or silicone contamination on model | Re-wash model, re-prime, ensure gloves used |
| Uneven spray cone (one-sided pattern) | Bent or damaged needle tip | Replace needle; do not attempt to straighten |
Building a Model Kit Painting Workspace That Supports Airbrush Work
Your physical workspace affects the quality and safety of every session. Airbrush overspray is fine particulate matter that disperses into the air — without extraction, you inhale paint particles and leave a fine dust coating on everything within a meter radius of your spray zone.
Spray Booths and Extraction
A spray booth with an extraction fan and carbon filter is non-negotiable for regular airbrush use indoors. The Paasche airbrush spray booth and the Master Airbrush portable booth are common entry-level options. More serious setups route ducting to a window or exterior vent. If you are using lacquer paints, a carbon filter booth alone is insufficient — you need active ventilation to the outside. For water-based acrylics, a quality carbon filter booth is adequate for most home setups.
Lighting for Model Kit Painting
Daylight-balanced lighting in the 5000K–6500K color temperature range prevents color cast errors in paint mixing and application. An Ottlite or similar daylight LED lamp positioned at a low raking angle during surface inspection reveals surface defects invisible under overhead lighting. A second lamp positioned above the model during painting prevents shadowed areas from being over-painted due to misread depth.
Rotary painting handles — like the Tamiya painting stand or homemade alternatives using corks and wooden sticks — allow you to rotate parts during airbrush application without touching painted surfaces. A basic painting handle setup using corks on wooden barbecue skewers costs under $5 and eliminates the handling damage that ruins otherwise clean paint work.